3 Easy Steps to Create Dalgona Candy From Squid Game
Table of Contents

INGREDIENTS
INSTRUCTIONS
Have you ever tried making something as simple yet delightful as Dalgona candy? This nostalgic Korean treat brings back childhood memories for many. It’s sweet, crunchy, and fun to create. With just sugar and a pinch of baking soda, you can whip up this iconic candy in minutes. The best part? You get to shape it with cookie cutters, adding your own creative twist. Let’s dive into the magic of crafting this sweet delight!
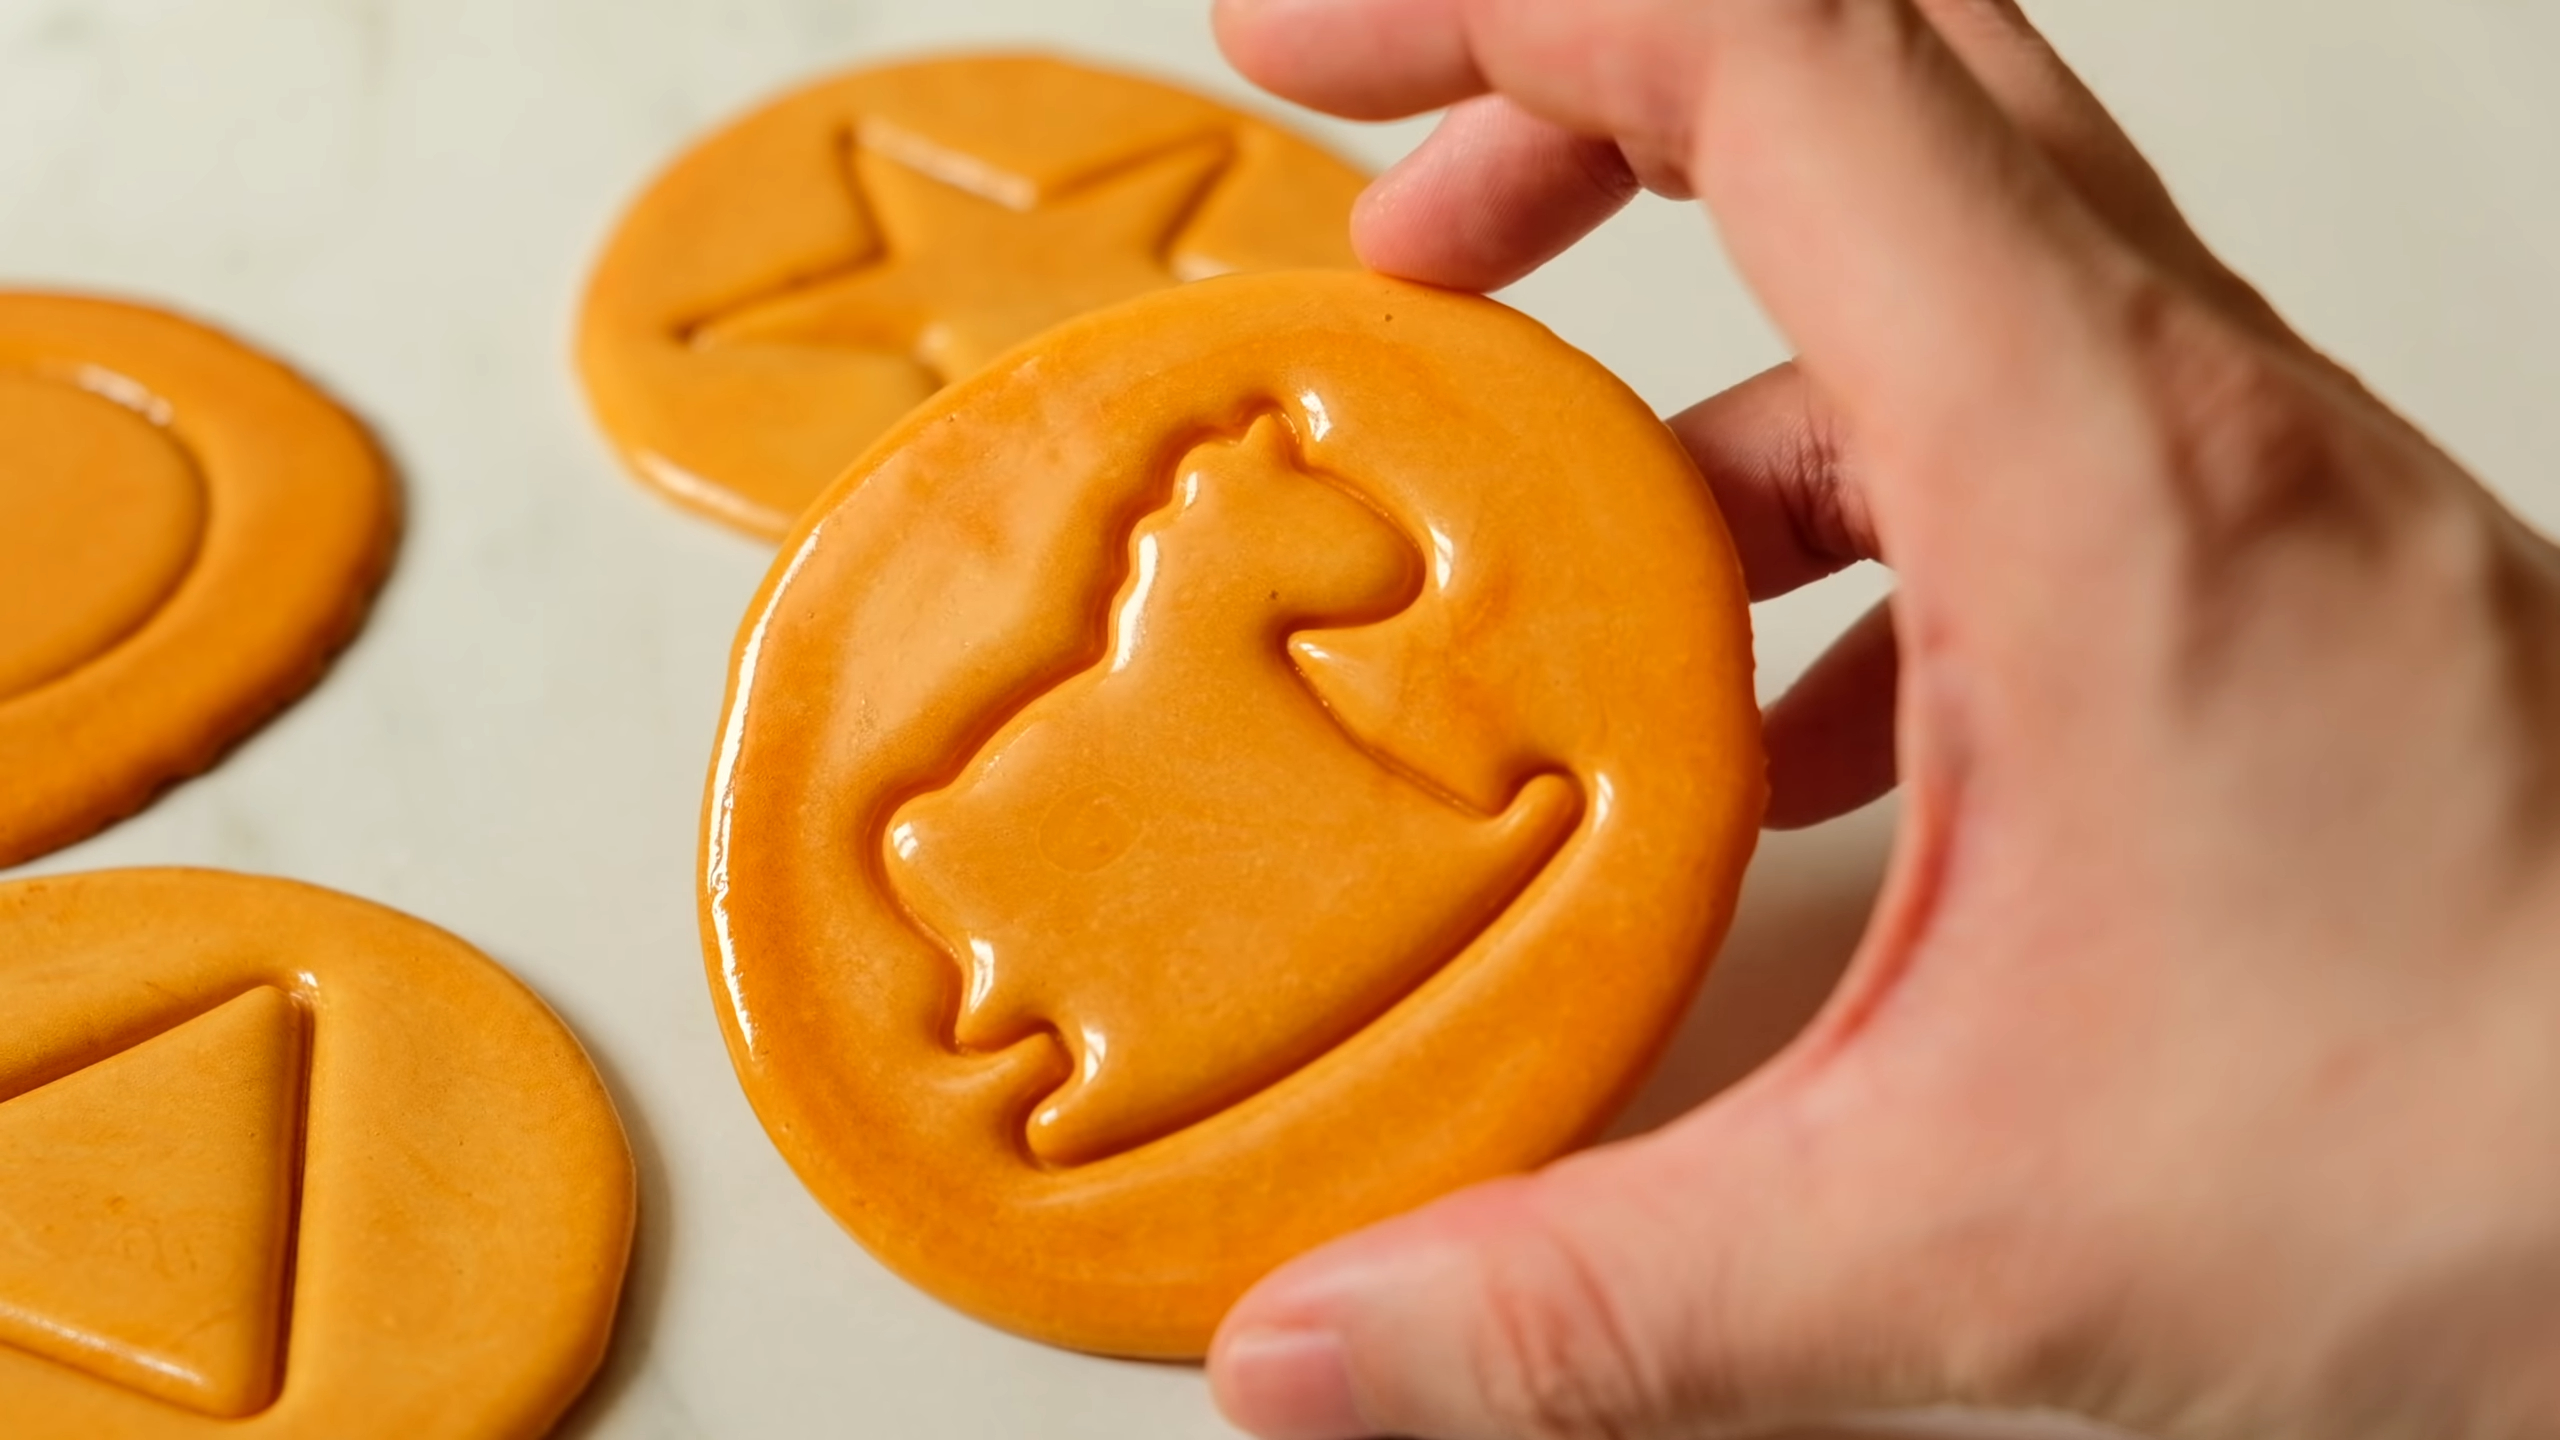
Recipe
Ingredients
-
Sugar (20g) (1 tablespoon + 1 teaspoon)
-
Water (a little)
-
Baking Soda (a pinch)
Steps
-
Add sugar and water to a non-stick pan or ladle. Heat gently until the sugar melts and reaches 160-170°C (320-338°F).
-
Stir in a small pinch of baking soda until the mixture foams and turns light brown.
-
Pour the mixture onto a flat surface, flatten it after 10 seconds, and press shapes with cookie cutters.
Step 1: Gather Your Ingredients and Tools
Before diving into the fun of making Dalgona candy, let’s make sure everything is ready. Having the right ingredients and tools on hand will make the process smooth and enjoyable. Trust me, preparation is key to success!
Ingredients You’ll Need
Let’s talk about the stars of this recipe:
Sugar (20g)
Sugar is the main ingredient for Dalgona candy. It caramelizes beautifully, giving the candy its signature golden color and sweet flavor. Use granulated sugar for the best results.
Baking Soda (a pinch)
This tiny addition works magic! Baking soda creates the honeycomb texture that makes Dalgona candy so unique. Be careful not to add too much, as it can affect the taste and texture.
Tools You’ll Need
Having the right tools makes the process easier and safer. Here’s what you’ll need:
Non-stick pan or ladle
A non-stick pan or ladle helps melt the sugar evenly without sticking. It also makes cleanup much simpler.
Chopstick or spoon
You’ll need something to stir the sugar as it melts. A chopstick or spoon works perfectly for this task.
Flat surface and cookie cutters
Pour the candy mixture onto a flat, non-stick surface to shape it. Cookie cutters let you add fun designs to your candy. Choose shapes like stars, hearts, or even umbrellas for a creative touch.
Pro Tip: Measure all ingredients accurately to ensure the best results. Using a kitchen scale or measuring cups can make this process easier and more precise.
Now that you’ve gathered everything, you’re ready to move on to the next step. Let’s start melting that sugar and bring this nostalgic treat to life!
Step 2: Melt the Sugar
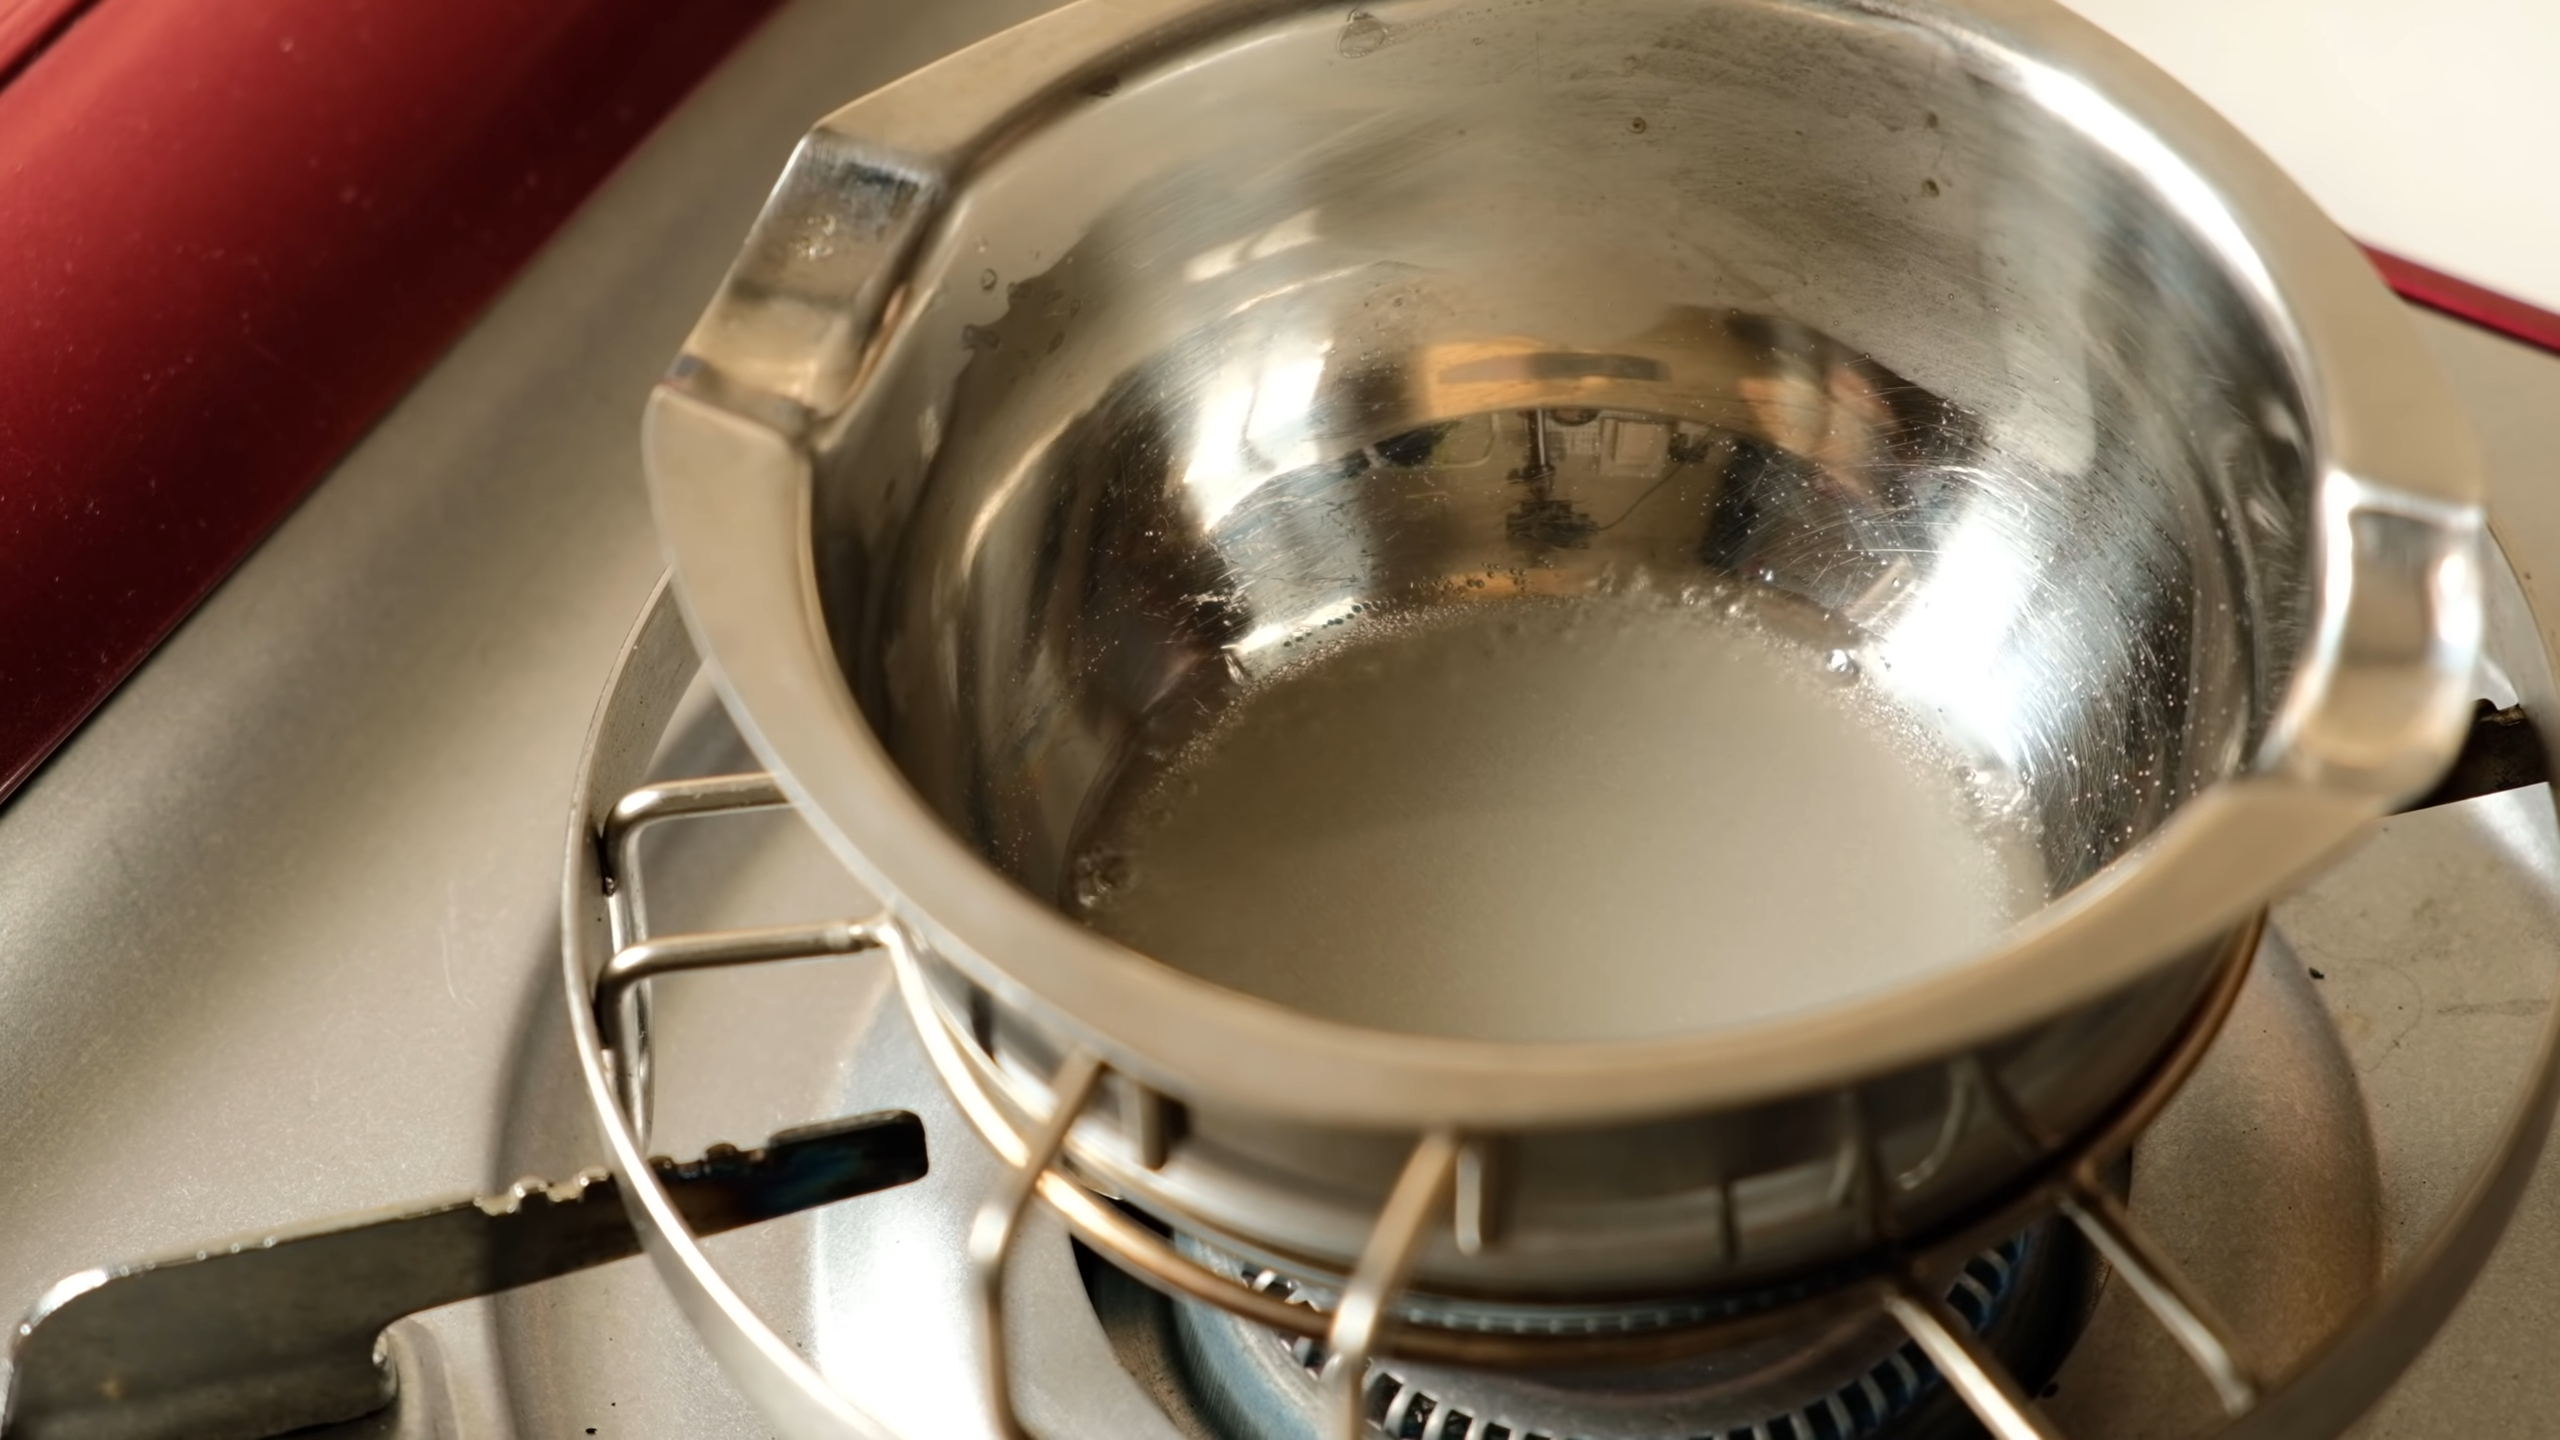
Melting sugar is where the magic begins. This step transforms simple granulated sugar into the golden base of your Dalgona candy. Let’s get started!
How to Melt Sugar Correctly
-
Add sugar and water to a non-stick pan or ladle.
Start by placing 20g of sugar into your non-stick pan or ladle. Add just a tiny amount of water—enough to moisten the sugar. This helps the sugar melt evenly without clumping. -
Heat on low heat (160-170°C / 320-338°F).
Turn your stove to low heat. Keep the temperature steady to avoid burning the sugar. If you have a kitchen thermometer, use it to monitor the heat. The ideal range is 160-170°C (320-338°F). -
Stir gently once the edges start to caramelize.
Watch closely as the sugar begins to melt. When you see the edges turning golden, stir gently with a chopstick or spoon. Stirring too early can cause crystallization, so patience is key.
Safety Tip: Be cautious when handling melted sugar. It gets extremely hot and can cause burns. Avoid touching it directly.
Tips for Success
-
Avoid stirring too early.
Let the sugar melt naturally before stirring. Stirring prematurely can lead to crystallization, making the mixture grainy instead of smooth. -
Use a kitchen thermometer.
Precision matters. A thermometer ensures you hit the right temperature without overcooking or burning the sugar. -
Keep the heat low.
High heat might seem faster, but it increases the risk of burning. Low and steady heat gives you better control.
Melting sugar might seem tricky at first, but with these tips, you’ll nail it. Once your sugar is perfectly melted, you’re ready to move on to the next step—adding baking soda and shaping your candy. Let’s keep going!
Step 3: Add Baking Soda and Shape the Candy
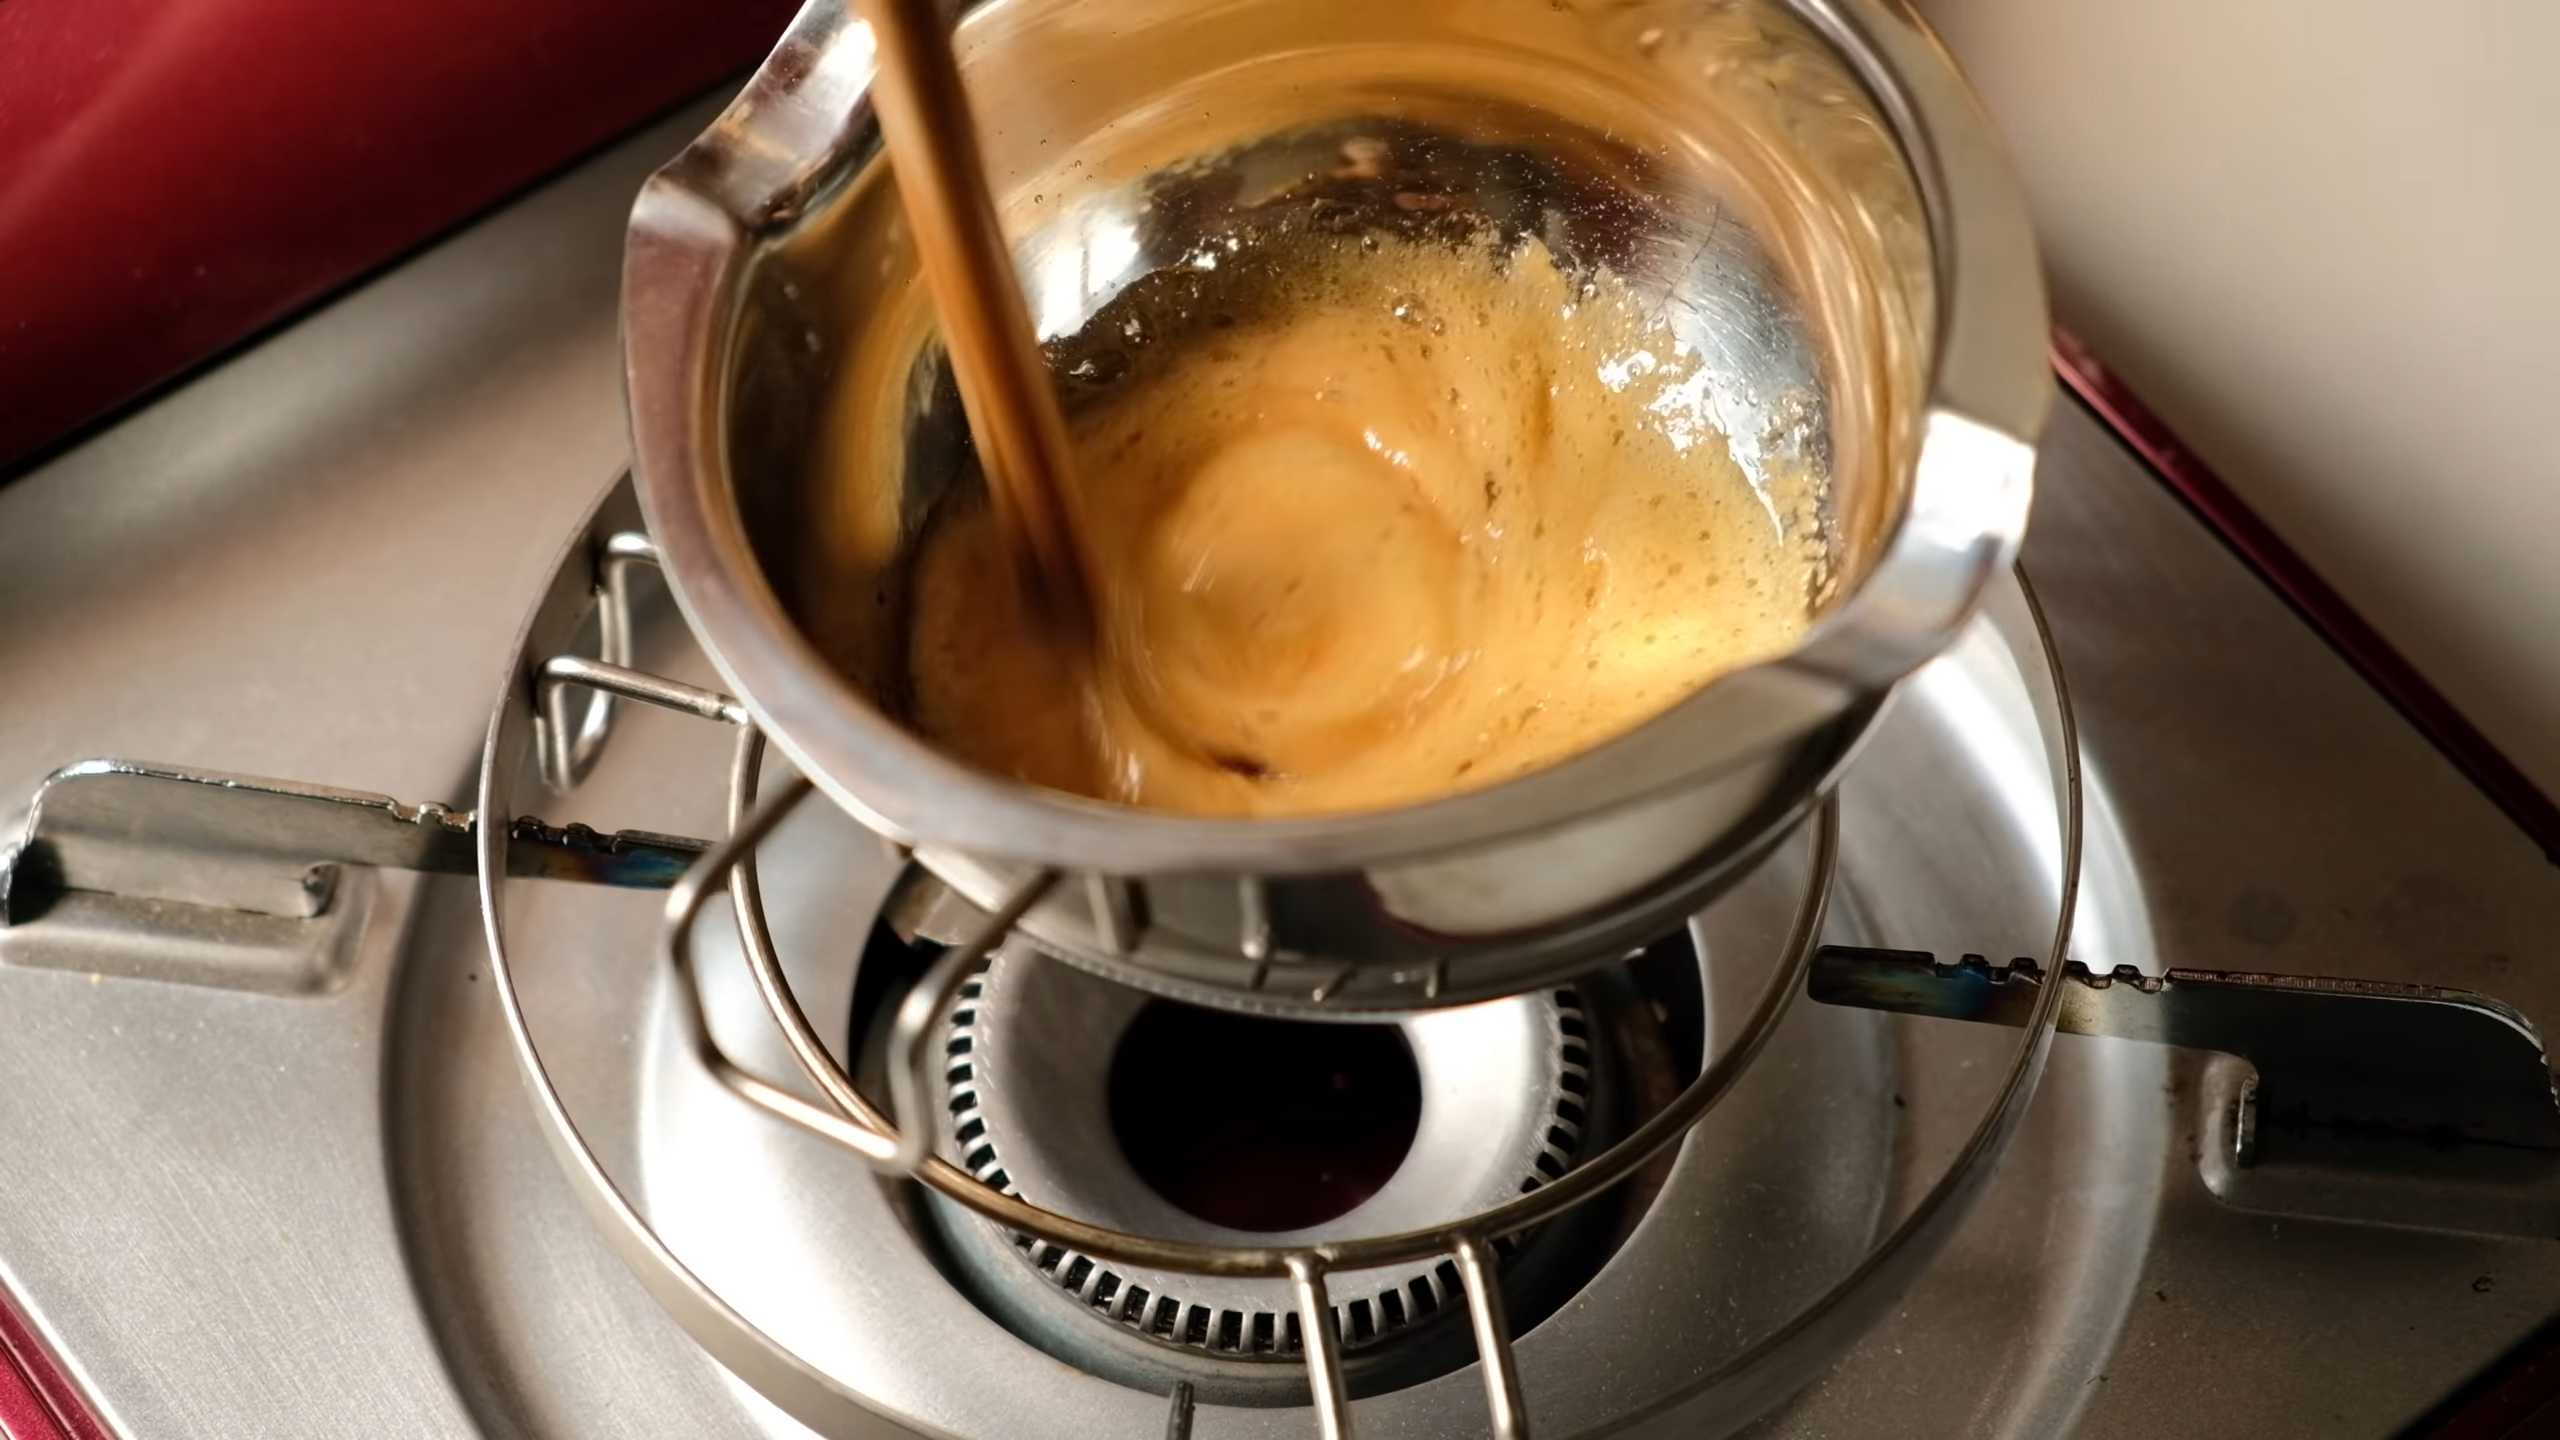
This is where the real fun begins! Adding baking soda and shaping the candy transforms melted sugar into the iconic Dalgona treat. Let’s take it step by step.
Mixing in the Baking Soda
-
Add a small pinch of baking soda to the melted sugar.
Once the sugar reaches the perfect golden hue, sprinkle in a tiny pinch of baking soda. Don’t overdo it—a little goes a long way. -
Stir quickly until the mixture foams and turns light brown.
Grab your chopstick or spoon and stir fast. The baking soda reacts with the sugar, creating a bubbly foam and a light brown color. This step happens quickly, so stay focused.
Pro Tip: Keep stirring until the bubbles settle slightly. This ensures the candy has an even texture and a smooth finish.
Shaping the Candy
-
Pour the mixture onto a flat, non-stick surface.
Carefully pour the foamy mixture onto your prepared surface. Aim for the center to create a neat, circular shape. -
Wait 10 seconds, then press gently with a flat object to flatten.
Let the candy cool for about 10 seconds. Then, use a flat object like a spatula or the bottom of a cup to press it down gently. This step gives the candy its classic thin and round appearance. -
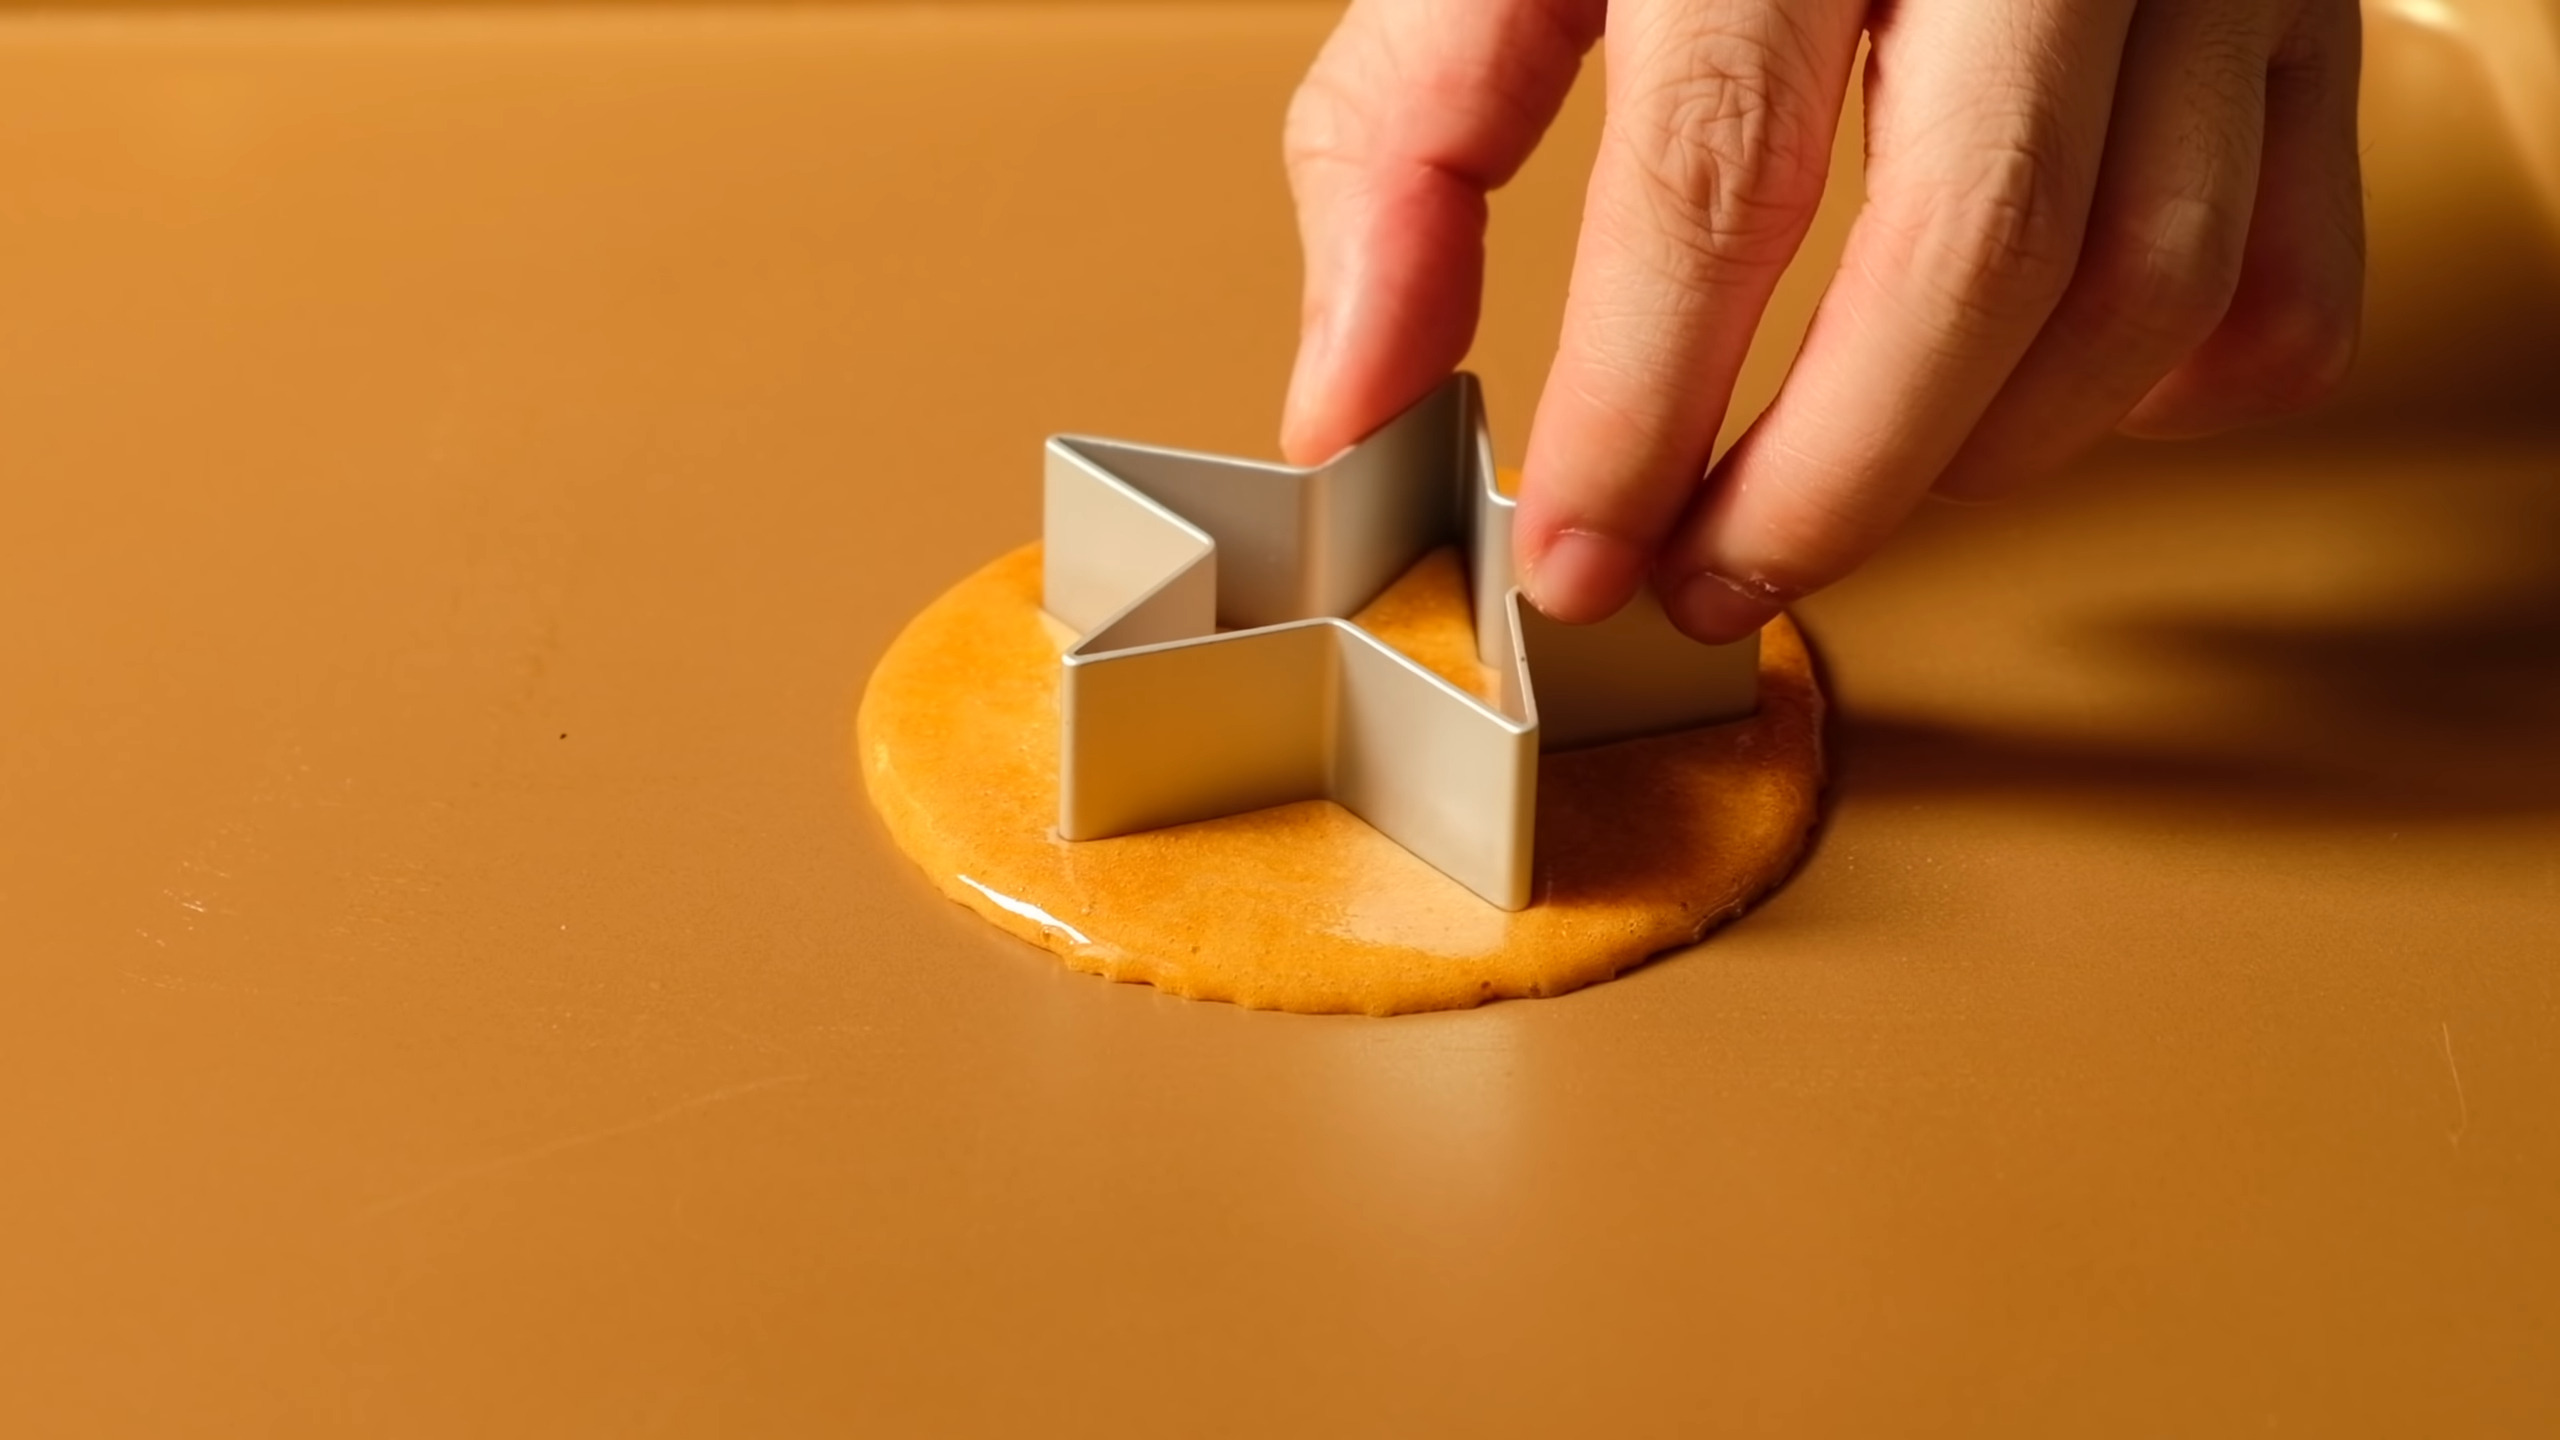
Use cookie cutters to imprint shapes before the candy hardens.
While the candy is still soft, press your cookie cutter into the center. Hold it for 2-3 seconds, then lift it straight up. Be quick but careful—once the candy hardens, it’s too late to add designs.
Safety Tip: Avoid touching the candy directly during this process. It’s still very hot and can cause burns.
Shaping the candy is my favorite part. It’s where creativity shines! You can stick to traditional shapes or try something unique. I once used a rocking horse cutter, and it turned out adorable. The possibilities are endless.
Pro Tip: If you want perfectly round candy, pour the mixture slowly and steadily into the center of the surface. This helps keep the edges smooth and even.
Now that your Dalgona candy is shaped and cooling, you’re ready to enjoy it. Whether you’re recreating the Squid Game challenge or just indulging in a sweet treat, this step brings the whole process together beautifully.
Common Mistakes to Avoid
Making Dalgona candy can be a fun experience, but a few common mistakes might trip you up. Let me share some tips to help you avoid these pitfalls and create perfect candy every time.
Burning the Sugar
Always use low heat and monitor the temperature closely.
Burning sugar happens faster than you’d think. I’ve learned that keeping the heat low is the best way to prevent this. Use a kitchen thermometer to keep the temperature between 160-170°C (320-338°F). If you don’t have one, watch the sugar closely. The moment it turns golden, it’s ready. Don’t walk away during this step. Sugar burns in seconds, and once it’s burnt, there’s no saving it.
Quick Tip: If the sugar starts to smoke or turn dark brown, remove it from the heat immediately. It’s better to start over than to end up with bitter candy.
Adding Too Much Baking Soda
Use only a small pinch to avoid a bitter taste and uneven texture.
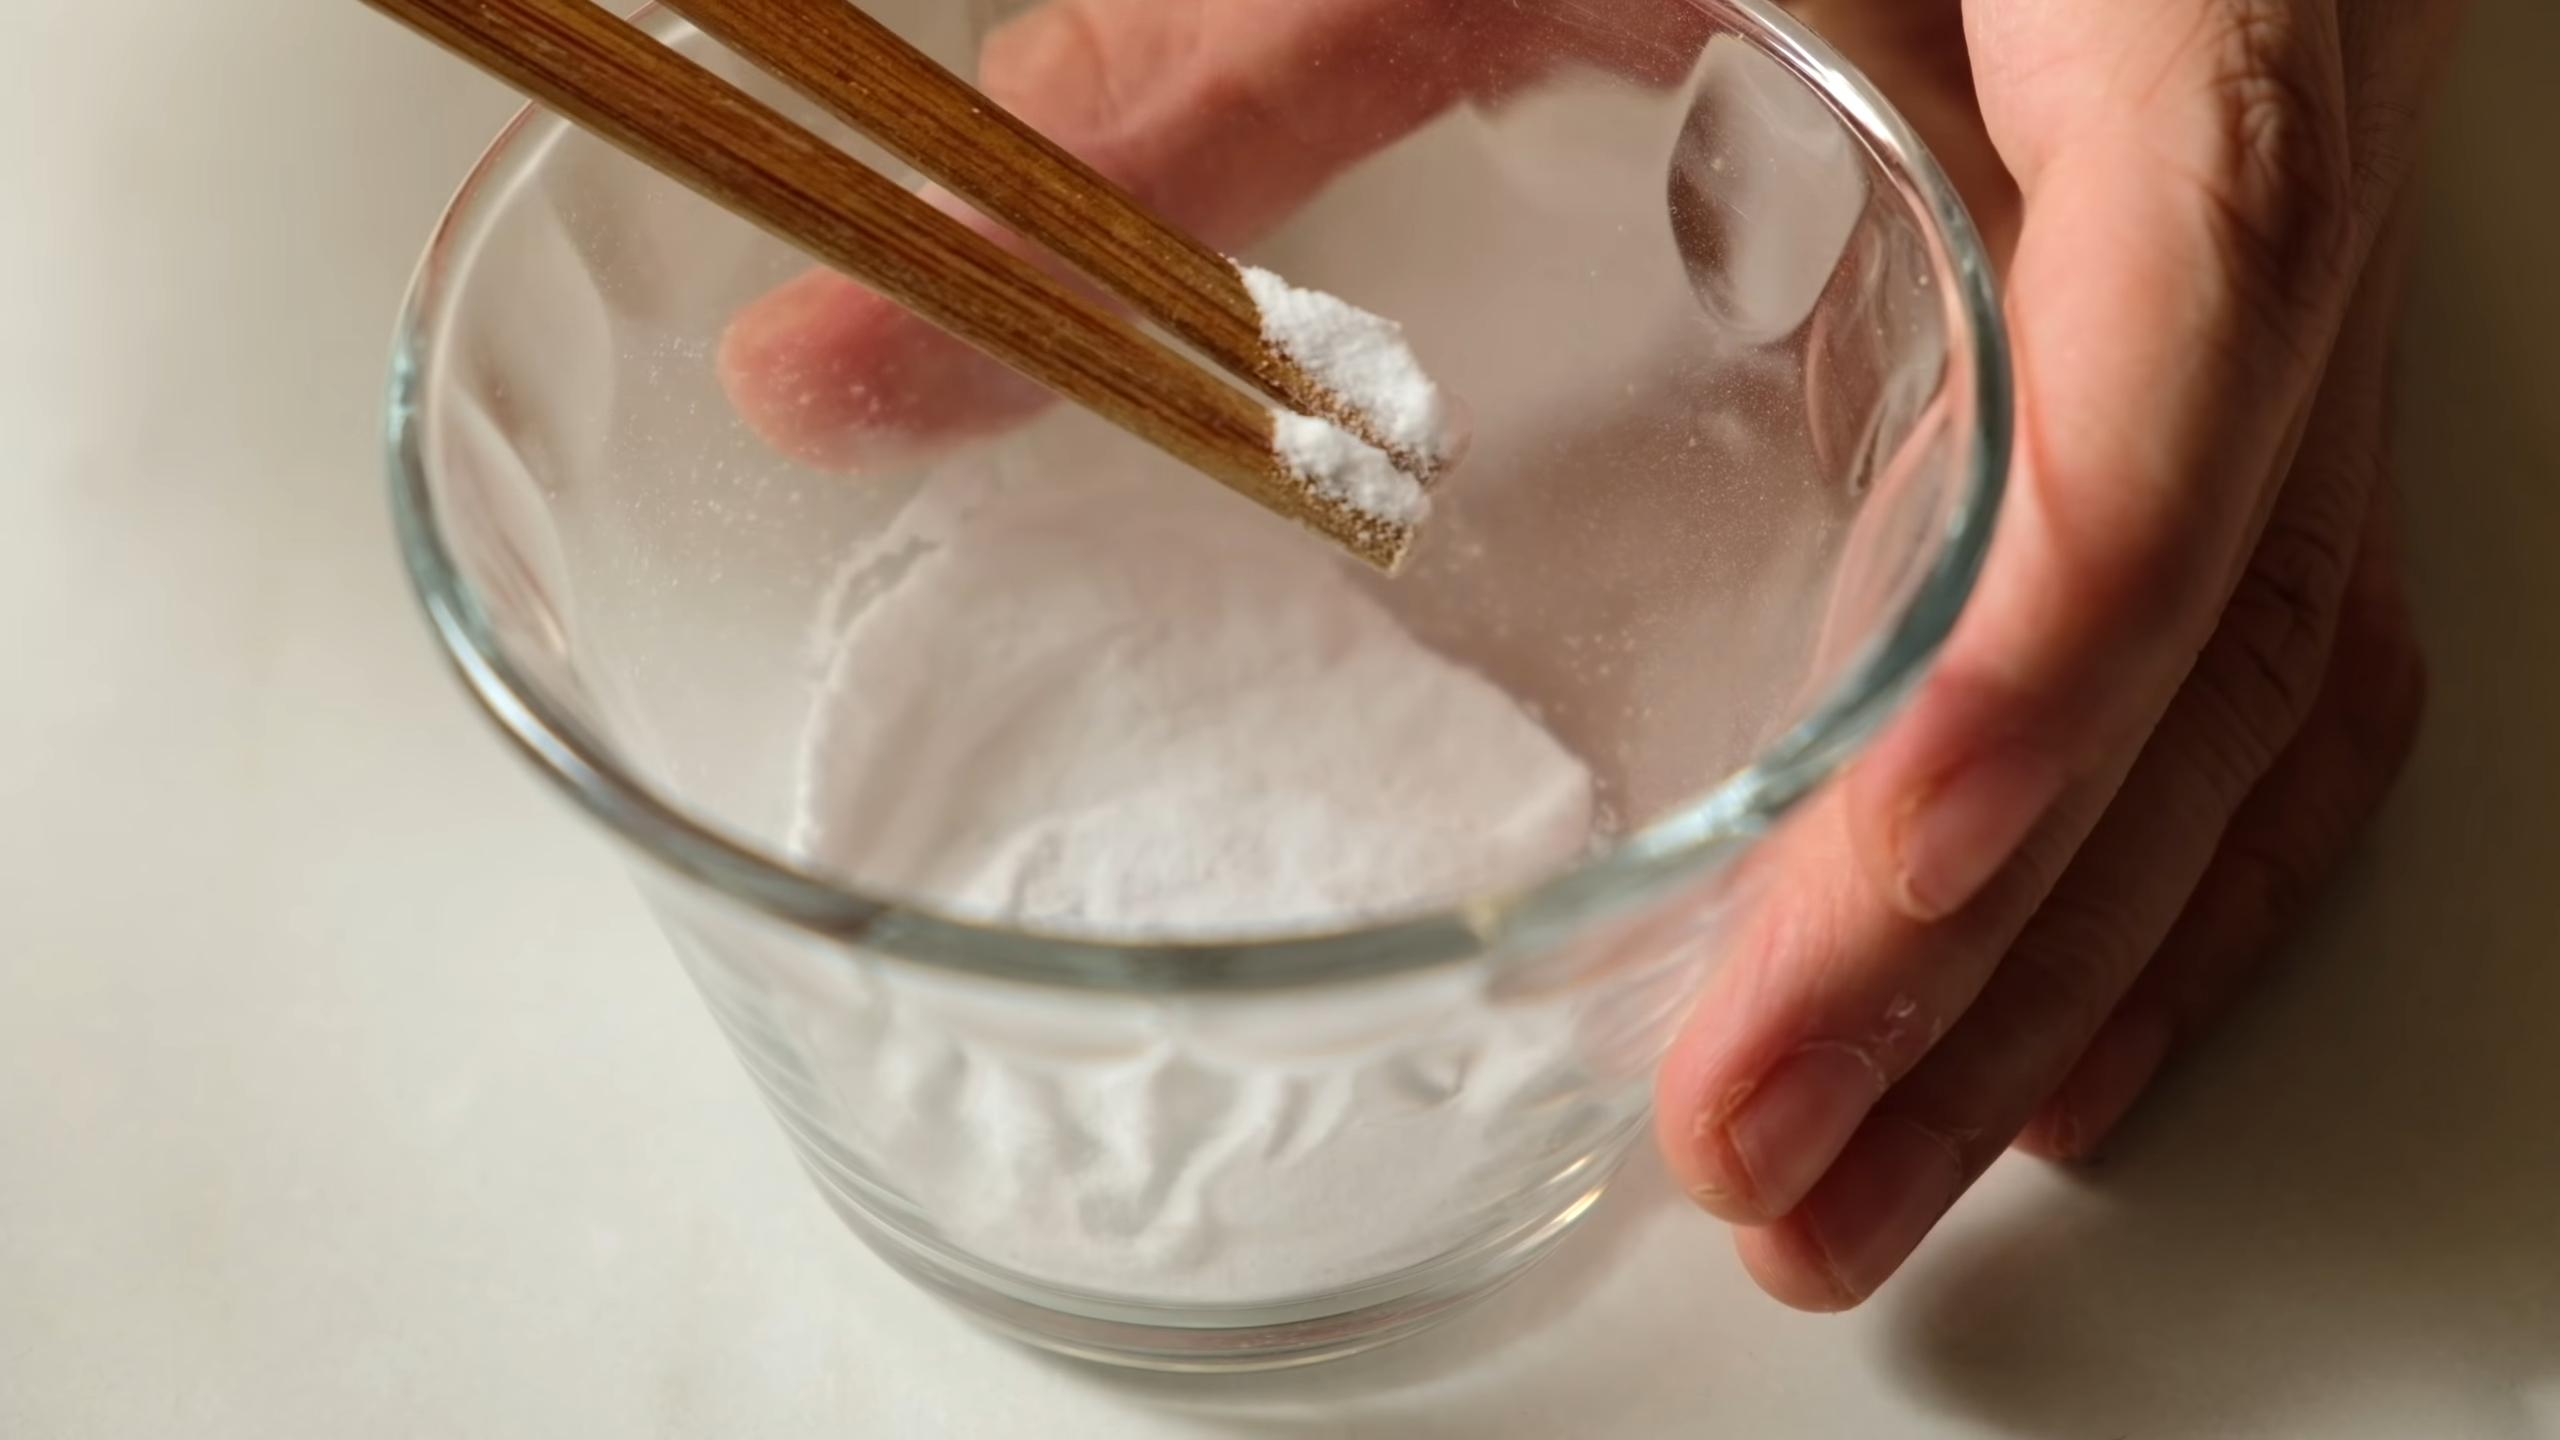
Baking soda is powerful, even in tiny amounts. Adding too much can ruin the candy’s flavor and texture. I always use just a pinch—less than 1/8 teaspoon. Stir it in quickly and evenly. If you see large bubbles forming, you’ve added too much. The candy might taste bitter or look lumpy. Trust me, less is more when it comes to baking soda.
Pro Tip: Measure your baking soda beforehand. This way, you won’t accidentally add too much in the heat of the moment.
Rushing the Shaping Process
Allow the candy to cool slightly before pressing to avoid sticking.
Patience is key when shaping Dalgona candy. Pressing too soon can cause the candy to stick to your tools or lose its shape. I wait about 10 seconds after pouring the mixture onto the surface. This gives it enough time to firm up slightly. When it feels tacky but not too soft, I press it gently with a flat object. If you wait too long, the candy hardens, and shaping becomes impossible.
Helpful Hint: If the candy sticks to your cookie cutter, try dusting the cutter lightly with powdered sugar before pressing.
Avoiding these mistakes makes the process smoother and more enjoyable. With a little practice and patience, you’ll master the art of making Dalgona candy. Ready to move on? Let’s explore some fun ways to personalize your candy!
Fun Ways to Make Your Dalgona Candy Special
Making Dalgona candy is fun, but personal touches make it better. Here are some easy ideas to make your candy stand out.
Try Different Shapes
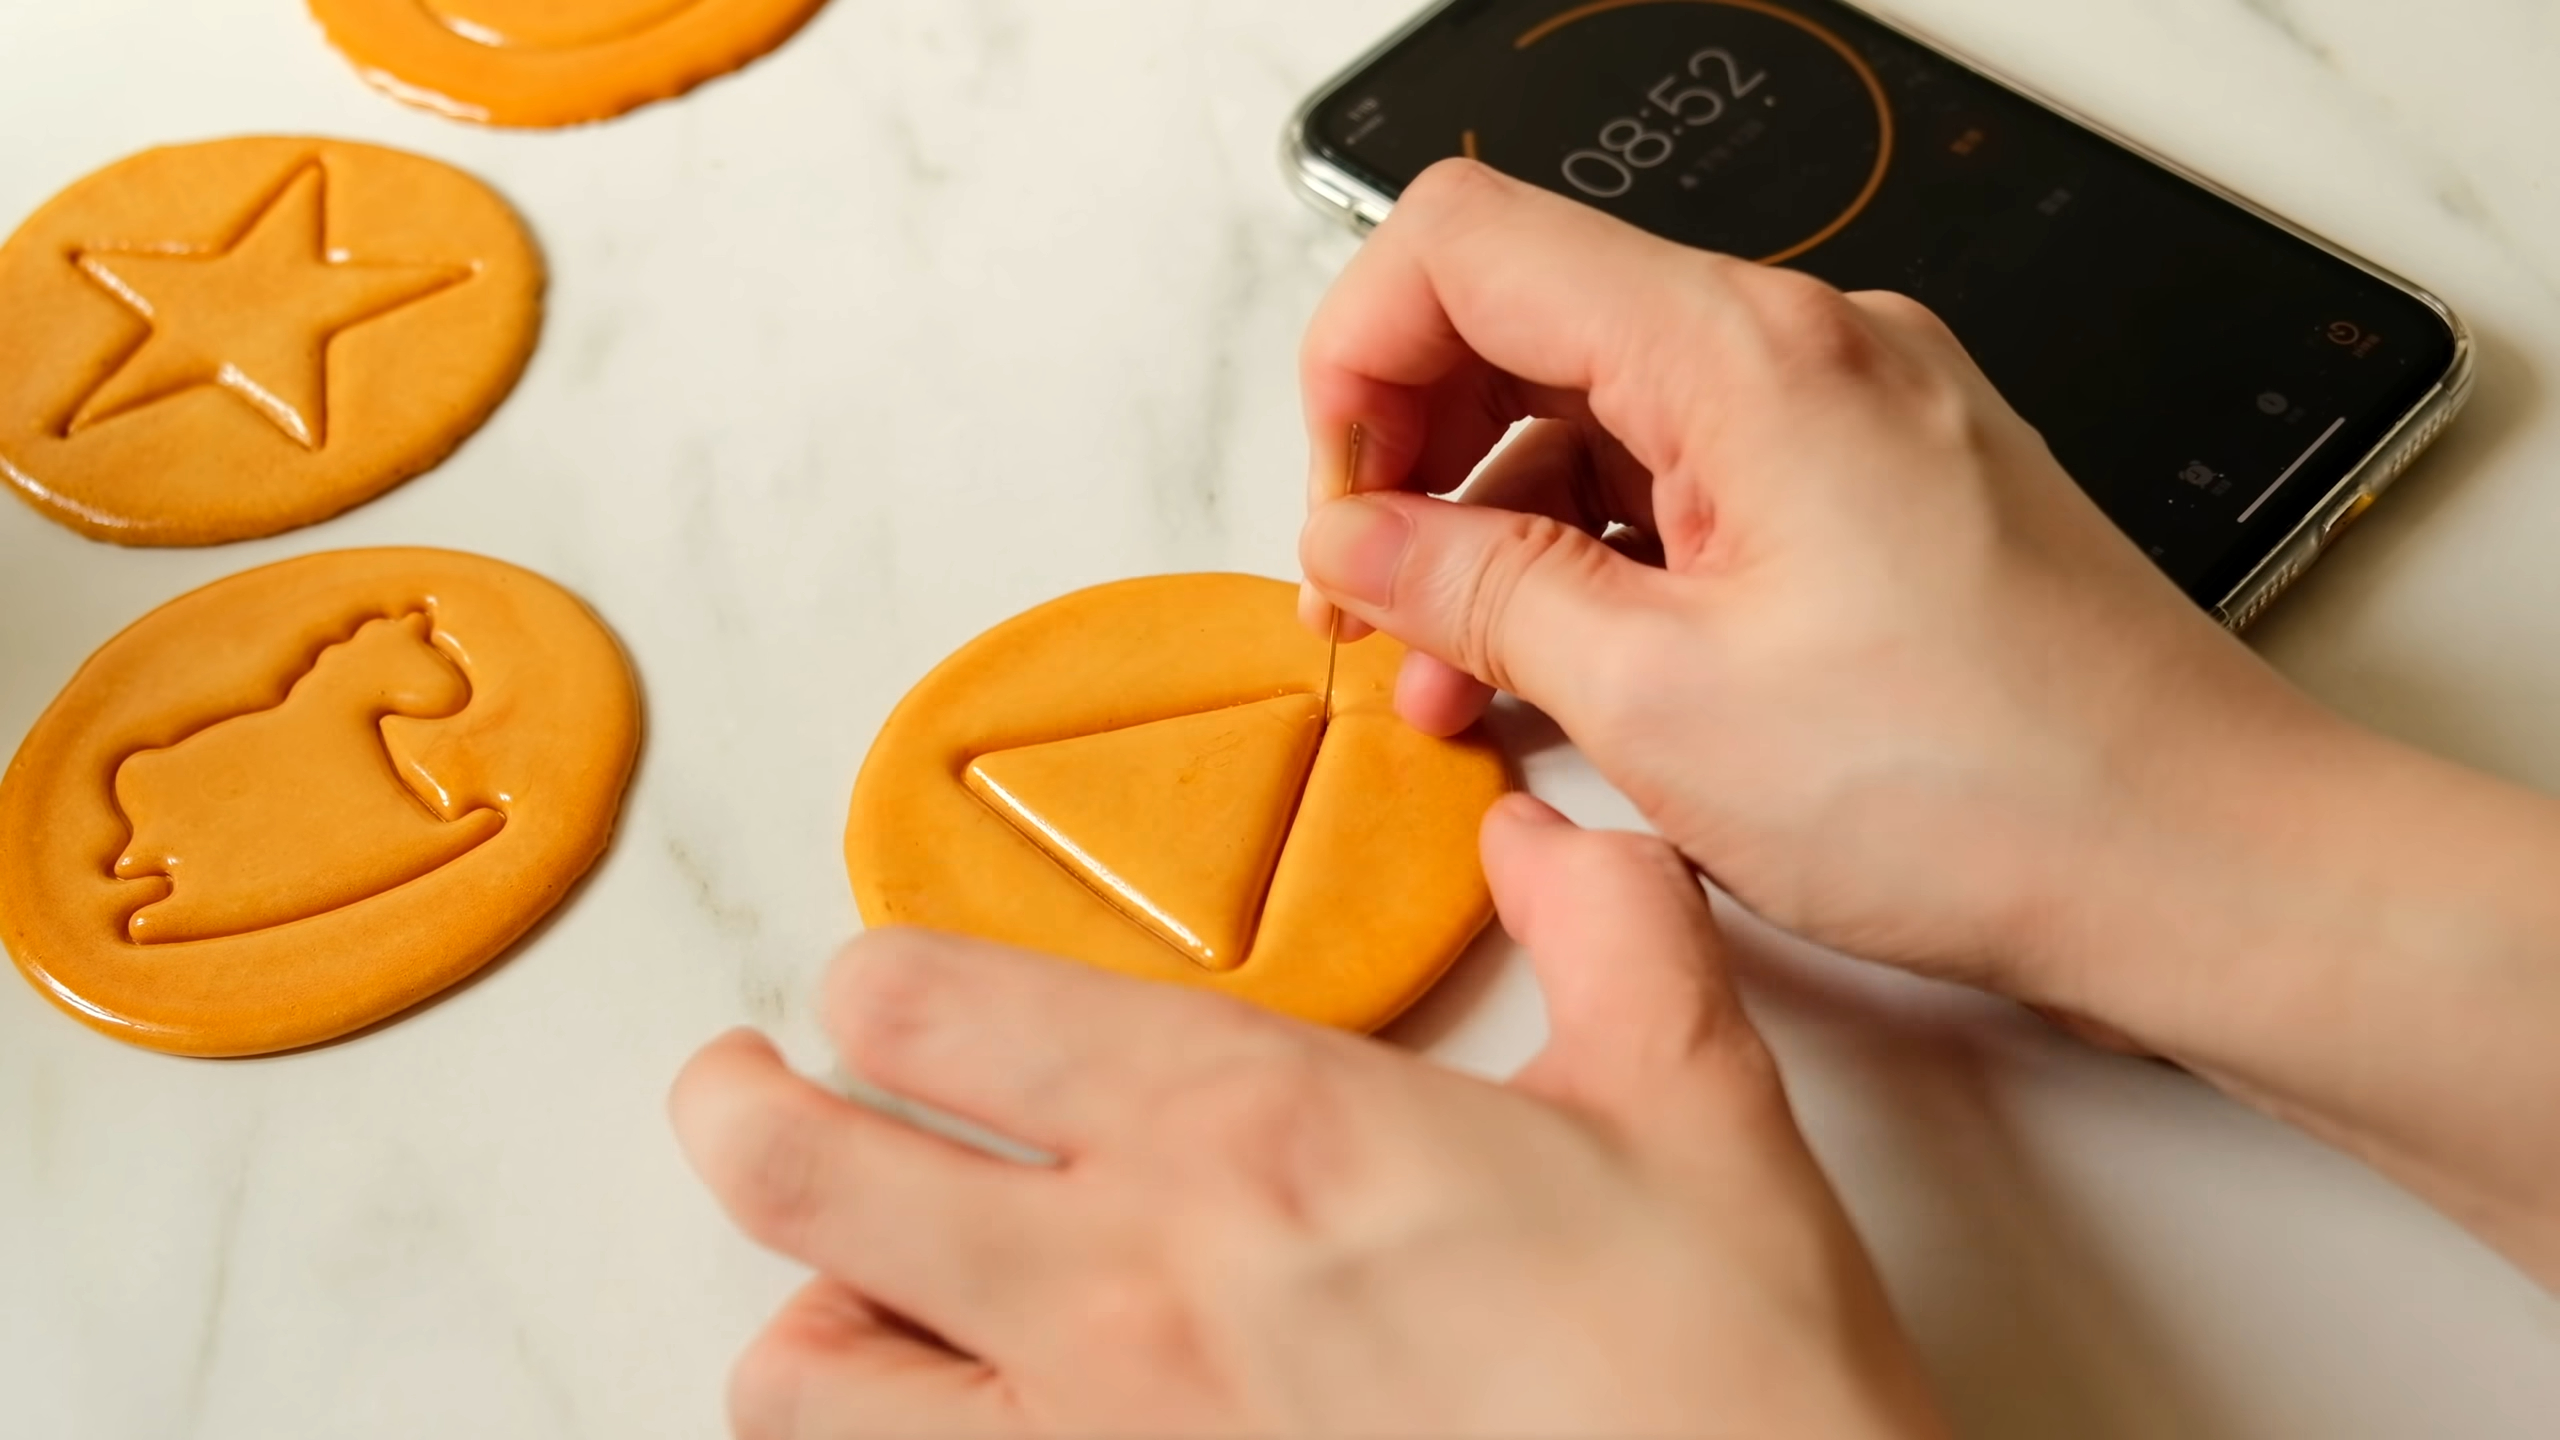
Shapes can change how your candy looks. Use cookie cutters for cool designs. Here are some shape ideas:
-
Stars and Hearts: Simple and cute shapes that beginners will enjoy.
-
Animals: Pick bear, cat, or dinosaur cutters for a fun twist. Kids love these!
-
Seasonal Themes: Snowflakes for winter or pumpkins for fall add charm.
Once, I used a rocking horse cutter for my candy. It was so cute that I didn’t want to eat it! Be creative and try new shapes—you’ll have more fun this way.
Quick Tip: Sprinkle powdered sugar on cookie cutters before using them. This stops the candy from sticking.
Add New Flavors
Traditional Dalgona candy tastes like caramel, but you can add flavors too. Here’s how:
-
Add a pinch of salt: Salt balances the sweetness and makes it tastier. Keep sea salt handy while making candy.
-
Drizzle chocolate: After cooling, pour melted chocolate over the candy for extra flavor.
-
Sprinkle spices: Cinnamon or nutmeg gives a warm holiday taste.
One time, I added crushed nuts before the candy hardened—it was crunchy and delicious! You could also use edible glitter or sprinkles to make it festive.
Helpful Tip: Add toppings like nuts or chocolate quickly before the candy hardens.
Customizing your Dalgona candy is exciting and easy! Whether you’re trying new shapes or flavors, small changes make a big difference. Grab your tools and start creating something amazing!
Storing and Enjoying Your Dalgona Candy
How to Store
Storing your Dalgona candy the right way keeps it fresh and crunchy. I always use an airtight container for this. It prevents moisture from making the candy sticky. Place the candy in a single layer inside the container. If you need to stack them, add a sheet of parchment paper between each layer. This stops them from sticking together. Keep the container in a cool, dry spot, away from direct sunlight. Avoid the fridge, as the humidity can ruin the texture.
Quick Tip: If you live in a humid area, toss a small silica gel packet (the kind you find in snack bags) into the container. It helps absorb extra moisture and keeps the candy crisp.
How to Enjoy
Eating Dalgona candy is as fun as making it. Here are two ways I love to enjoy this sweet treat:
Challenge Yourself
Recreate the famous 'Squid Game' challenge! Grab a needle or toothpick and try cutting out the shape without breaking the candy. It’s harder than it looks, but that’s what makes it exciting. I’ve spent hours trying to perfect my technique. It’s a great activity to do with friends or family. Who can complete the challenge without cracking their candy? Give it a shot and see!
Add It to Drinks
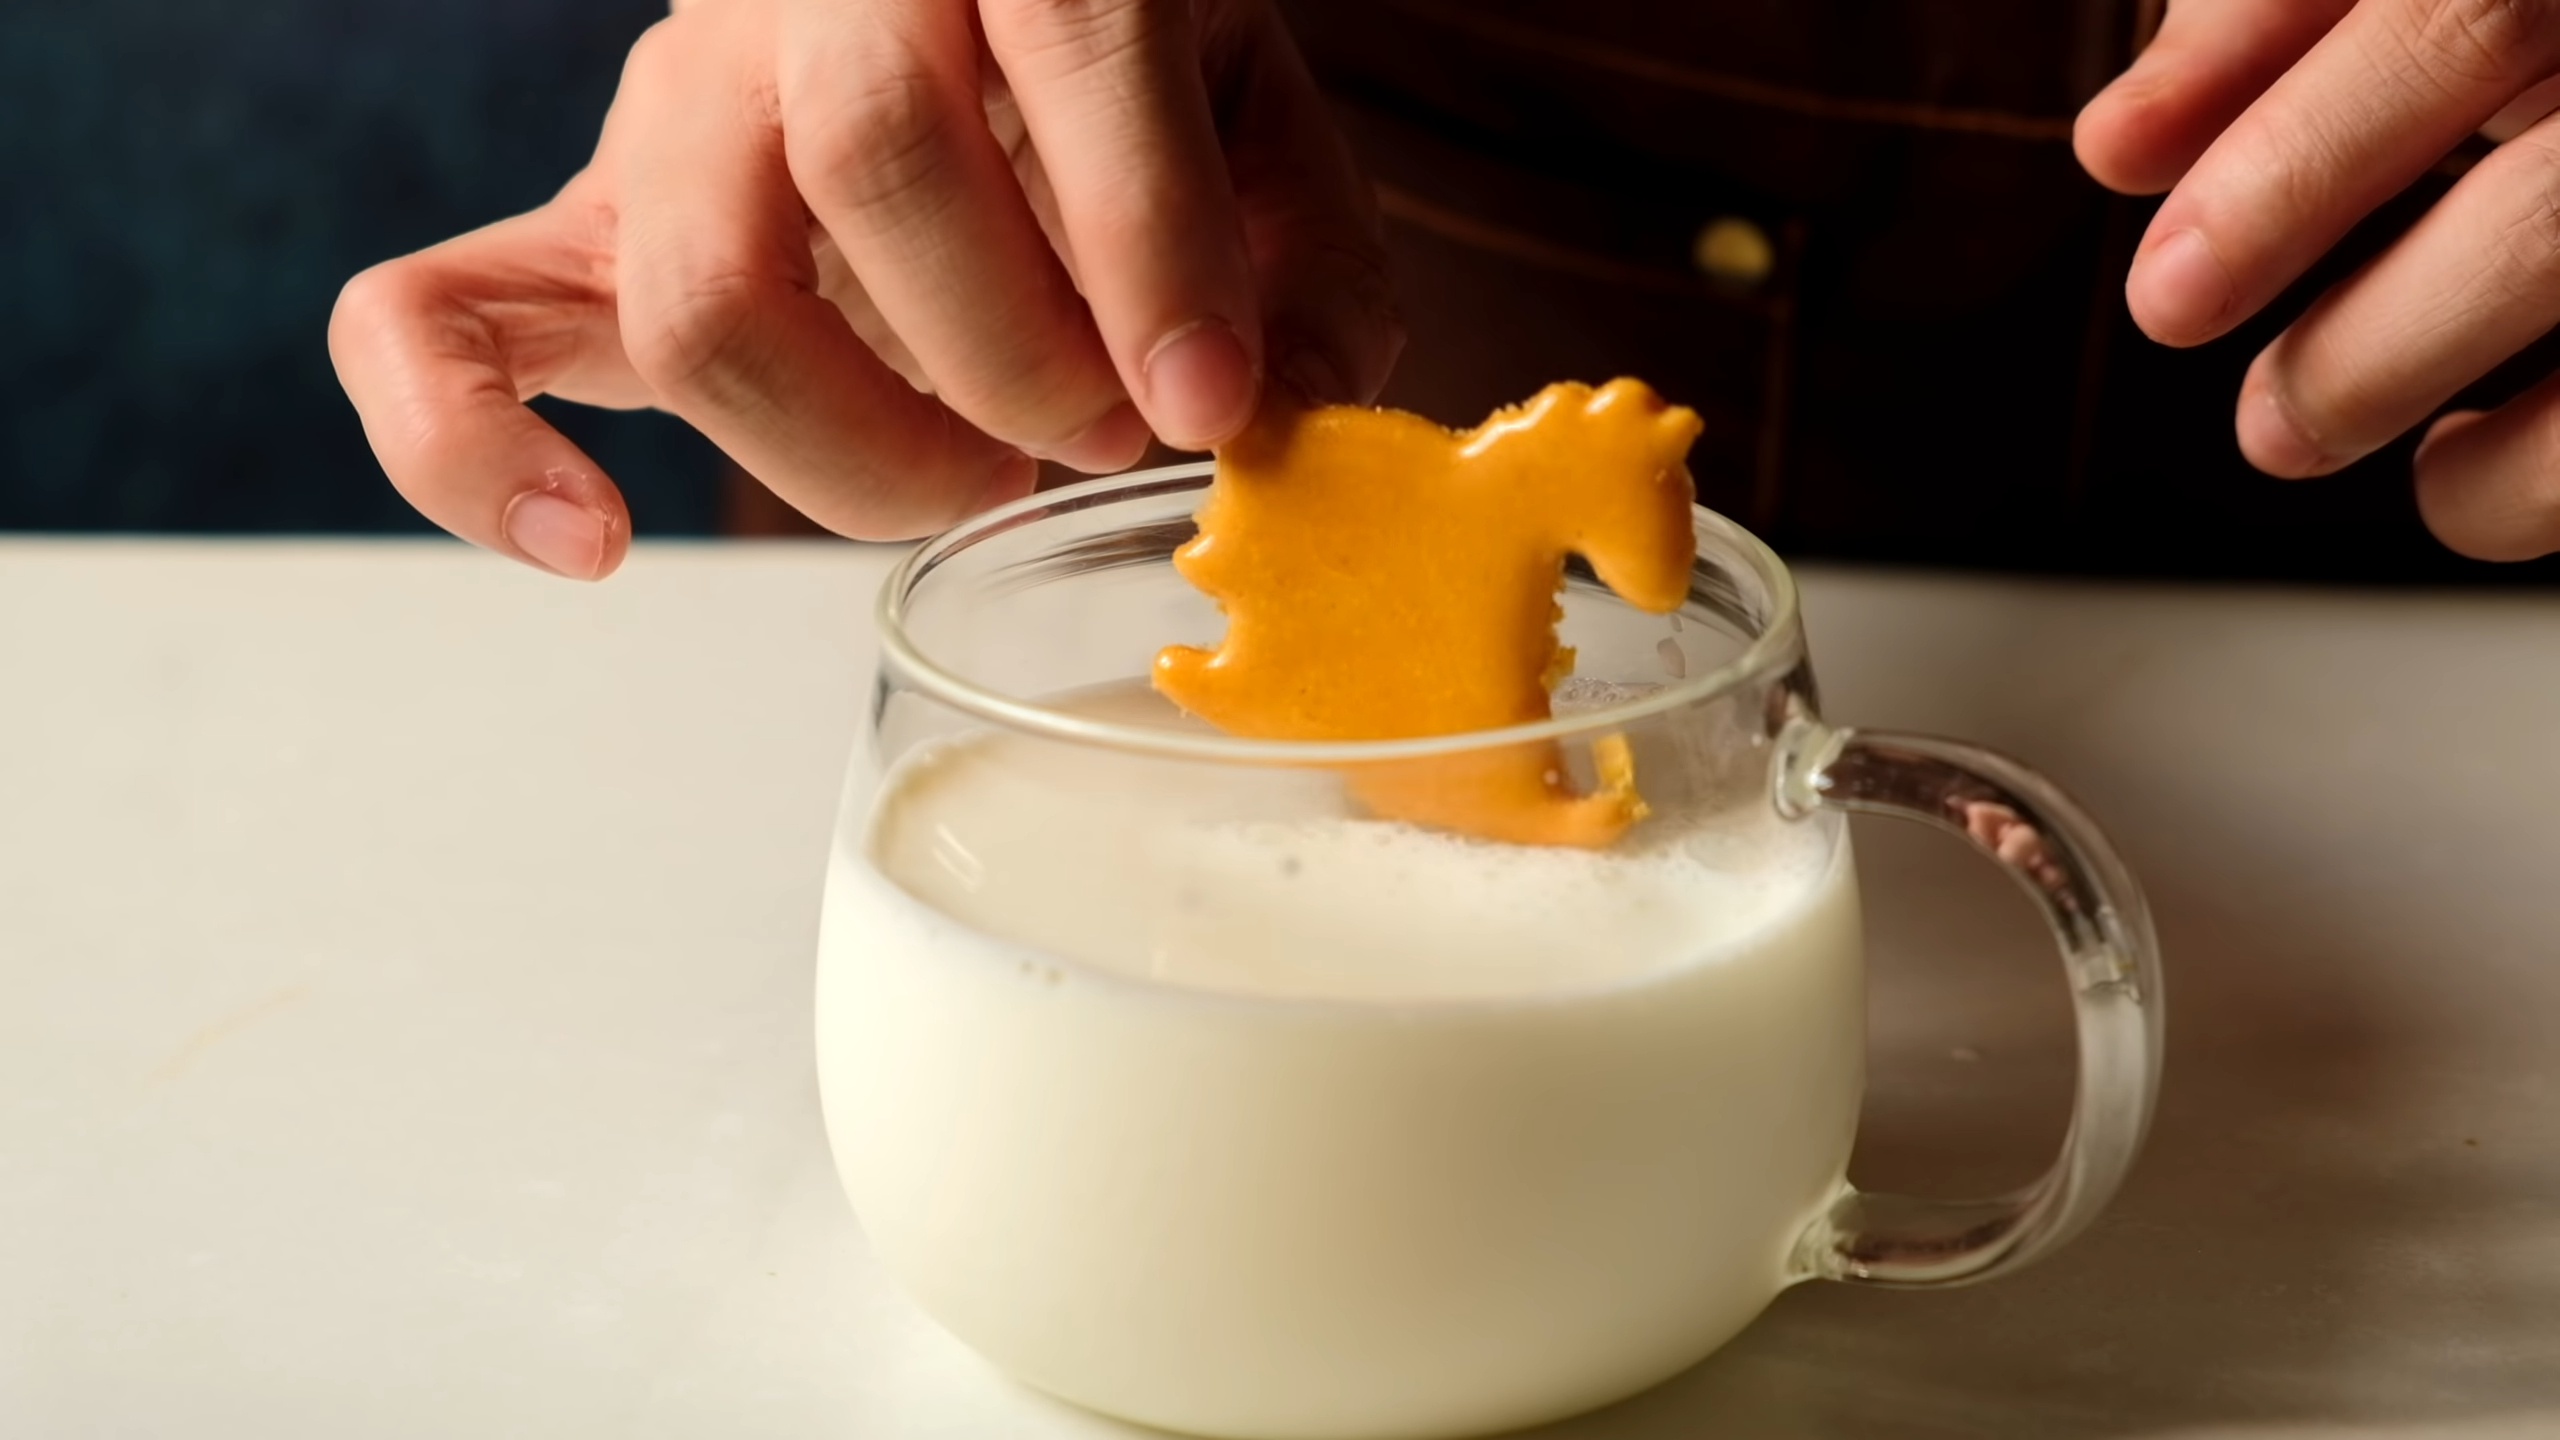
Transform your Dalgona candy into a delicious drink enhancer. Crumble a piece into a glass of warm milk for a caramel-flavored treat. Stir it well, and you’ll get a sweet, creamy drink that’s perfect for cozy evenings. You can also sprinkle the crumbles over your coffee for a unique twist. It melts into the coffee, adding a rich, caramelized sweetness. I’ve even tried it on top of hot chocolate—it’s heavenly!
Pro Tip: Use leftover candy pieces for these ideas. Even broken bits can turn into something amazing.
Whether you’re challenging yourself or adding it to your favorite drinks, Dalgona candy brings joy in every bite. Try both ways and discover your favorite!
Making Dalgona candy at home feels like a small adventure. With just sugar, baking soda, and a few simple tools, you can create a treat that’s both nostalgic and fun. Follow the steps carefully, and you’ll enjoy the process as much as the result. Try experimenting with shapes or adding your own twist to make it unique. Ready to give it a shot? Gather your ingredients, start crafting, and savor the sweet success. Don’t forget to explore our baking tools to make your candy-making journey even smoother. Share your creations and enjoy every bite!
Frequently Asked Questions








Leave a comment