

Double Chocolate Basque Cheesecake, Rich and Creamy Center
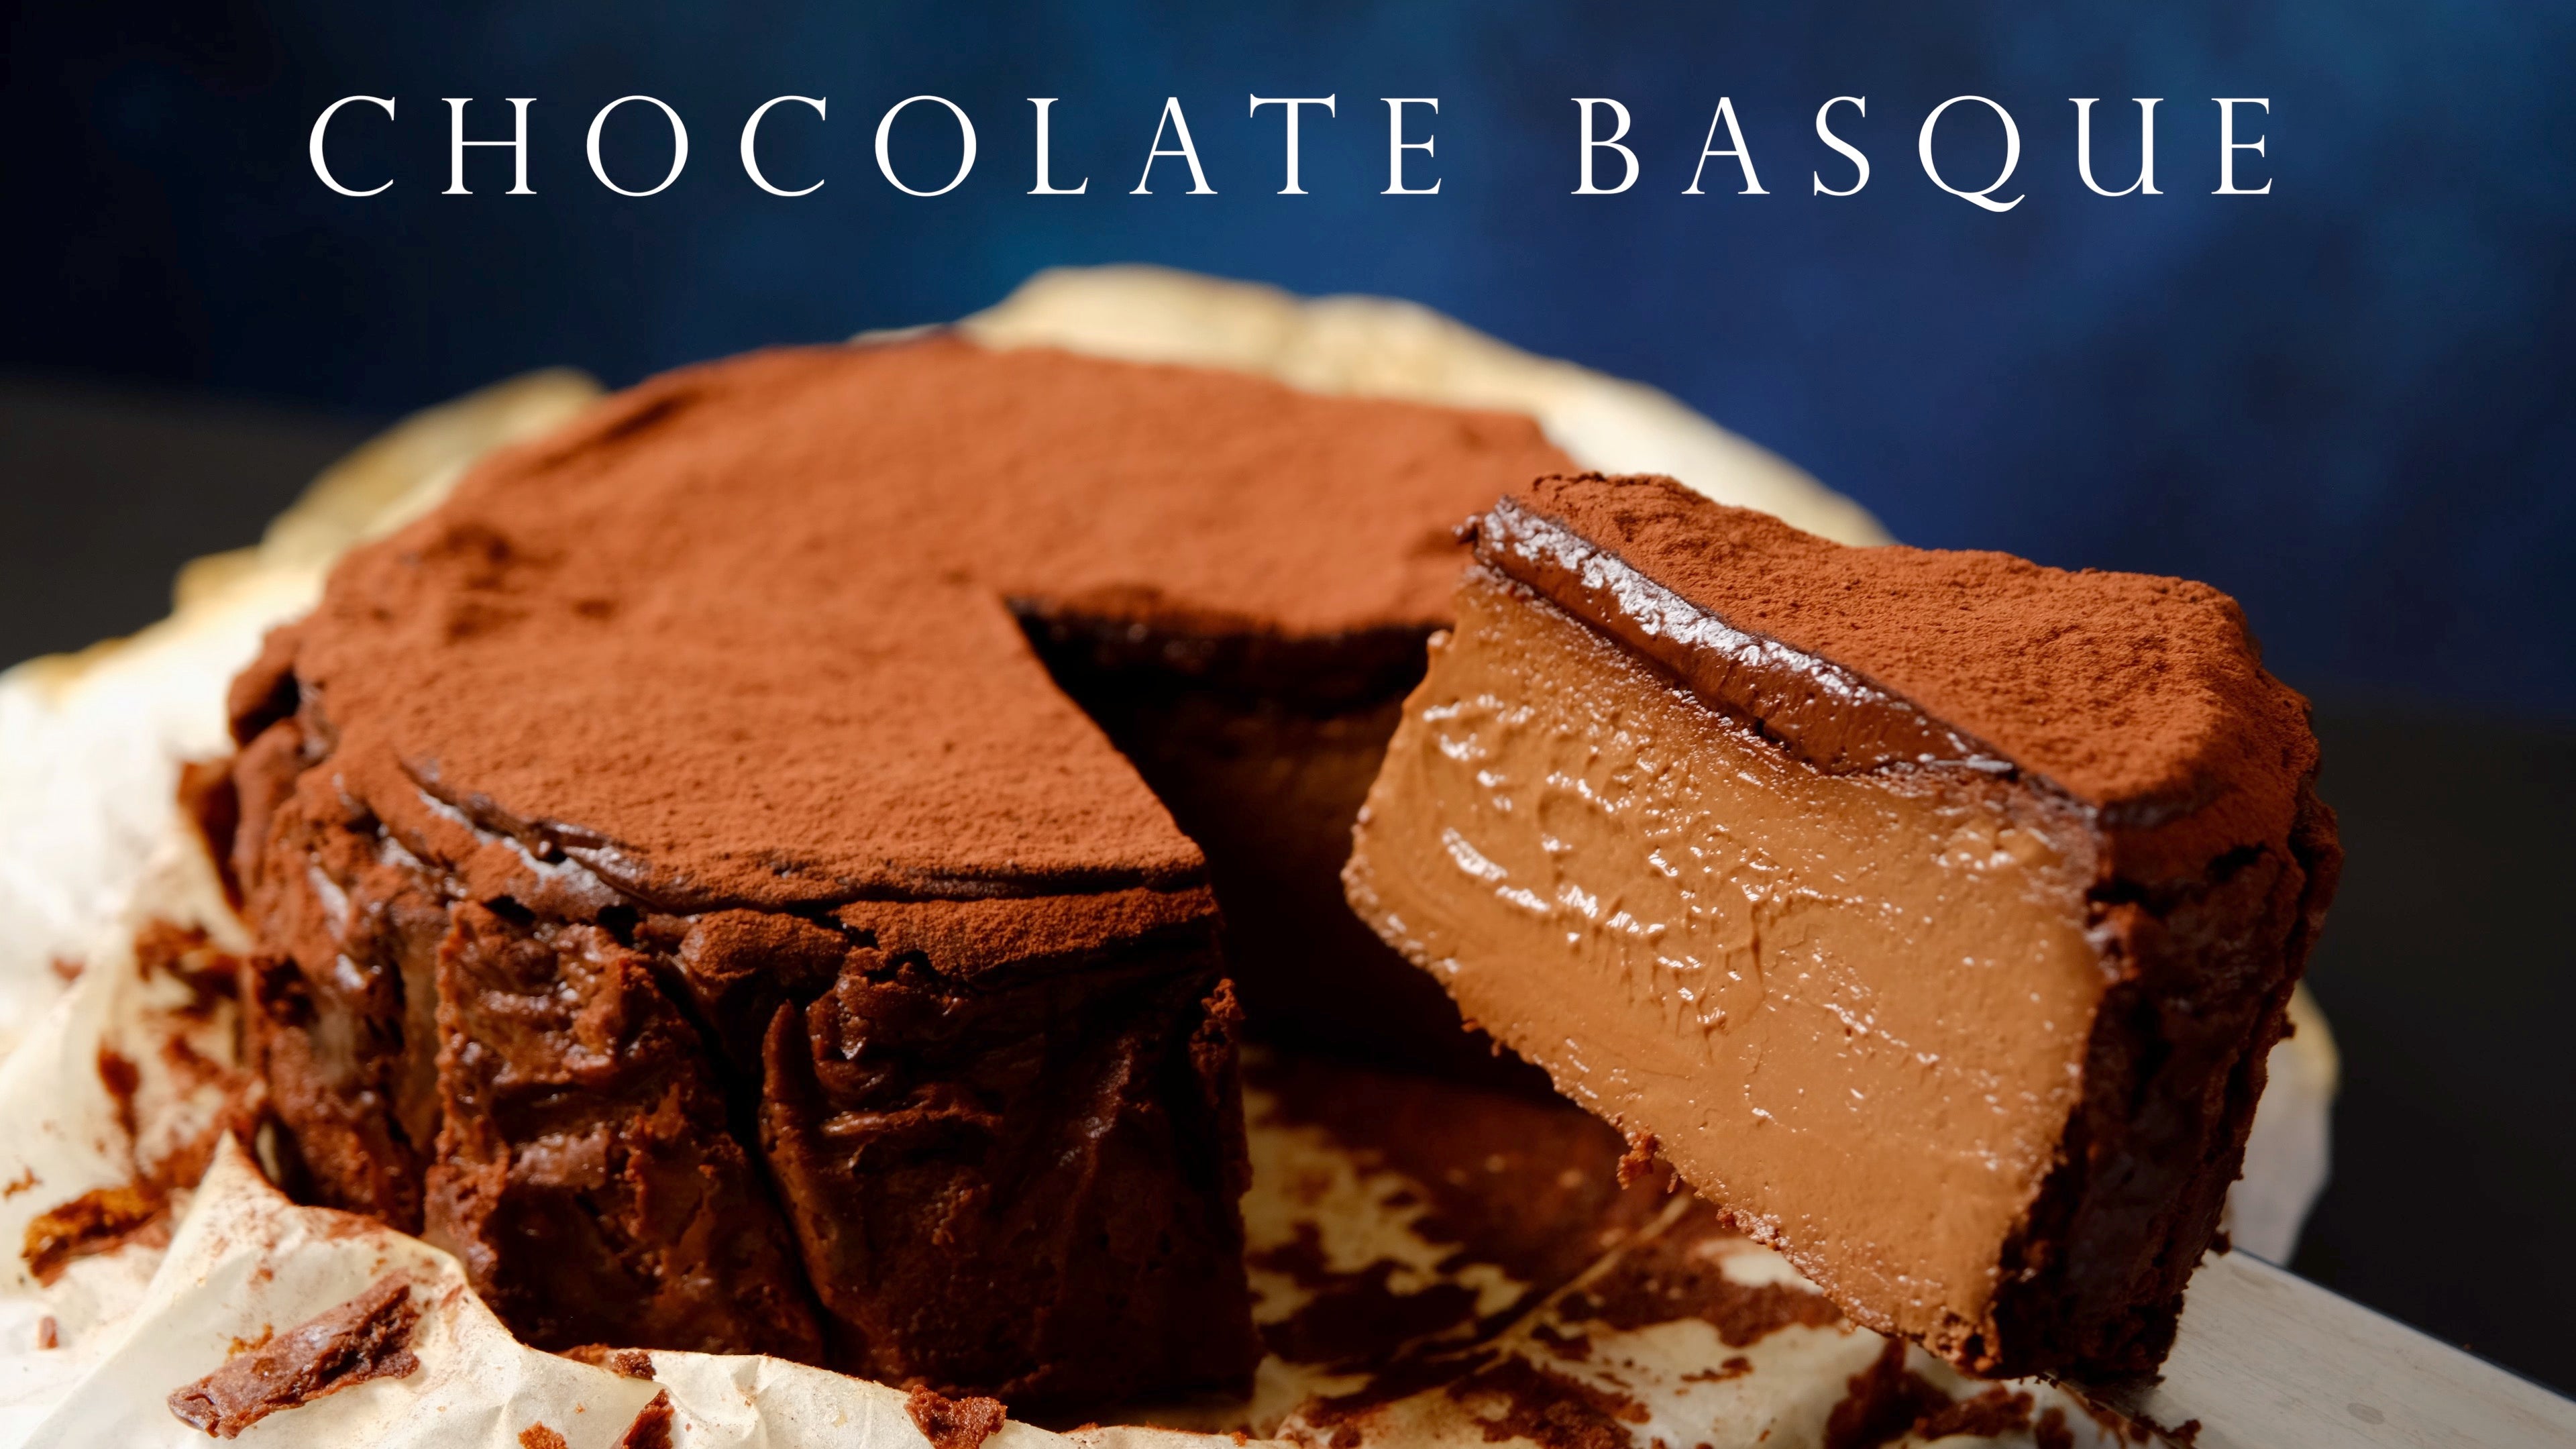
Table of Contents
Double Chocolate Basque Cheesecake
INGREDIENTS
INSTRUCTIONS
If you love chocolate and cheesecake, get ready for your new favorite dessert. This Double Chocolate Basque Cheesecake is a showstopper with its deeply caramelized "burnt" top and lusciously molten center. It’s a twist on the classic Basque burnt cheesecake (the famous crustless cheesecake from Spain’s Basque Country) – but double chocolate for extra indulgence. Imagine a rich dark chocolate cheesecake batter baked at high heat until the top turns deep amber and the interior stays silky soft and almost lava-like. Each bite melts in your mouth like a cross between a chocolate truffle and the creamiest cheesecake. And the best part? This impressive dessert is surprisingly easy to make – no water bath, no crust, and no complicated steps!
In this post, I’ll walk you through how to make this decadent chocolate Basque cheesecake step by step. We’ll cover all the details – from getting that perfect jiggly center to tips on pan sizes and troubleshooting – so you can achieve bakery-worthy results at home. I’ve also included an FAQ and conversion notes (like how to adjust for different pan sizes) to set you up for success. Let’s bake this irresistible molten-center Basque cheesecake and watch it disappear at your next gathering!
Ingredients You’ll Need (and Why)
This recipe uses just a handful of ingredients. Each one plays an important role in texture or flavor. Make sure to use room temperature ingredients (eggs, cream cheese) for a smooth batter.
-
Dark Chocolate (黑巧克力) – Provides the rich chocolate flavor in our cheesecake. I use 70% cacao dark chocolate, which gives a deep chocolate taste without too much sweetness. Chop the chocolate so it melts evenly. If you use a higher percentage (more bitter) or lower percentage (sweeter) chocolate, you can adjust the sugar accordingly. For example, very bitter 85% chocolate might need a bit more sugar, while semi-sweet 50-60% could have a little less.
-
Heavy Cream (淡奶油) – Also known as whipping cream (36-38% fat). This adds moisture and creaminess to the batter, and it’s used again for the ganache topping. When combined with chocolate, it creates a ganache that makes the cheesecake extra silky. Tip: Warm cream helps melt the chocolate gently; just be careful not to overheat it (more on that below).
-
Cream Cheese (奶油奶酪) – The star of any cheesecake. Use full-fat cream cheese, softened to room temperature. It provides the creamy, tangy backbone of the cake. Softening it ensures a smooth mixture with no lumps. If your cream cheese is a bit old or clumpy, don’t worry – you can blend the batter (as I did) to smooth it out.
-
Brown Sugar (黑糖) – Adds sweetness and a hint of molasses depth to complement the chocolate. The slight caramel flavor of brown sugar enriches the cheesecake’s taste. We use 60g (about 1/4 cup). If you don’t have brown sugar, you can replace it with regular white sugar (for a total of ~90g white sugar), but I love the aroma brown sugar brings.
-
Granulated Sugar (砂糖) – We use a smaller amount (30g, ~2 tablespoons) of white sugar in combination with brown sugar. Granulated sugar sweetens the cheesecake and helps achieve that beautifully caramelized top. The blend of sugars gives a balanced sweetness – not too sugary, to let the chocolate shine.
-
Eggs (全蛋) – Three large whole eggs bind everything together and give the cheesecake structure. Eggs also contribute to that custardy, silky texture in the center. Make sure your eggs are at room temperature before mixing (cold eggs can cause the batter to curdle or the chocolate to seize when combined). Add them one at a time for easier blending.
-
Unsweetened Cocoa Powder (防潮可可粉) – This is for dusting the finished cake, as a final touch. I use a moisture-resistant cocoa powder for dusting, which means it won’t readily absorb moisture or fats, so it stays visibly powdery on the cake. This keeps the top looking beautiful (regular cocoa can darken or disappear as it sits). If you don’t have moisture-resistant cocoa, you can dust with normal unsweetened cocoa right before serving for a similar look.
Instructions
-
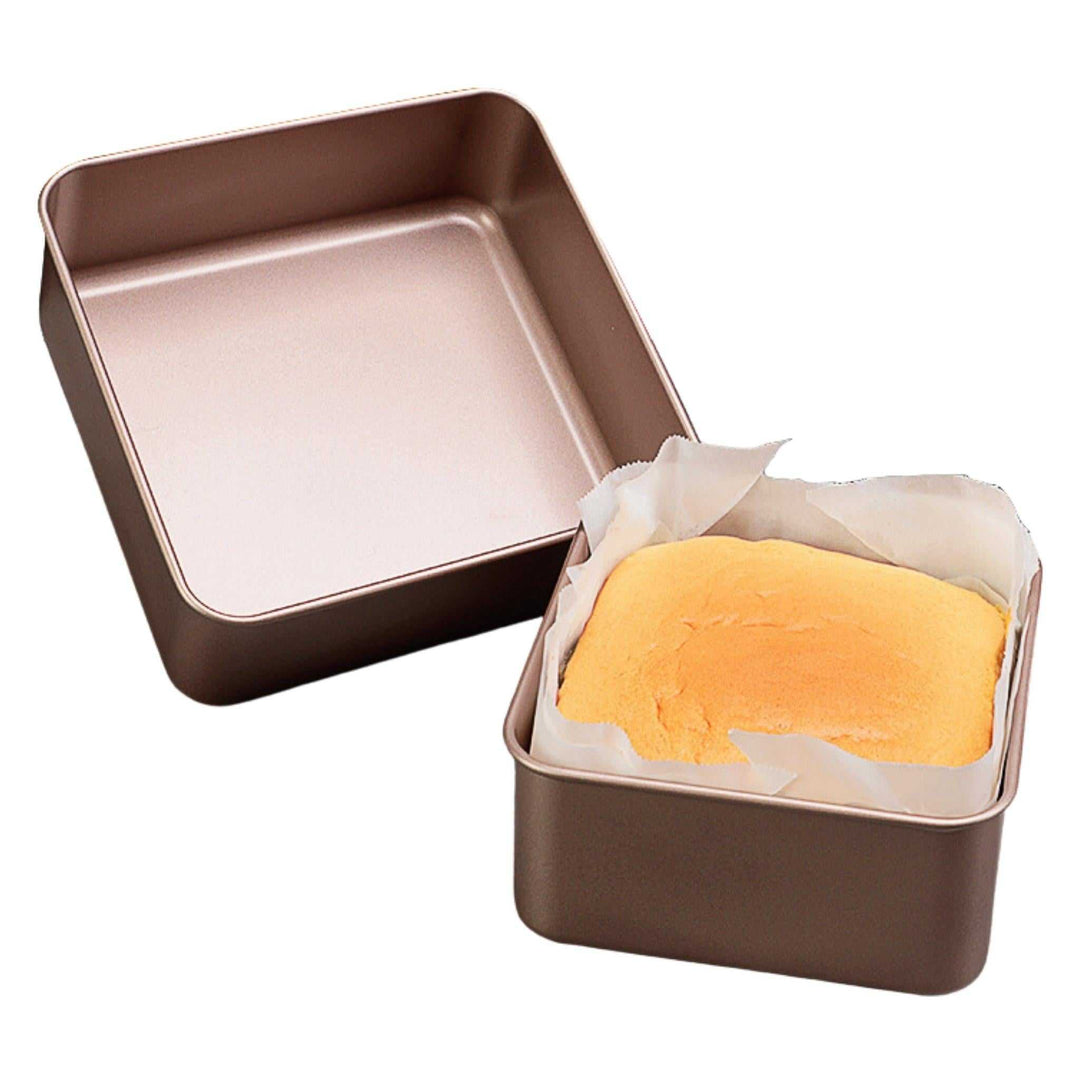
Prep: Preheat your oven to 220 °C (430 °F). Position a rack in the middle of the oven. Line a 6-inch round cake pan with parchment paper, as described above. Ensure all your ingredients (especially cream cheese and eggs) are at room temperature before beginning for a smooth batter.
-
Melt Chocolate and Cream: In a microwave-safe bowl (or a heatproof bowl set over a simmering water bath), combine 130 g chopped dark chocolate and 200 g heavy cream. Gently heat until the chocolate is mostly melted. If using a microwave, do this in 10-15 second bursts, stirring between each burst. Do not overheat – the mixture should be warm (around 45–50 °C) but not scorching. When the chocolate has just melted, remove from heat and stir until you have a smooth, shiny chocolate-cream mixture (a basic ganache). Set it aside to cool slightly while you prepare the rest of the batter. (Keeping it below 50 °C prevents the cocoa butter from separating – if it overheats, you might see oiliness or grainy texture.)
-
Mix Cream Cheese and Sugars: In a large mixing bowl, place 250 g softened cream cheese, 60 g brown sugar, and 30 g granulated sugar. Warm the mixture slightly to help soften (you can microwave the bowl for about 20-30 seconds, or place the bowl over a pot of warm water). Now, using a whisk or hand mixer, beat the cream cheese and sugars together until absolutely smooth and creamy, with no lumps. Scrape down the sides of the bowl as needed. The sugar will help break up the cream cheese and the mixture will become a pliable paste.
-
Add Eggs Gradually: Add the eggs one at a time to the cream cheese mixture. Crack in the first egg and whisk until fully incorporated and smooth. Then add the second egg, mix well, and then the third egg. Incorporating eggs one by one helps maintain a smooth batter (it prevents the mixture from curdling or becoming too liquid all at once). After all 3 eggs are mixed in, you should have a silky, pourable batter. Tip: If at this point you notice any stubborn lumps of cream cheese, you can use an immersion blender to blend the mixture until smooth. Otherwise, a vigorous whisking by hand or using an electric mixer on low should do the job.
-
Combine with Chocolate Mixture: Now take your slightly cooled chocolate-cream ganache from step 2. It should still be fluid and warm (but not hot to the touch). Pour the chocolate mixture into the cream cheese batter. Whisk or fold gently until everything is evenly combined, yielding a uniform chocolate batter. Make sure to scrape the bottom of the bowl to mix in any heavier cream cheese that might have settled. You want a consistent color and texture with no streaks. The batter will be fairly thin – this is normal.
-
Strain for Smoothness: For the silkiest texture, place a fine mesh sieve over another bowl or pour spout jug, and pour the batter through the sieve. Use a spatula to help press the batter through if needed. This catches any tiny bits of unmelted chocolate, egg chalaza, or cream cheese lumps, resulting in an ultra-smooth custard batter. (This step is optional but highly recommended for that dreamy, smooth cheesecake consistency.)
-
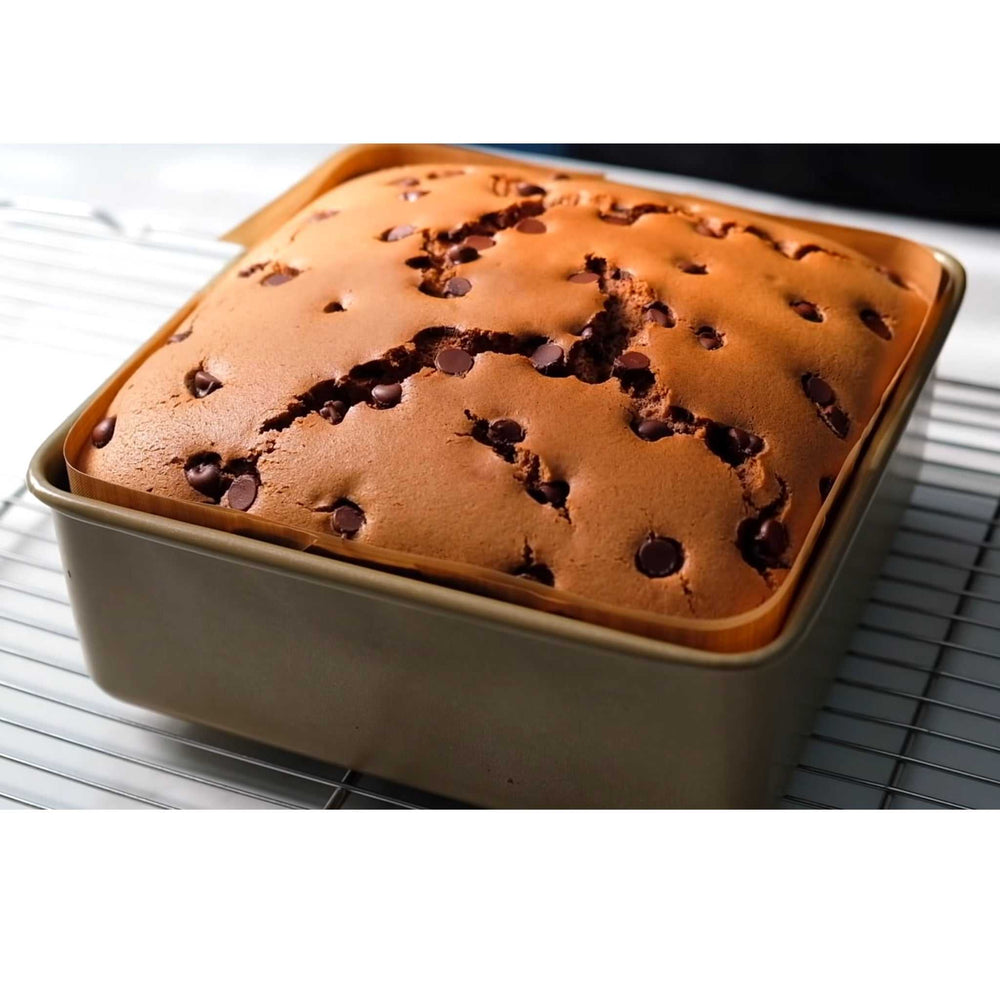
Pan and Batter Handling: Pour the strained batter into your prepared parchment-lined pan. It will come fairly high up in a 6-inch pan (that’s okay – it’s supposed to be a tall cheesecake). Give the pan a few gentle taps on the countertop to bring any air bubbles to the surface. If you see bubbles on top, take a toothpick or skewer and lightly swirl it through the batter to pop them. This helps prevent large air pockets or unsightly holes in the finished cake. Optional: Let the filled pan sit for 5 minutes to allow the batter to settle and more bubbles to rise (pop any that appear).
-
Bake (High Heat): Place the cheesecake in the preheated 220 °C (430 °F) oven on the center rack. Bake for 18–20 minutes. You do not need a water bath – we want high heat. Do not open the oven door during baking, to maintain the temperature. Around the 18-minute mark, check for doneness: the top should be dark brown (a deep amber, chestnut brown or even slightly blackened in spots) – this looks “burnt” but that’s correct for Basque cheesecake. The center of the cake will still jiggle noticeably when you gently shake the pan; the edges will be set about 1.5–2 inches from the sides. If it’s very wobbly across the whole cake, give it another minute or two, but be careful: do not overbake if you want a molten core. Tip: Everyone’s oven can differ, so start checking at 18 minutes. In my oven, 20 minutes gave a perfect gooey center; at 22 minutes, my center was less lava-like than I wanted. The goal is a slight jiggle in the middle – like set Jell-O – not liquid slosh, but definitely not solid.
-
Cool Down: Remove the cheesecake from the oven. It will be puffed up and jiggly. Don’t worry if it looks a bit undone in the center – it will continue to set as it cools. Let the cake cool at room temperature for about an hour. It will deflate a little and the top might wrinkle – that’s normal. Once it’s just a bit warm (not hot), transfer it to the refrigerator. Chill the cheesecake in the pan for at least 4 hours (or overnight). Chilling is crucial for it to fully set to a sliceable consistency. The center will turn from liquid to a thick, truffly creamy texture after chilling.
-
Remove from Pan: After the cheesecake is thoroughly chilled and firm, it’s time to take it out. Gently unlatch your springform or, if using a removable-bottom pan, push up from the bottom. Peel away the parchment paper from the sides to reveal the beautifully rustic edges. (If the parchment is stuck to the cake sides due to caramelized sugar, do this slowly to avoid tearing the cake.) You can leave the parchment on the bottom for serving or carefully run a spatula underneath to move the cake onto a serving plate. Note: A well-chilled Basque cheesecake is quite sturdy and won’t collapse – but handle it with care to avoid cracking the top.
-
Make the Ganache Topping: In a small bowl, combine 50 g chopped dark chocolate with 50 g heavy cream. Gently heat this mixture (again, microwave in 10-second bursts or over a simmering water bath) until the chocolate just melts. Stir until completely smooth. You’ve made a quick chocolate ganache. Let it cool for a minute or two – you want it warm and pourable, but not piping hot (so it doesn’t melt the cheesecake surface).
-
Top the Cheesecake: Take the chilled cheesecake out of the fridge and immediately pour the warm ganache over the top of the cold cheesecake. Because the cake is cold, the ganache will start to set almost instantly, creating a thick glossy layer of chocolate. Use an offset spatula or the back of a spoon to spread the ganache evenly to the edges of the cake. You can let some drip down the sides, or keep it all on top – up to you. The contrast of the dark ganache and the lighter burnt edges looks lovely.
-
Finish and Serve: While the ganache is still a bit soft, dust the top of the cake with a thin layer of unsweetened cocoa powder. If you have moisture-resistant cocoa, even better, as it will stay looking dry and velvety. This final dusting gives a nice matte look and extra chocolate aroma. To slice, heat a sharp knife by running it under hot water or dipping in boiling water, then wipe it dry. Cut the cheesecake with the warm knife (this prevents the ganache from cracking and gives clean cuts), wiping the blade clean between slices. You’ll reveal the gorgeous creamy center of the cheesecake with each cut. Enjoy the cheesecake cold for a truffle-like texture, or let slices sit at room temp for 10–15 minutes if you want the center even softer and gooier. Each bite is ultra-smooth, rich in chocolate, with a hint of cheesy tang and caramelized sugar – absolutely heavenly!
Support & Thanks
I hope you enjoy this Double Chocolate Basque Cheesecake as much as I do. If you found this recipe helpful, don’t forget to save it or share it with fellow bakers! Your support helps this blog grow. You can also support my work by buying me a coffee on Ko-fi – it’s a lovely way to help me create more recipes. Thank you for reading and baking along. 💕 Happy baking!
(P.S. I’ve listed some of the tools and ingredients used in this recipe on my Kit.co page for easy reference, and you can find quality baking pans and more on my online shop.)
Thank you for reading along and baking with me. ❤️ I can’t wait to hear how your cheesecake turns out – let me know in the comments if you made it, or if you have any creative twists. And if you loved it, please share this recipe with fellow dessert enthusiasts. Until next time, happy baking and enjoy every decadent bite of your homemade Basque cheesecake!
Frequently Asked Questions


Ottime spiegazioni, ho un chiarimento. Come verificare il colore scuro, essendo il preparato già scuro di suo( presenza del cioccolato) può essere opportuno conoscere la temperatura al centro del dolce, con un termometro. Questo darebbe la certezza, di essere precisi nella cottura con un interno morbido. Lina, grazie
코멘트를 남겨주세요