

Japanese Soufflé Pancake Recipe (Castella Pancake)
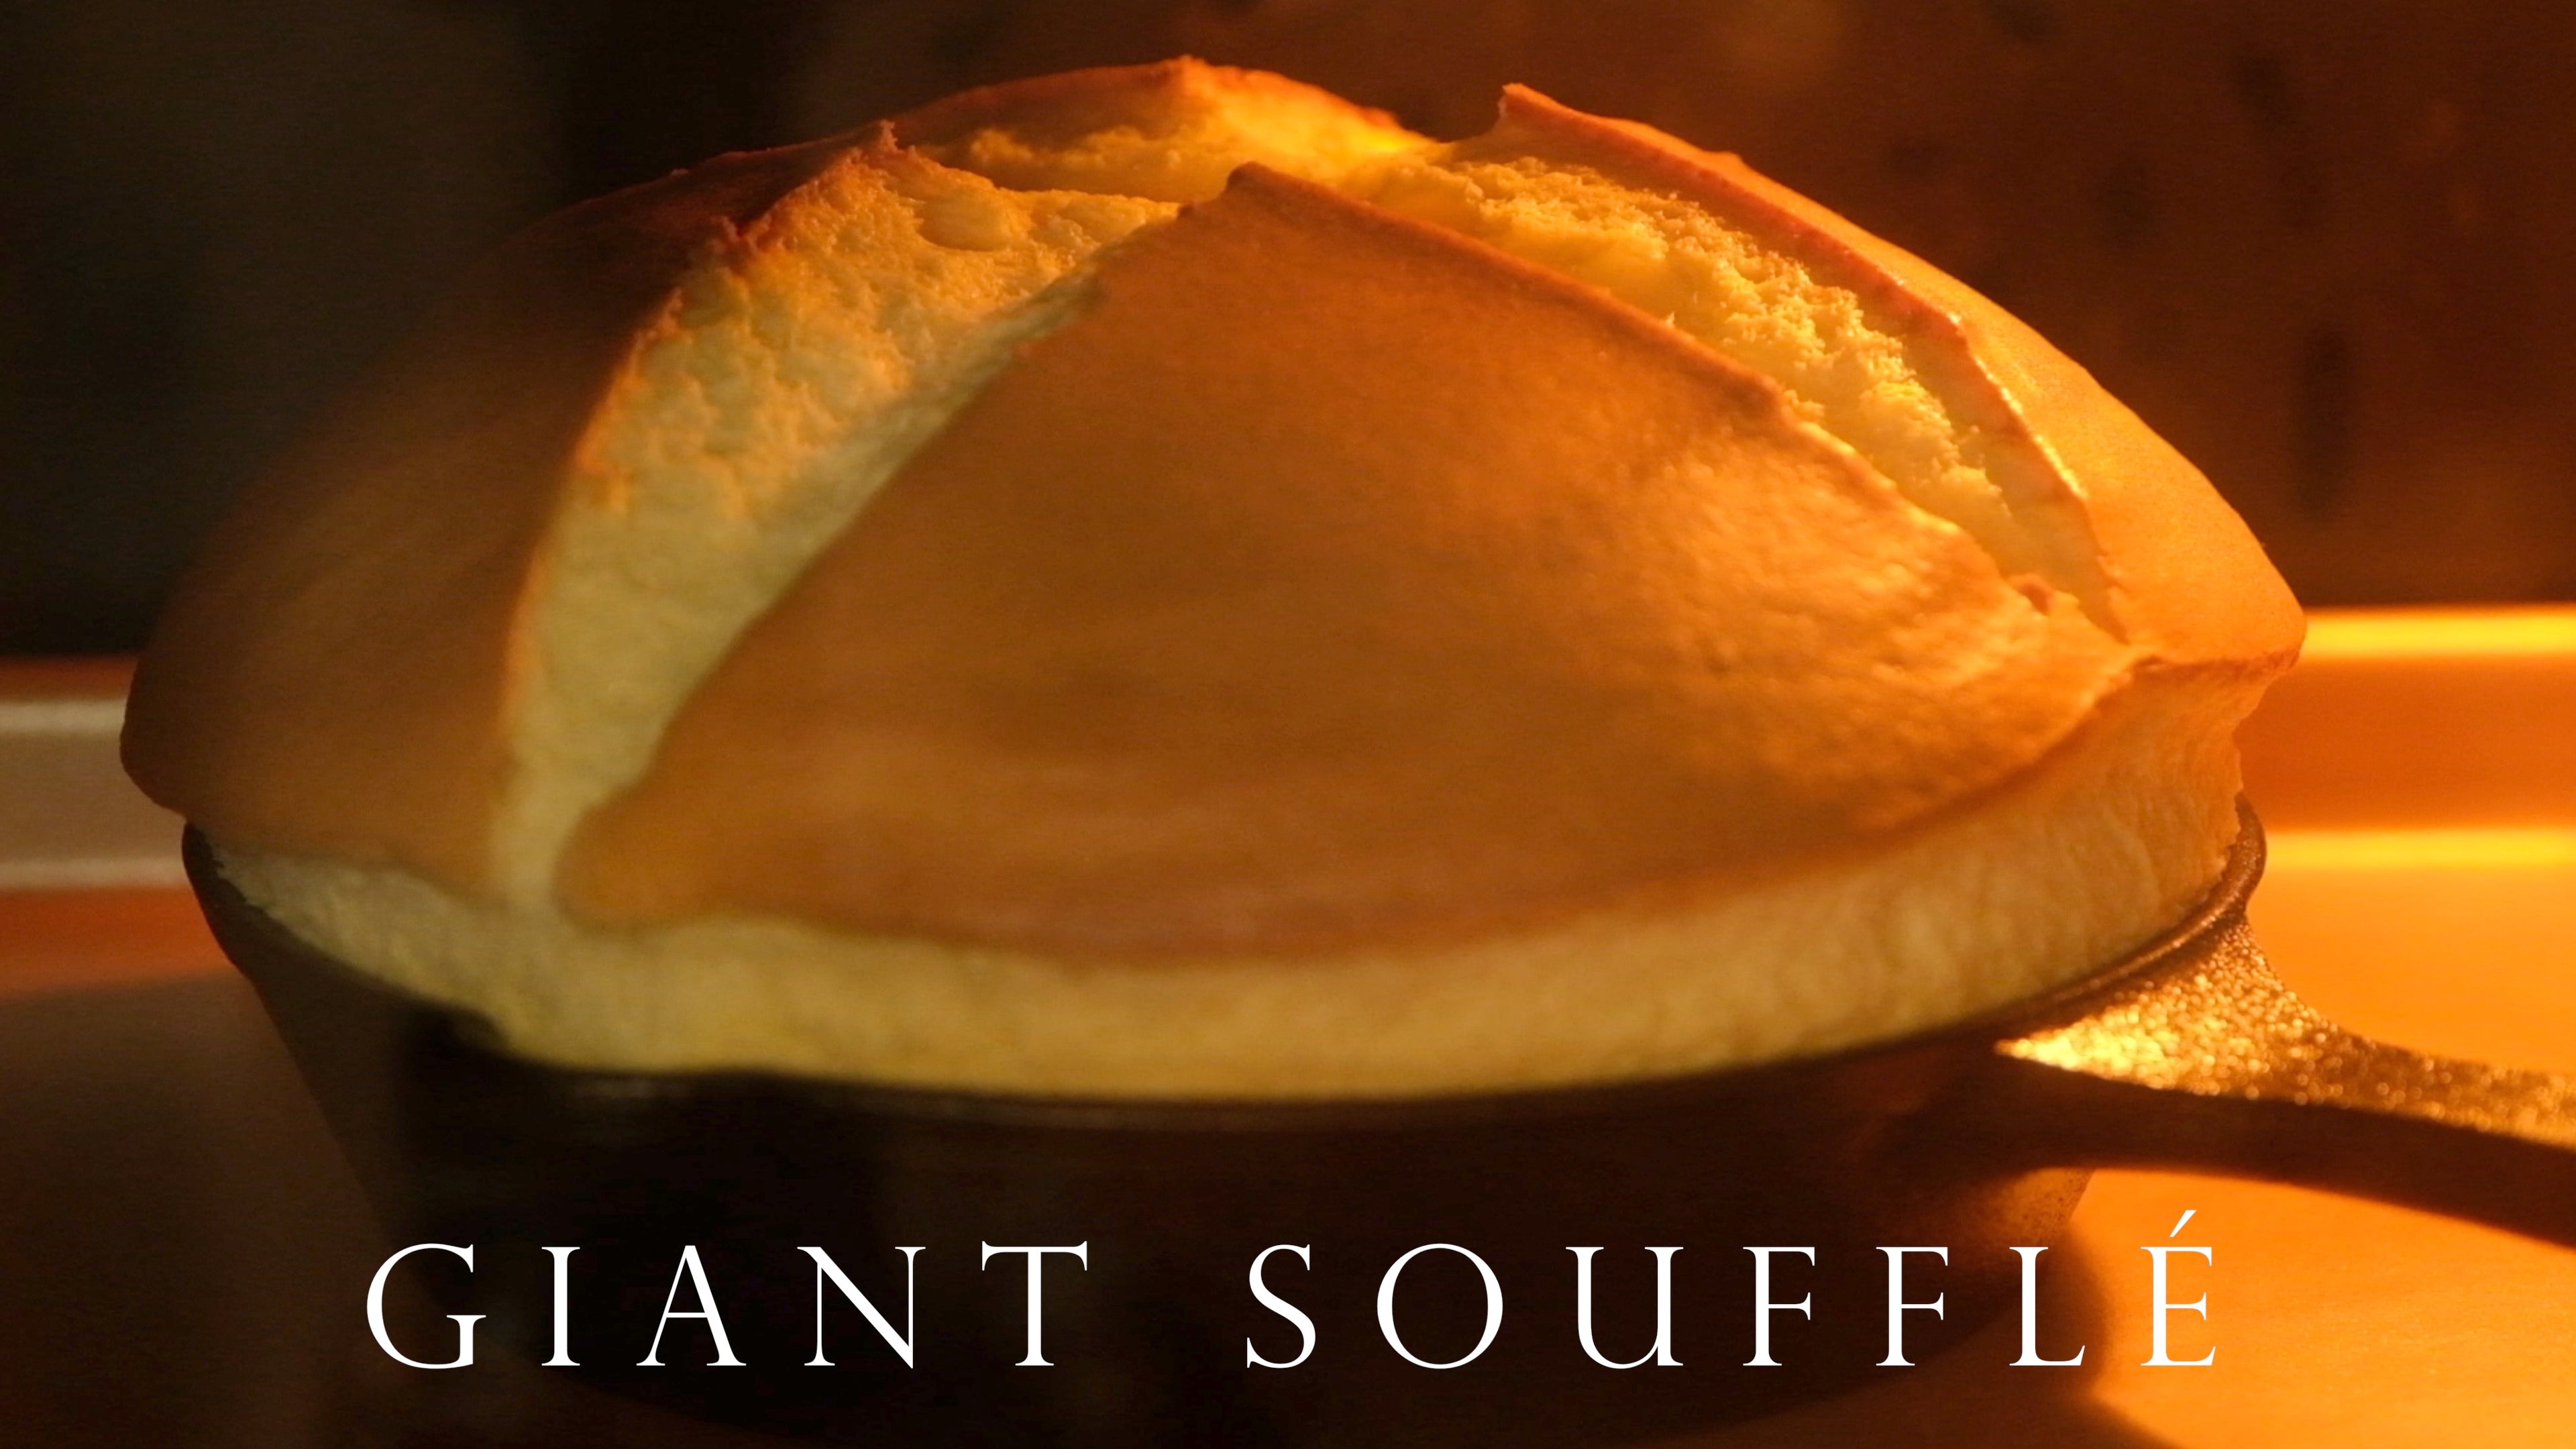
Table of Contents
Japanese Soufflé Pancake Recipe (Castella Pancake)
INGREDIENTS
INSTRUCTIONS
Have you ever seen those ultra-thick, fluffy, Japanese soufflé pancakes that jiggle like custard? They’re a viral treat known for their towering height and cloud-like texture. Traditionally, achieving this fluffiness meant carefully cooking and flipping multiple pancakes on the stovetop – a tricky, time-consuming task. Today, we’re sharing a beginner-friendly method to get the same airy, melt-in-your-mouth pancakes using just one pan in the oven. No tedious flipping or babysitting at the stove required – you can have a show-stopping soufflé pancake in under 30 minutes.
This recipe became a sensation after appearing on a Japanese TV drama, and for good reason: it rises tall like a soufflé, with a golden dome that’s irresistibly soft. Once it’s out of the oven, a cross is cut on top and a slice of butter is placed to melt into the warm cake, infusing it with buttery aroma and flavor. Serve it hot with a dusting of powdered sugar and a drizzle of honey or syrup, and enjoy the fluffiest pancake experience of your life!
Ingredients
-
Eggs (large) – 2, separated into yolks and whites
-
Milk – 40 g (about 2½ Tbsp)
-
All-purpose flour – 40 g (about 1/3 cup), or cake flour
-
Baking powder – 1 g (¼ tsp)
-
Sugar – 25 g (2 Tbsp), for meringue
-
Lemon juice – 1/8 tsp, just a few drops to stabilize egg whites
-
Butter – for greasing pan and topping
-
Toppings (optional) – Powdered sugar, honey or maple syrup (for serving)
Instructions
-
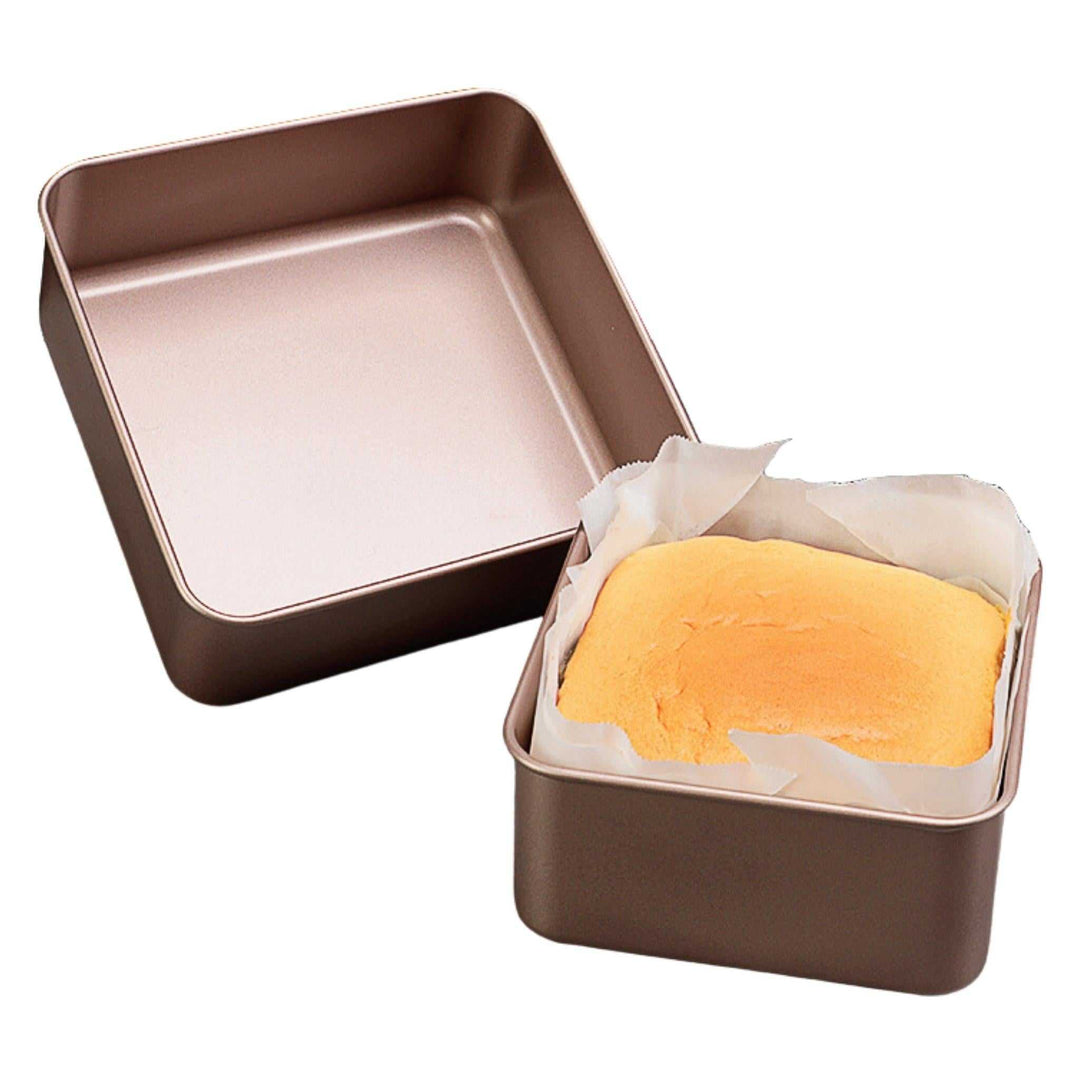
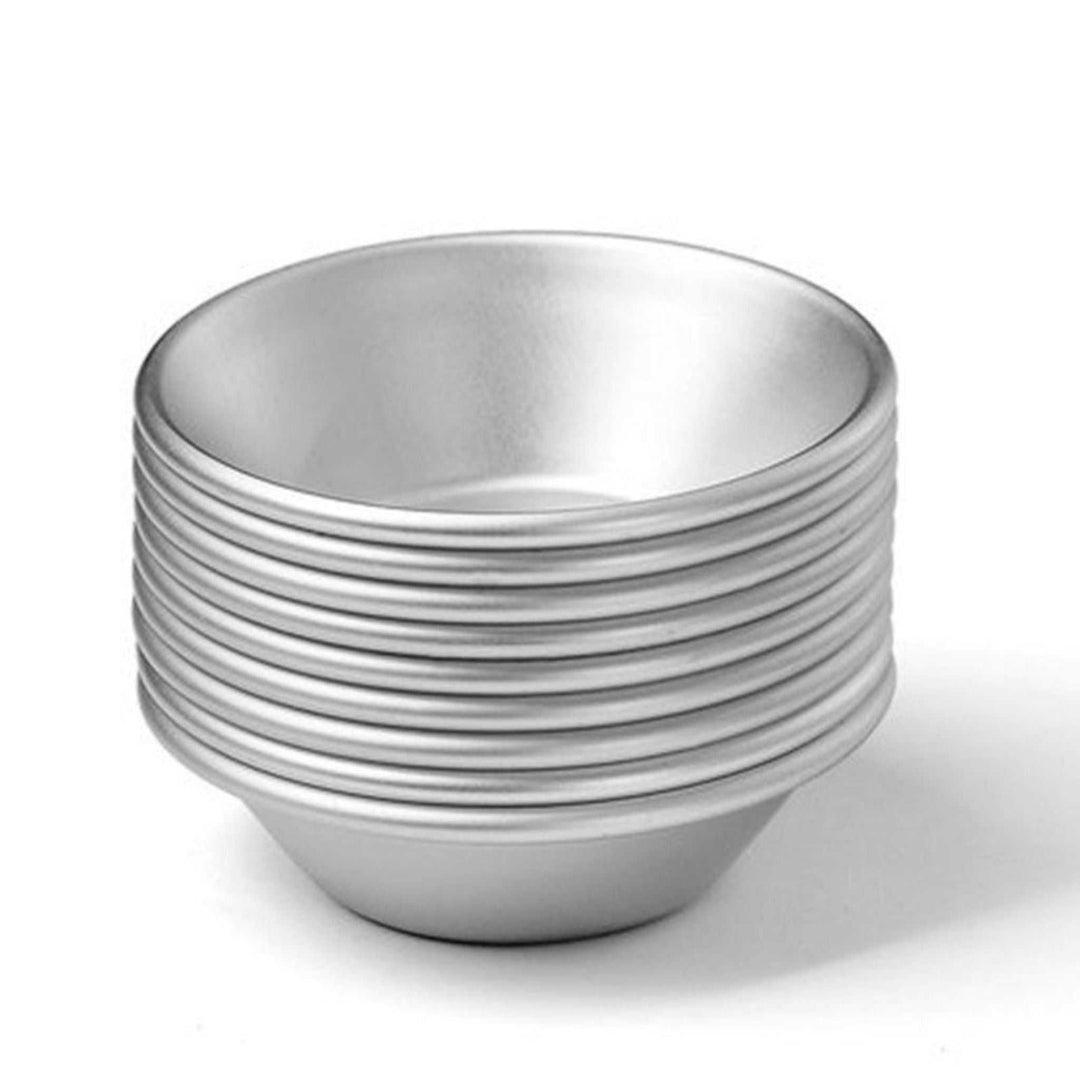
Prep Work: Preheat the oven to 170 °C (338 °F). Lightly grease a 15–16 cm oven-safe skillet (cast iron is ideal) or an equivalent 6-inch round cake pan with a thin layer of oil or butter. This will prevent sticking and help the pancake rise evenly.
-
Separate the Eggs: Separate the 2 eggs, placing egg whites in a large clean bowl and the yolks in a medium bowl. Put the bowl of egg whites into the fridge or freezer for about 5–10 minutes to chill while you prepare the other components. Cold egg whites whip up to a better meringue.
-
Make Yolk Batter: Add milk (40 g) to the bowl with egg yolks. Whisk until yolks and milk are well combined. Sift in flour (40 g) and baking powder (1 g) into the yolk mixture. Whisk or stir until you get a smooth, lump-free batter. Do not over-mix; stop once it’s homogenous. Set this yolk batter aside.

-
Beat Meringue: Take the chilled egg whites from the fridge. Add a few drops of lemon juice to the whites. Using an electric mixer (or a whisk and plenty of arm power), beat the egg whites on medium speed until they turn frothy and opaque. Gradually add in the 25 g of sugar, a little at a time (in 2–3 additions), while continuing to beat. Increase speed to medium-high and beat until the meringue reaches soft to medium peaks – when you lift the beater, the peak of meringue should stand with the tip curling over. Do not beat to stiff, dry peaks; over-beating can make the batter harder to fold and may cause a denser pancake.
-
Fold Batter and Meringue: Scoop about 1/3 of the meringue into the yolk batter. Use a whisk or spatula to gently fold it in until combined – this lightens the yolk base. Now pour this mixture back into the remaining meringue. Using a spatula, fold gently by scraping from the bottom of the bowl up and over the top, turning the bowl as you go. Use a light hand and do not stir vigorously in circles. Fold just until you don’t see streaks of egg white; the batter should be light and foamy.

-
Pour into Pan: Carefully pour the combined batter into your greased skillet. Smooth the top of the batter with a spatula. If you see large air bubbles, give the pan a tiny tap on the counter to pop them (but don’t overdo it – you want to retain plenty of air in the batter).
-
First Bake – Rise: Place the skillet in the preheated 170 °C oven and bake for 7 minutes. At this point, the pancake will have risen partially but the center will still be undercooked.
-
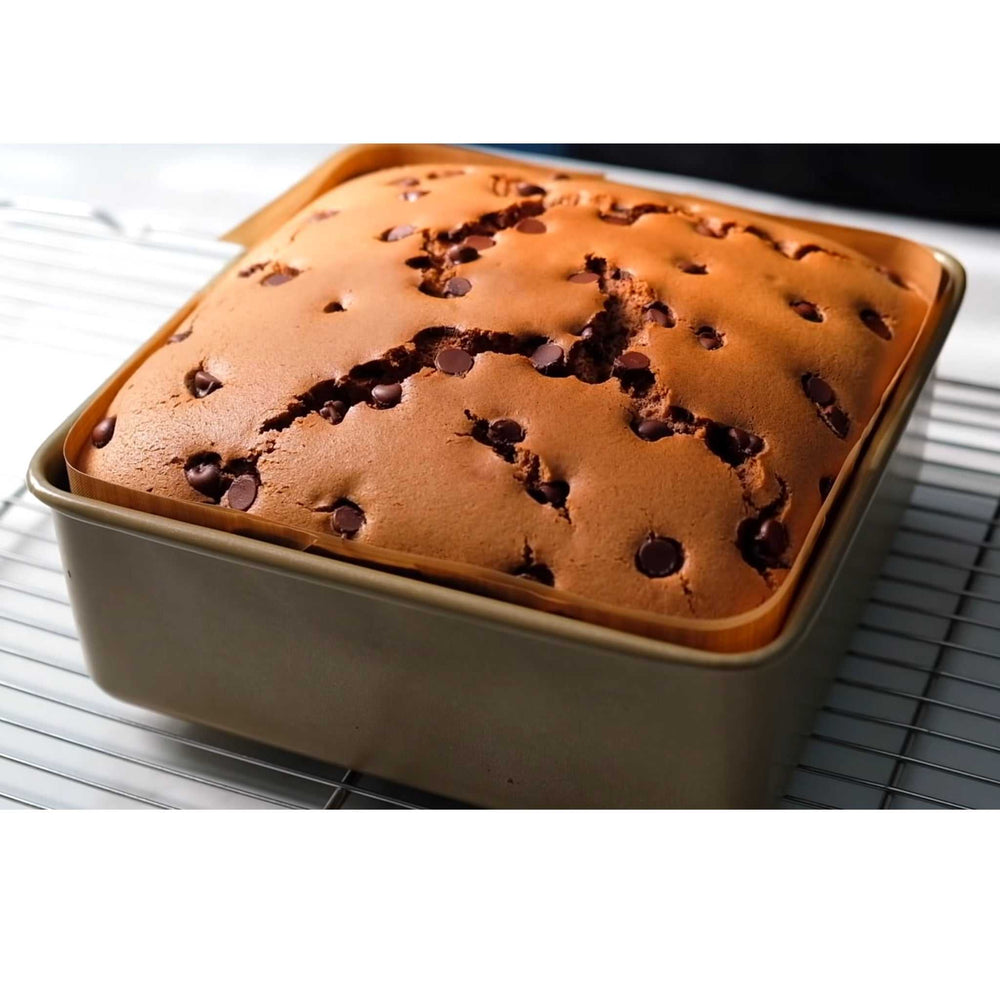
Cut and Finish Bake: After 7 minutes, carefully remove the skillet from the oven (keep oven on). Using a sharp knife, score a deep “+” (cross) cut on the top of the half-baked pancake. This cut helps the center bake through and creates that beautiful soufflé “cracked” top for the butter later. Immediately return the pan to the oven and bake for another 12–15 minutes (still at 170 °C). The pancake is done when it is well-risen with a high domed top and a golden brown surface You can test by inserting a toothpick in the center – it should come out clean or with just a few moist crumbs.

-
Serve Hot: Using oven mitts, remove the skillet from the oven. Work quickly as the soufflé pancake will start to deflate as it cools. Immediately top the pancake with a slice of butter (about 1 Tbsp) right in the cross you cut – the heat will melt it into the crevices. Dust generously with powdered sugar, and drizzle with honey or maple syrup. Cut into wedges or simply dig in with a fork straight from the skillet. Enjoy immediately for the best taste and texture! (Soufflé pancakes, much like soufflés, are best eaten fresh before they collapse.)

Tips for Making the Fluffiest Pancake
-
Use Fresh, Cold Eggs: Fresher eggs have whites that whip more strongly. Chilling the egg whites briefly (or using eggs straight from the fridge) helps you achieve a more stable meringue with fine, uniform bubbles.
-
Spotless Bowl for Beating Whites: When making the meringue, be sure your mixing bowl and beaters are completely clean and grease-free. Any oil or egg yolk can prevent the whites from whipping up properly. Even a speck of yolk can hinder volume, so separate eggs carefully (use an eggshell to fish out any accidental yolk).
-
Add Sugar Gradually: Adding the sugar in stages, rather than all at once, allows it to dissolve more evenly into the egg whites. Use superfine (castor) sugar if possible, as it incorporates faster and makes a smoother meringue. If you only have regular granulated sugar, you can blitz it in a blender for a few seconds to make it finer.
-
Whip to Soft Peaks: It’s better to under-beat slightly than over-beat when it comes to meringue for this recipe. Stop beating when you reach soft or medium peaks (the tip of a peak will fold over). Over-beaten egg whites look grainy and can be harder to fold, which might deflate your batter and reduce the pancake’s rise. Tip: Toward the end of beating, you can lower the mixer speed to reduce large air bubbles. This makes a creamy, stable meringue that incorporates easily.
-
Gentle Folding is Key: When combining the yolk batter and meringue, use a folding motion – cut down to the bottom of the bowl and sweep up, turning the bowl as you go. Avoid stirring in circles or beating, which would knock out the precious air you whipped in. Mix just until you no longer see separate streaks of white or yellow. A properly folded batter will be fluffy and airy.
-
Proper Pan & Size: A 6-inch (15–16 cm) oven-safe skillet or pan is ideal for this recipe, yielding a nicely thick pancake. If your pan is larger, the batter will spread out more and the pancake will be thinner (you may also need to reduce the baking time). For a larger pan (e.g. an 8-inch skillet), you can double the recipe to maintain thickness – just add a few extra minutes to the bake time. Whatever you use, grease it well and don’t use a pan much smaller than 6 inches (the batter could overflow as it rises).
-
Don’t Peek Too Early: It might be tempting to open the oven door to check on your pancake, but avoid sudden temperature changes while it’s rising. The batter is leavened mostly by air from the meringue, so a cold draft can make it collapse. Trust the timing, and only check for doneness toward the end of baking.
-
Serve Immediately: Plan to serve the pancake as soon as it comes out of the oven. Like a classic soufflé, it will start to deflate within minutes of removal from heat – that’s normal. To impress your eaters, have your plates, toppings, and camera ready in advance. Cut the cross, add butter and sugar, and bring it to the table right away. Everyone will love the dramatic presentation of the tall pancake (and they’ll love it even more when they taste how light it is!).
Finally, if you enjoyed this recipe and want to explore more: I’ve put together a list of my recommended baking tools and ingredients on Kit.co – check it out to see the exact tools I use in my kitchen. And if you love my content, you can support me on Ko-fi – any contribution helps me continue sharing recipes (and maybe buys me a coffee to fuel my late-night baking sessions!). 🥰
Thank you for reading and baking along with me. Now go enjoy that Japanese Soufflé Pancake! Happy baking, and until next time, – enjoy!
Frequently Asked Questions


コメントを残す