最高の日本のホットクロススフレチーズケーキ
Table of Contents
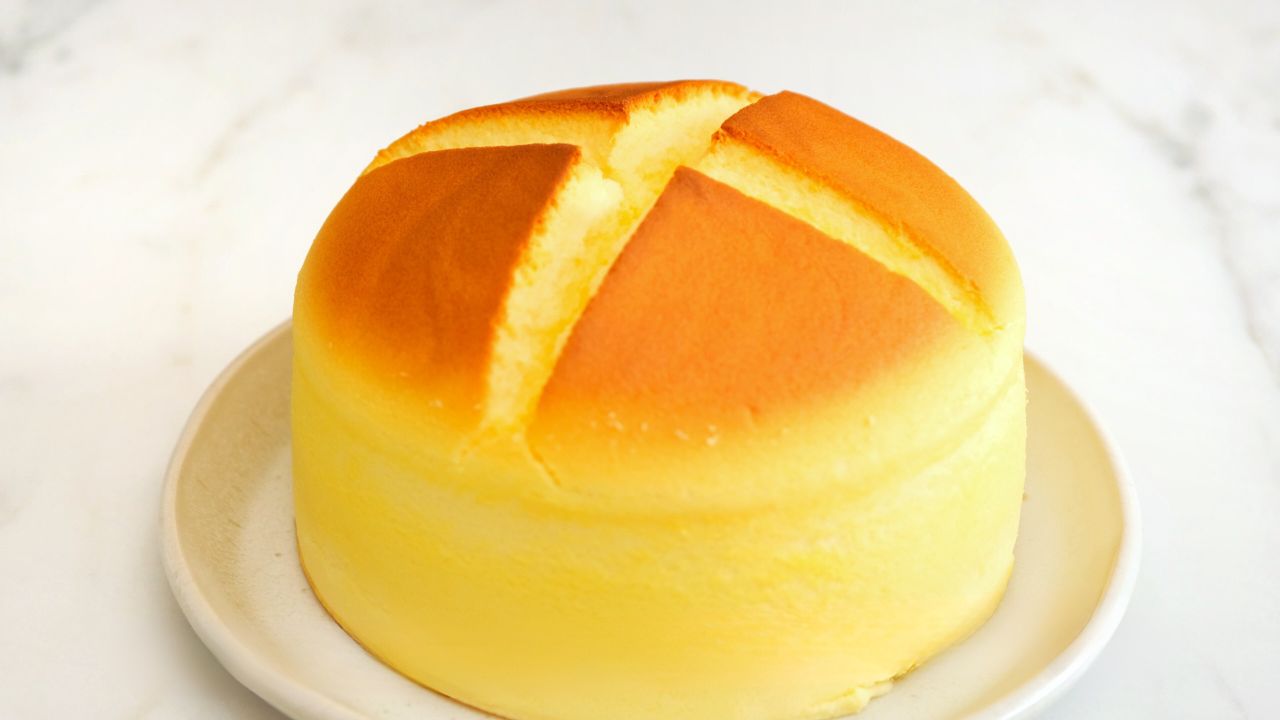
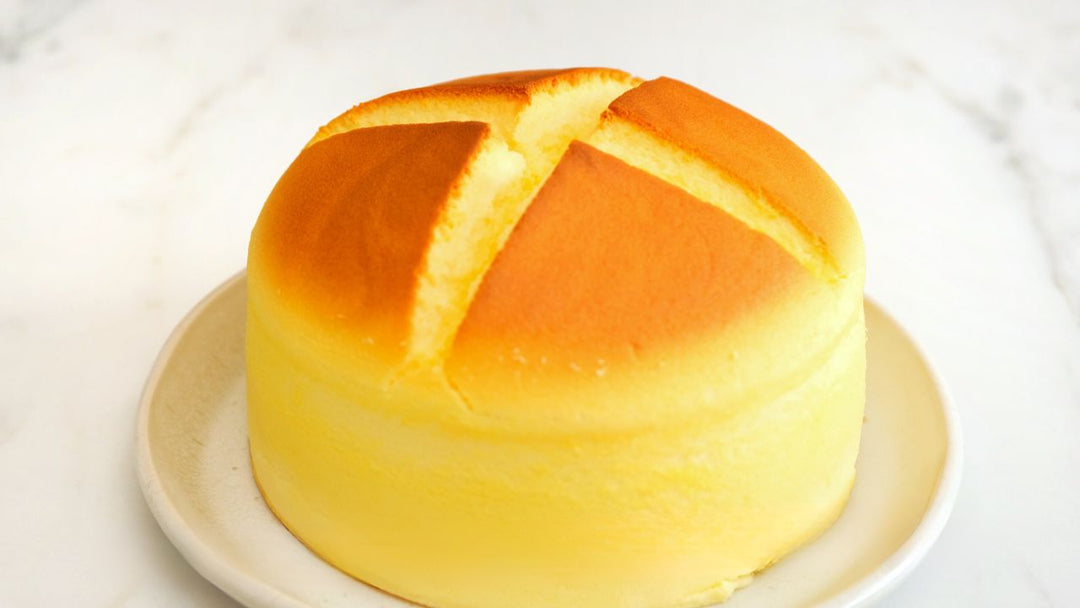
ホットクロスの国産スフレチーズケーキが絶品!!
INGREDIENTS
INSTRUCTIONS
ステップバイステップの日本風ホットクロススフレチーズケーキ
生地の準備:クリームチーズ、バター、牛乳を混ぜる
このステップは、チーズケーキのクリーミーな食感の基礎を築きます。これらのステップを注意深く実行してください。
-
耐熱ボウルに クリームチーズ、 無塩バター、 全乳 を入れます。
-
鍋の上に煮立っている水の入った鍋を置きます。材料が溶け合うまで優しくかき混ぜます。凝固を避けるために、火は弱くしておくべきです。
-
混合物が滑らかでシルキーになるまで加熱したら、火から下ろします。少し冷まします。
-
冷却後、 卵黄 を1つずつ加えます。各追加後によく混ぜます。
-
小麦粉 ケーキ粉 と コーンスターチ を混ぜ合わせてふるい入れます。生地が滑らかでダマがなくなるまでかき混ぜます。
-
生地を細かいメッシュのふるいでこします。これにより、滑らかな食感が得られ、残った塊が取り除かれます。
この方法は、リッチでありながら軽やかなベースを作り、スフレの軽やかな食感の舞台を整えます。
卵白を泡立てる:ソフトピークを作る
卵白を泡立てることが、日本のスフレチーズケーキの特徴的な軽やかでエアリーな食感を実現する秘密です。私はいつも冷たい卵白から始めます。なぜなら、泡立てるのが早く、構造をよりよく保つからです。以下が私のやり方です:
-
卵白を清潔で乾燥した混ぜるボウルに入れます。油分や残留物があると、卵白がうまく泡立たなくなることがあります。
-
少量の レモンジュース とひとつまみの塩を加えます。これにより卵白が安定し、よりしっかりとした泡が作れます。
-
ハンドミキサーまたはスタンドミキサーを中速で使用して、卵白が泡立つまで泡立てます。
-
砂糖を少しずつ徐々に加えます。このステップは、砂糖が完全に溶けることを保証し、メレンゲに滑らかな食感を与えます。
-
ミキサーの速度を高に上げ、続けて泡立てます。 柔らかいピーク フォーム。泡立て器を持ち上げたときに、山が優しく折りたたまれるようになったら、正しい濃度に達したことがわかります。
パンと水浴の準備
パンと水浴の適切な準備は、滑らかでひびの入っていないチーズケーキを保証します。私がどのようにセットアップするかは次のとおりです:
-
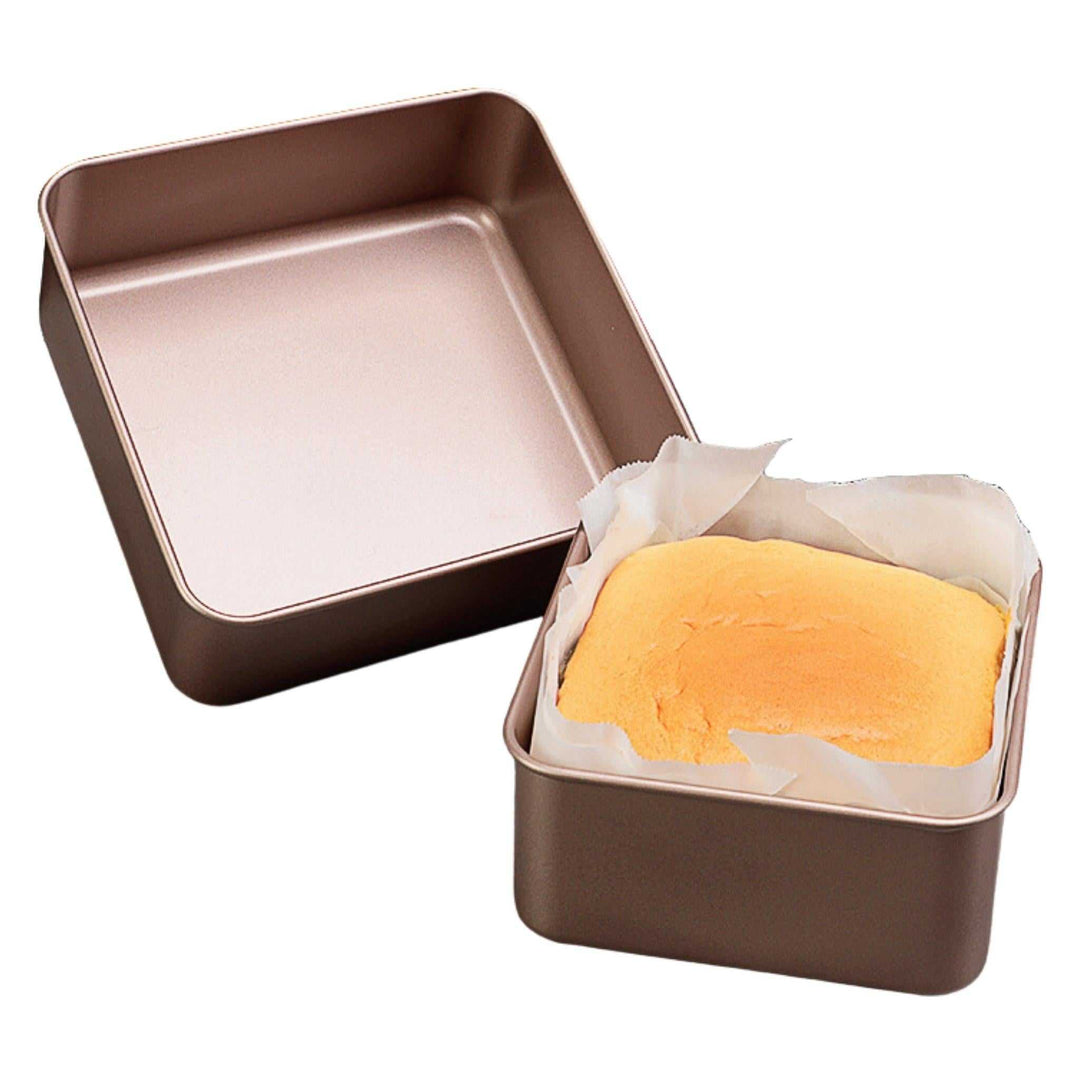
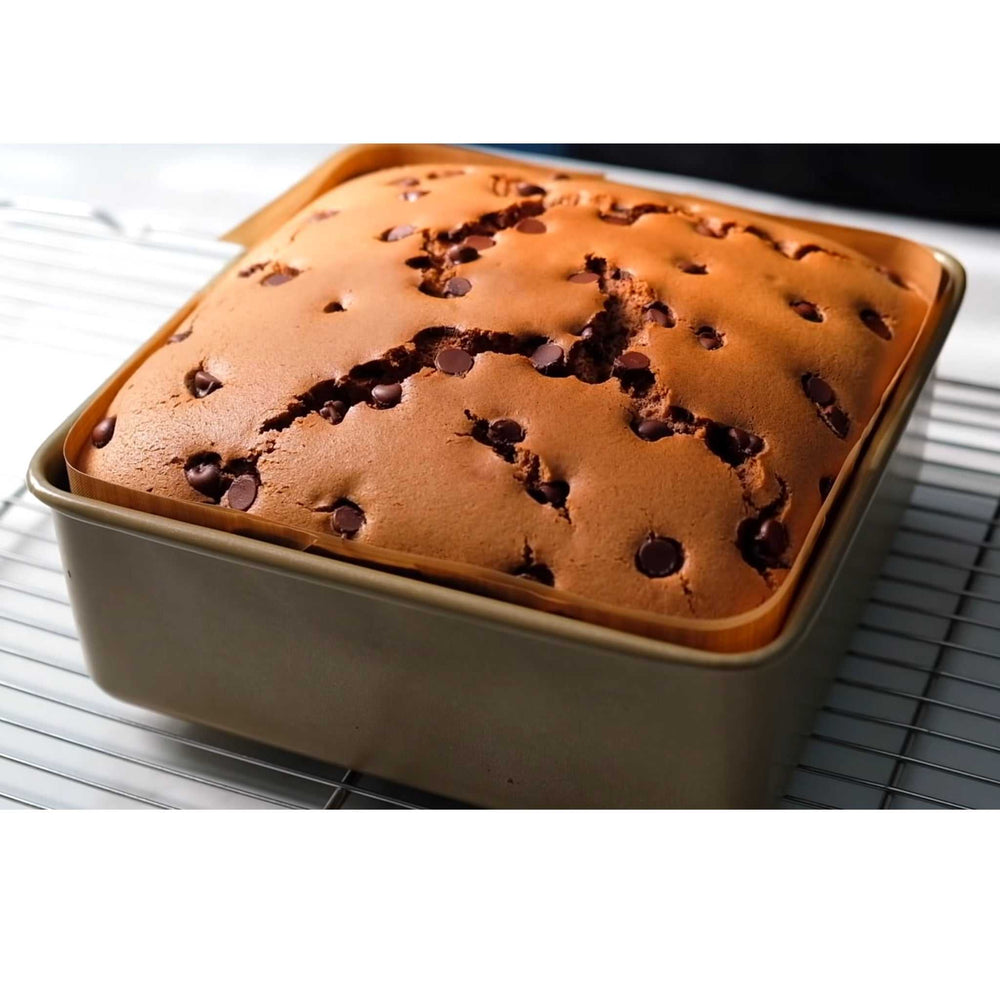
6インチの丸型ケーキ型に 厚手のクッキングペーパー を敷きます。紙を底と側面にぴったり合うように切ります。これにより、ケーキの表面にしわができるのを防ぎます。
-
鍋の外側をアルミホイルで包みます。このステップは、焼いている間に水が鍋に浸透するのを防ぎます。
-
生地を用意した型に注ぎます。型をカウンターに軽く叩いて、大きな空気泡を抜きます。
-
パンを大きなベーキングトレイに置きます。トレイに熱湯を注ぎ、ケーキパンの側面の半分まで水が来るようにします。この水浴は蒸気を生み出し、チーズケーキをしっとりと保ち、ひび割れを防ぎます。
チーズケーキの焼き方:温度と時間
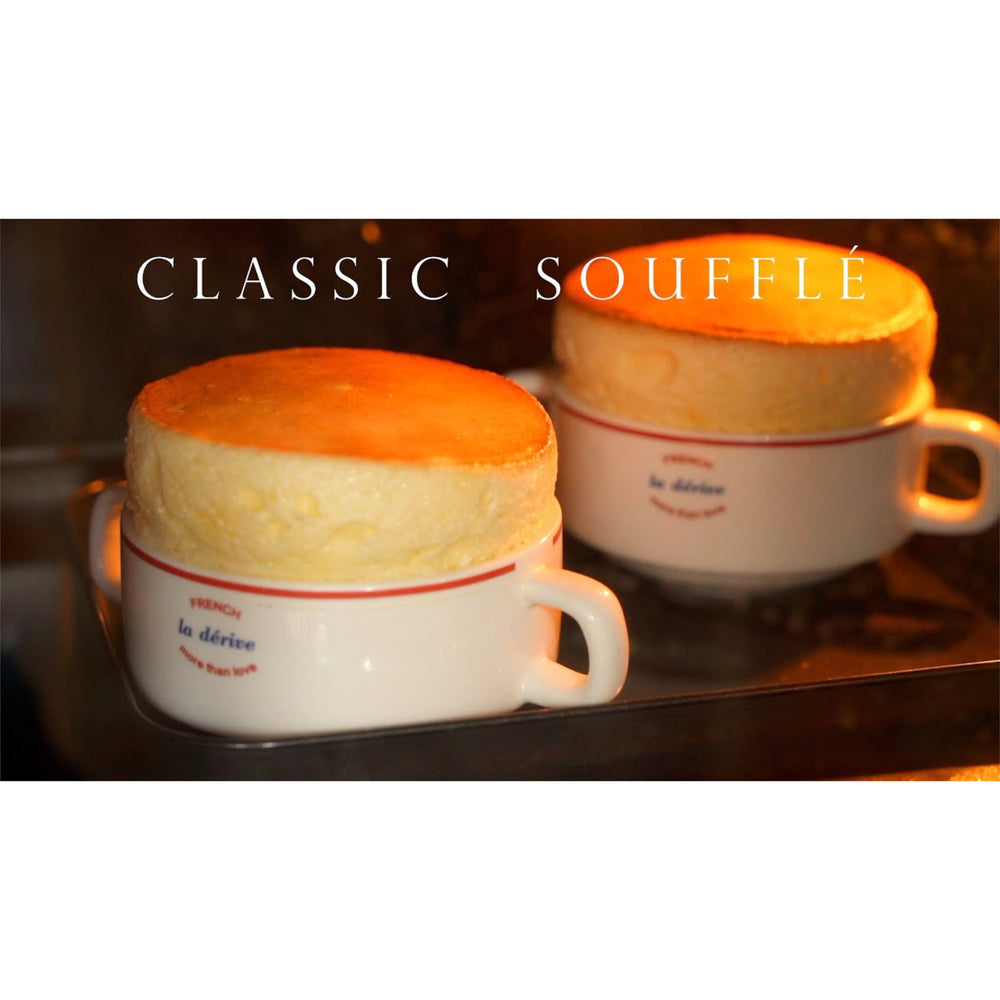
チーズケーキを焼くには 正確さが必要です。私は常にオーブンを予熱して、均一な熱分布を確保します。このレシピでは、上部の熱を 356°F (180°C) 、下部の熱を 230°F (110°C)に設定します。この 二重温度方式 は、チーズケーキが割れずにゆっくりと均等に膨らむのを助けます。
これが私がそれを焼く手順です:
-
準備したケーキ型を水浴に入れてオーブンに置きます。最良の結果を得るために、中段に配置してください。
-
上火を356°F (180°C)、下火を230°F (110°C)に設定し、最初の温度で15-20分焼きます。この間に、表面が固まり、軽い皮が形成されます。
- 表面に十字の切り込みを入れるために鋭いナイフを使います。ナイフを表面に優しく押し当て、深く切りすぎないようにします。目的は、ケーキを完全に割るのではなく、膨らみを導くことです。
- 焼く時間 上火を356°F (180°C)に、下火を230°F (110°C) 10-15分、表面が黄金色になるまで。
-
上の熱を 302°F (150°C) に下げ、下の熱は 230°F (110°C)のままにします。さらに 60-70分焼き続けます。この段階的な温度の低下により、チーズケーキが焦げることなく、しっかりと焼き上がります。
プロのヒント: 焼いている間はオーブンのドアを開けないでください。突然の温度変化がチーズケーキをしぼませる原因になります。代わりにオーブンのライトを使って進行状況を確認してください。
冷却と提供:完璧な仕上がりを確保する
チーズケーキを適切に冷やすことは、焼くことと同じくらい重要です。オーブンから取り出したら、型の中で約15分間冷やします。これにより、構造が固まり、扱いやすくなります。
私の冷却プロセスは次のとおりです:
-
水浴からチーズケーキを慎重に取り出します。底が湿気でふやけないように、アルミホイルの包装を外してください。
-
パーチメントペーパーを優しく剥がしてください。厚めのパーチメントを使用した場合、このステップは簡単なはずです。
-
チーズケーキをワイヤーラックに移します。室温で完全に冷やします。
プロのヒント: チーズケーキがまだ温かいうちに冷蔵庫に入れないでください。急激な温度変化は、食感を密にする原因となります。
冷やした後は、ふわふわの食感を楽しむために温かくして提供するか、冷蔵庫で冷やしてクリーミーな食感にすることができます。私は新鮮な果物や蜂蜜をかけて楽しむのが大好きです。軽い甘さとクリーミーな風味が、どんな場面でも楽しめる多用途なデザートにしています。
日本のコットンチーズケーキを作るためのヒント
材料を正しく測る
材料を正しく測ることは非常に重要です。私は提案します キッチンスケールを使用する 正確な量のために。計量カップも使えますが、スケールの方がより正確です。材料の小さな変化でもチーズケーキに影響を与えることがあります。例えば、小麦粉が多すぎると重くなり、砂糖が少なすぎると甘さが変わります。
クイックヒント:計量する前に、ケーキ粉とコーンスターチをふるいましょう。これにより、ダマが取り除かれ、生地が滑らかになります。
生地を優しく折りたたむ
生地を丁寧に折りたたむことで、チーズケーキが柔らかく、軽やかに保たれます。このステップには忍耐と優しい手つきが必要です。まず、少しの泡立てた卵白を生地に混ぜます。これにより、生地が軽くなり、残りを折りたたむのが容易になります。ヘラを使って、底からすくい上げて上に折りたたみます。卵白の筋が残らないまで折りたたみ続けます。混ぜすぎると生地が台無しになるので、滑らかに見えたらすぐにやめます。
クイックヒント:折りたたむときは広いヘラを使いましょう。空気の泡を壊さずによく混ざります。
オーブンの焼き時間を調整する
すべてのオーブンは異なる動作をするため、完璧な結果を得るには焼き時間を調整することが重要です。私は自分のオーブンの特性に適応するためのいくつかのコツを学びました。
-
オーブンの温度を知る
私は常にオーブン温度計を使って、オーブンが熱すぎるか冷たすぎるかを確認します。内蔵のオーブン設定は必ずしも正確ではありません。温度がずれている場合は、それに応じて調整します。例えば、オーブンが熱くなりすぎる場合は、焼きすぎを避けるために温度を少し下げます。 -
早めに焼き加減を確認する
推奨の焼き時間が終わる5〜10分前にチーズケーキをチェックし始めます。中心が少し揺れるかどうかを見るために、パンを優しく揺らします。少し揺れるということは、焼き上がっているということです。ケーキ全体が揺れる場合は、もう少し時間が必要です。 -
視覚的なヒントを使う
表面に淡い金色を探します。端はしっかりとした見た目であるべきですが、中心はまだ柔らかく見えるべきです。これらの視覚的な手がかりが、チーズケーキが準備できているかどうかを判断するのに役立ちます。 -
高度またはパンのサイズに調整する
高地で焼く場合、焼き時間を少し延ばします。薄い空気はケーキの膨らみ方や焼き方に影響を与えます。同様に、異なるサイズの型を使用する場合も時間を調整します。大きな型は焼くのに時間が少なくて済み、小さな型は時間がかかります。
プロのヒント: ベーキングジャーナルを保つ。私のオーブンに最適な時間と温度を正確にメモします。これにより、毎回完璧な結果を再現するのに役立ちます。
よくある質問
なぜ私のチーズケーキの上が割れたのですか?
ひび割れは通常、チーズケーキが乾燥したり、均等に焼けなかったりする時に発生します。私はいつもこれを防ぐために湯煎を使用します。蒸気がオーブンを湿らせ、均等に焼くことを保証します。湯煎の水が蒸発しているのに気付いたら、オーブンのドアを開けて補充しないでください。代わりに、タイマーに注意を払い、中心が固まったらすぐにチーズケーキを取り出してください。オーブンのドアを早く開けると、急激な温度変化が起こり、ひび割れの原因になることがあります。
クイックヒント: 2回目の焼きの前にホットクロスデザインに切り込みを入れることで、膨らみを導き、不均一なひび割れを防ぐことができます。
チーズケーキが焼き上がったかどうかはどうやってわかりますか?
チーズケーキの中心にわずかな揺れがあるか確認します。端がしっかりしていて、中央が優しく揺れる場合は、準備完了です。焼きすぎには注意してください。そうすると、食感が密になってしまいます。また、表面に薄い黄金色が出ているかも確認します。もし不安な場合は、オーブンをオフにして、ドアを少し開けた状態でチーズケーキを10分間そのままにしておきます。このステップは、優しく火を通すのに役立ちます。
水浴を省略してもいいですか?
水浴を省略することはお勧めしません。チーズケーキをしっとりと保ち、ひび割れを防ぐために不可欠です。これがないと、ケーキが均等に焼けなかったり、乾燥したりする可能性があります。水が型に漏れるのが心配な場合は、底をアルミホイルでしっかりと包んでください。追加の保護のために、2〜3層使ってください。水浴は、完璧な食感を得るための鍵となる穏やかな焼き環境を作ります。
なぜ私のチーズケーキは焼いた後に沈んでしまったのですか?
沈んだチーズケーキは、卵白が過剰に泡立てられたか、あまりにも強く折りたたまれたことを意味することがよくあります。卵白はソフトピークまで泡立ててください。これにより、生地は軽やかで空気を含んだ状態を保ちながら、構造を失うことがありません。急激な温度変化も沈みを引き起こす可能性があります。チーズケーキをオーブンの中で、扉を少し開けた状態で約10分間徐々に冷やしてから取り出してください。
覚えておいてください、少し沈んだチーズケーキでも素晴らしい味がします!
生地に塊ができないようにするにはどうすればよいですか?
塊は通常、冷たい材料やふるいにかけていない乾燥材料から来ます。私は常に室温のクリームチーズ、バター、卵を使用します。これにより、滑らかに混ざります。ケーキ用の小麦粉とコーンスターチをふるうことで、塊が取り除かれ、生地がシルキーになります。それでもまだ塊が見える場合は、卵白を折り込む前に、生地を細かいメッシュのふるいでこします。
別のサイズの鍋を使ってもいいですか?
はい、しかし焼き時間を調整する必要があります。大きな型を使うとチーズケーキが薄くなり、早く焼き上がります。小さな型を使うと厚くなり、焼くのに時間がかかります。最良の結果を得るためには、6インチの型を使用することをお勧めします。サイズを変更する場合は、ケーキを注意深く見守り、レシピが示すよりも早くまたは遅く焼き上がり具合を確認してください。
なぜ私のチーズケーキはふわふわではないのですか?
ふわふわ感は、適切に泡立てた卵白と優しく折りたたむことから生まれます。卵白が十分に泡立てられていないと、ケーキはあまり膨らみません。また、生地を混ぜすぎると空気の泡がつぶれて、チーズケーキが密になってしまいます。卵白を生地に折り込む際は、時間をかけて行ってください。ヘラを使い、軽い手で混ぜることで、混合物を軽やかに保ちましょう。
残ったチーズケーキはどのように保存すればよいですか?
チーズケーキは完全に冷やしてから、しっかりとラップで包むか、密閉容器に入れます。冷蔵庫では、最大で3日間新鮮さを保ちます。長期間保存する場合は、プラスチックで包んだ個々のスライスを冷凍用バッグに入れて冷凍します。後で楽しむためには、スライスを冷蔵庫で一晩解凍します。温かい方が好みの場合は、電子レンジやオーブンで優しく再加熱してください。
このチーズケーキを事前に作ることはできますか?
絶対に!このチーズケーキは翌日になるとさらに美味しくなります。前日に焼いて、冷蔵庫で一晩冷やしてください。風味が引き立ち、食感がよりクリーミーになります。新鮮さを保つために、適切に保存することを忘れないでください。
このチーズケーキを提供する最良の方法は何ですか?
温かくして柔らかくふわふわの食感を楽しむことも、冷やしてクリーミーな食感を楽しむこともできます。私はイチゴやブルーベリーなどの新鮮なフルーツと組み合わせるのが大好きです。はちみつを少しかけたり、ホイップクリームをのせたりすると、豪華な雰囲気が加わります。飲み物には、緑茶やコーヒーが軽い甘さと完璧に相性を保ちます。
サービングのヒント:チーズケーキの周りにフルーツスライスを配置して、美しいプレゼンテーションを作り、必ず感動させましょう!
Frequently Asked Questions








I couldn’t find the receipt for making this cheese cake.
コメントを残す