Create the Queen's Favorite Raisin English Scones at Home
Table of Contents

INGREDIENTS
INSTRUCTIONS

Picture the smell of warm Raisin English Scones in your kitchen. These soft, crumbly treats have been loved in Britain for years. Scones became popular at afternoon tea in the 1840s, thanks to Anna, the Duchess of Bedford. Even Queen Elizabeth II loved them and shared her recipe with President Eisenhower. The queen’s favorite scones, served with jam and cream, are a royal tradition. Now, you can make this classic treat and add some elegance to your table.
The Royal Connection: The Story Behind the Queen's Favorite Scones
The History of English Scones
Scones began in Scotland during the early 1500s. They were simple bread made with oats and cooked on griddles. The name "scone" likely comes from schoonbrot, a Dutch word for "fine bread." Over time, scones changed into soft, crumbly treats we enjoy today. By the 18th century, they became popular across England and were part of cream tea.
In 1840, Anna, the Duchess of Bedford, added scones to afternoon tea. She wanted a snack between lunch and dinner. Her idea spread fast, making scones a key part of this tradition. Today, they are still an important part of afternoon tea, showing British charm and hospitality.
Why Raisin Scones Are a Queen Favorite
Queen Elizabeth II loved raisin scones very much. She even gave her recipe to President Eisenhower at Balmoral Castle. Raisins add sweetness and chewiness that make scones extra special. The queen liked this version because it was simple but fancy.
Raisin scones go well with jam and clotted cream too. Their fruity flavor matches perfectly with these rich toppings. This balance made them a royal favorite at Buckingham Palace tea times.
Recipe
Here’s a quick overview of what you’ll need to create these delightful raisin scones. This recipe makes about 8 scones using a 5 cm (2-inch) cutter.
-
Prep Time: 15 minutes
-
Chill Time: 1 hour
-
Bake Time: 18–20 minutes
-
Total Time: Approximately 1 hour 35 minutes
Ingredients
To make the perfect raisin scones, you’ll need simple ingredients that come together beautifully. Here’s the list:
-
2 cups cake flour (200g)
-
1/4 cup unsalted butter (50g), cold and cubed
-
1/4 cup granulated sugar (30g)
-
1 1/2 teaspoons baking powder (6g)
-
1 large egg
-
1 egg yolk
-
1 tablespoon milk (20g)
-
2 teaspoons plain yogurt (10g)
-
1/4 cup raisins (20g)
-
1 egg yolk for brushing
Tip: Always measure your ingredients accurately. Using a kitchen scale or measuring cups ensures consistent results every time.
Steps
Making these scones is easier than you think. Follow these steps, and you’ll have warm, crumbly scones in no time.
-
Prepare the dry ingredients: Combine the cake flour, sugar, and baking powder in a large bowl. Add the cold butter cubes and use your fingers to rub the butter into the flour until the mixture resembles coarse crumbs.
-
Mix the wet ingredients: In a separate bowl, whisk the egg, egg yolk, milk, and yogurt. Pour this mixture into the dry ingredients and gently mix until a dough forms. Avoid overmixing.
-
Chill the dough: Wrap the dough in plastic wrap and refrigerate for 1 hour. This step helps the butter stay cold, which creates flaky layers.
-
Incorporate the raisins: After chilling, place the dough on a lightly floured surface. Sprinkle the raisins over the dough, fold it in half, and gently knead 4–5 times to distribute the raisins evenly.
-
Shape the scones: Roll the dough to about 2 cm (3/4 inch) thick. Use a 5 cm (2-inch) round cutter to cut out scones. Place them on a baking sheet lined with parchment paper.
-
Brush and bake: Brush the tops with egg yolk for a golden finish. Bake in a preheated oven at 170°C (340°F) for 18–20 minutes or until golden brown.
-
Cool and serve: Let the scones cool slightly before serving. Pair them with jam and clotted cream for an authentic experience.
Pro Tip: For the best texture, handle the dough as little as possible. Overworking it can make the scones dense instead of light and fluffy.
Choosing the Best Raisins or Sultanas
The type of raisins or sultanas you choose can make a big difference in your scones. I always recommend going for plump, juicy raisins or golden sultanas for the best flavor and texture. These dried fruits add a natural sweetness and a chewy bite that complements the crumbly scone dough perfectly.
Here are a few tips to help you pick the best ones:
-
Look for freshness: Choose raisins or sultanas that look moist and shiny, not dry or shriveled. Fresh dried fruits will blend better into the dough and stay tender after baking.
-
Go organic if possible: Organic options often have fewer preservatives and a more natural taste. They’re a great choice if you want a purer flavor.
-
Consider golden sultanas: These are slightly sweeter and softer than regular raisins. They also add a lovely golden hue to your scones, making them look extra special.
-
Avoid overly sugary varieties: Some raisins are coated in sugar or syrup. These can make your scones too sweet and affect the dough’s consistency.
Pro Tip: If your raisins or sultanas feel a bit dry, soak them in warm water or tea for 10–15 minutes before adding them to the dough. This step plumps them up and enhances their flavor.
Recommended Baking Tools and Equipment
Having the right tools makes baking scones much easier and more enjoyable. Over the years, I’ve found a few essentials that I always rely on when making these treats. Here’s what you’ll need:
-
Mixing bowls: Use a large bowl for combining the dry ingredients and a smaller one for the wet ingredients. Stainless steel or glass bowls work best.
-
Pastry cutter or your hands: A pastry cutter helps you blend the butter into the flour quickly. If you don’t have one, your fingers work just as well.
-
Rolling pin: A light rolling pin helps you flatten the dough evenly without overworking it.
-
5 cm (2-inch) round cutter: This is the perfect size for classic scones. You can also use a glass or jar lid if you don’t have a cutter.
-
Baking sheet: A sturdy, non-stick baking sheet ensures even baking. Line it with parchment paper for easy cleanup.
-
Pastry brush: Use this to brush egg yolk on the scones for a golden finish.
-
Kitchen scale or measuring cups: Accurate measurements are key to perfect scones. A kitchen scale gives the most precise results.
Pro Tip: If you’re serious about baking, invest in a good-quality pastry cutter and a set of round cutters. These tools save time and give your scones a professional look.
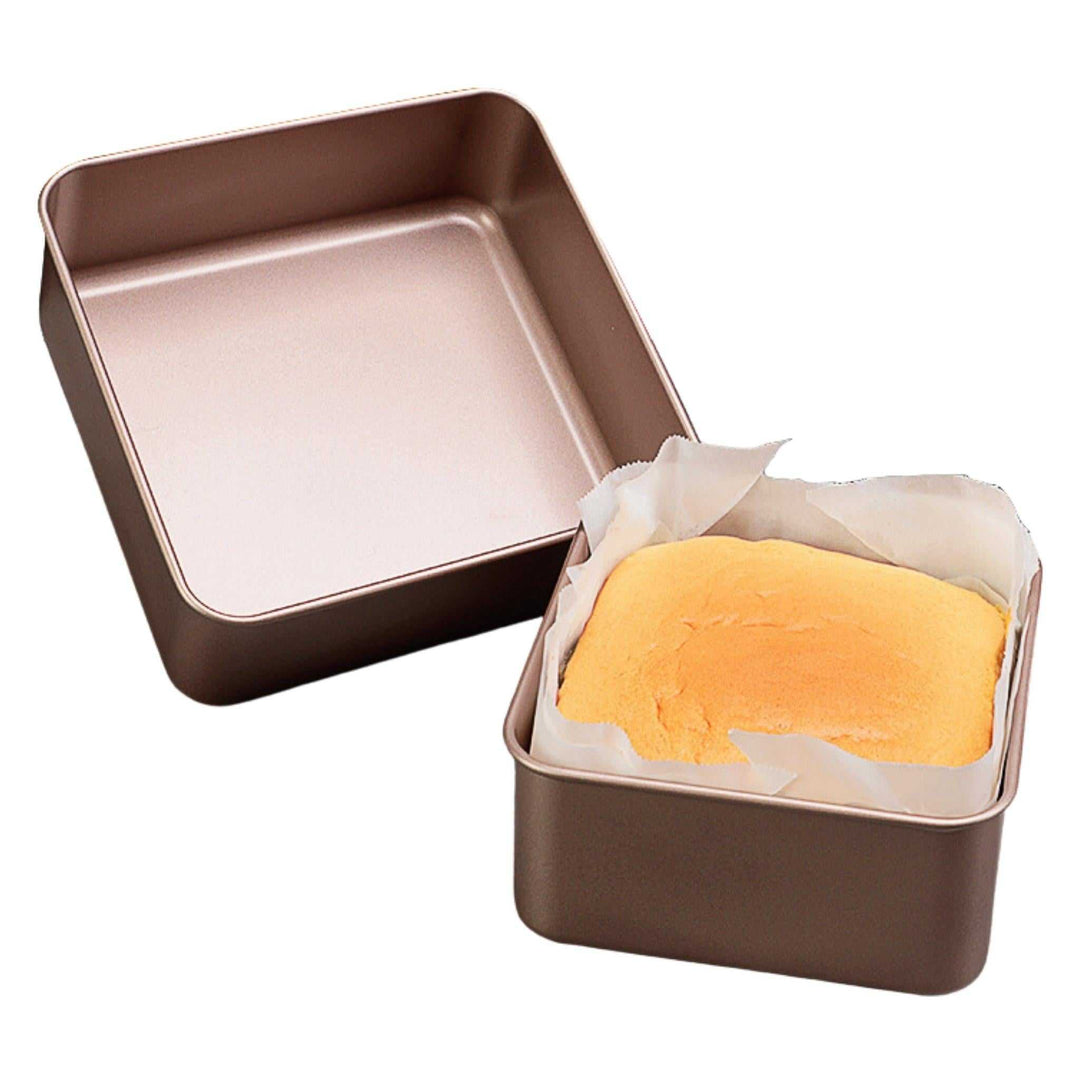
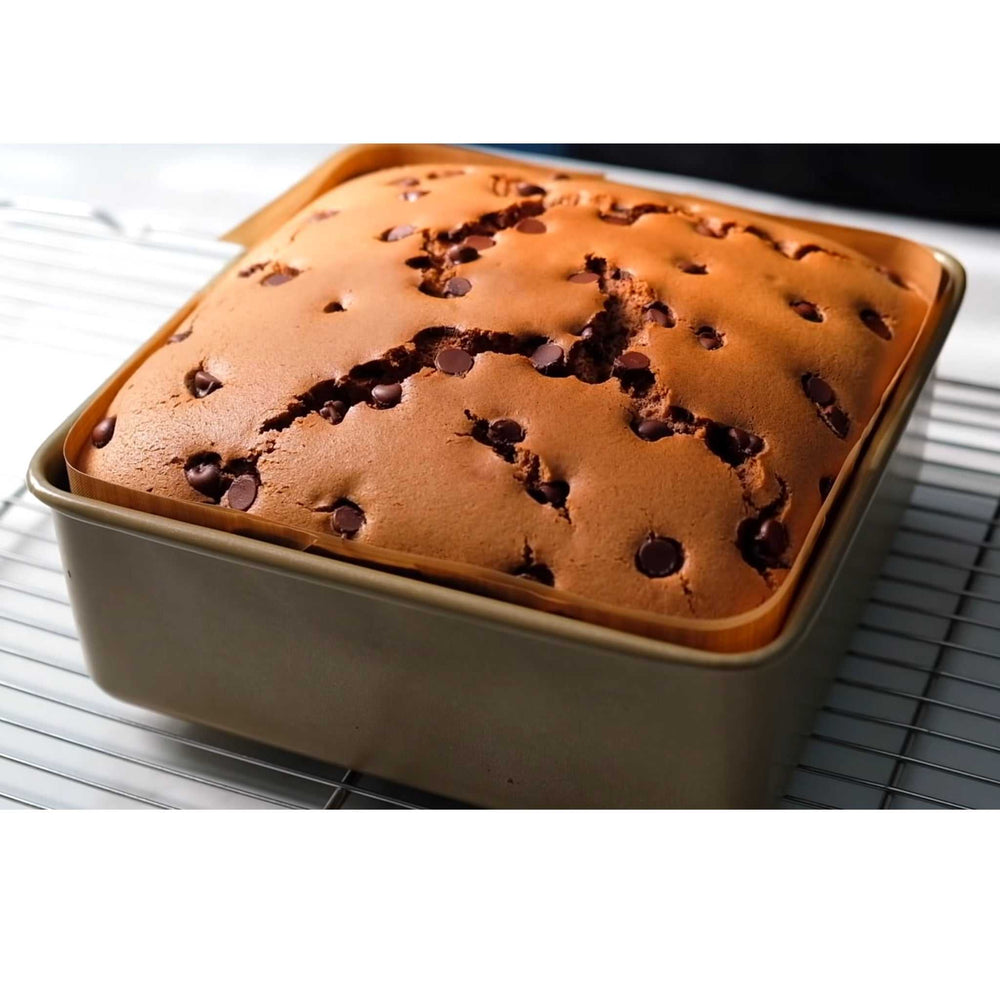
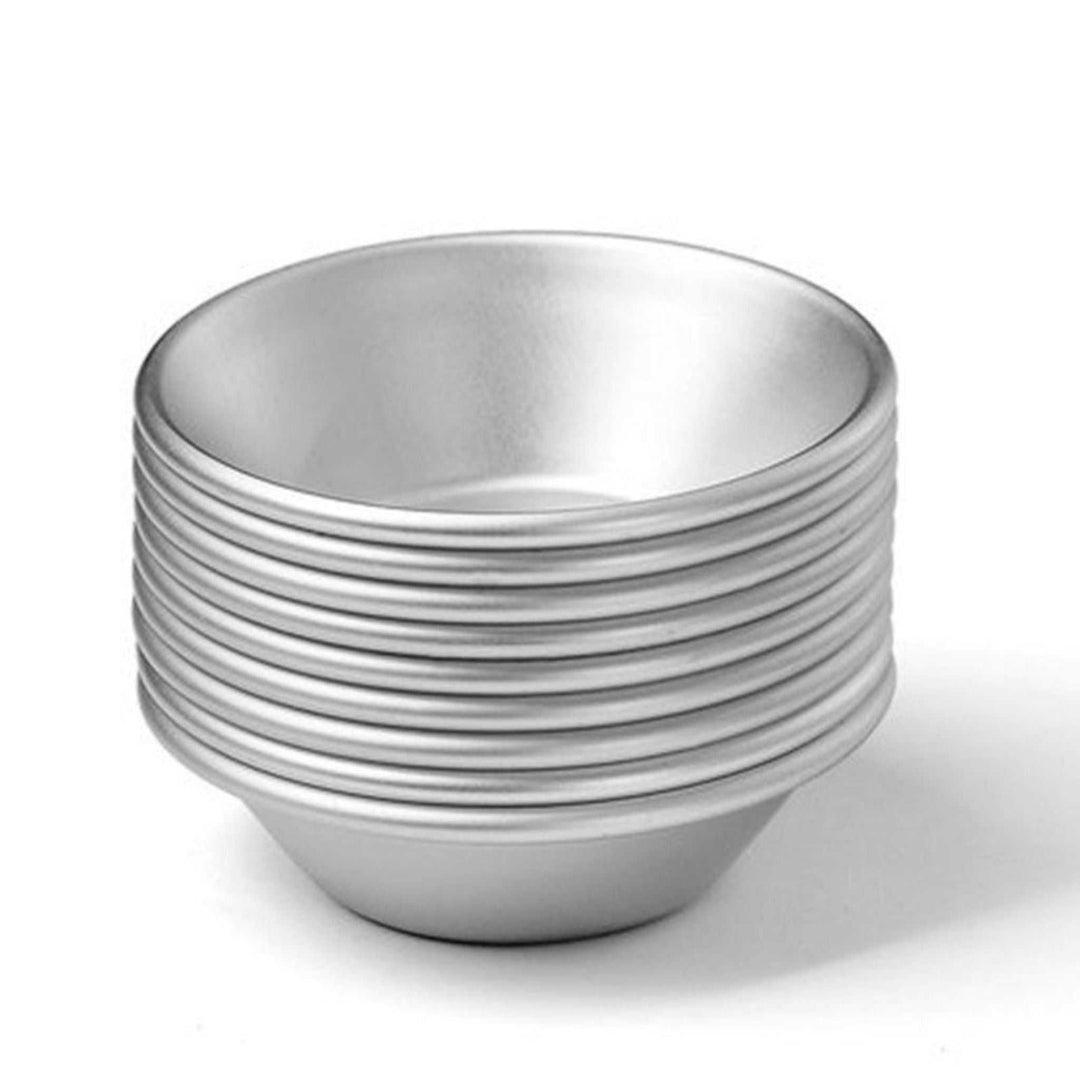
Looking for the tools and ingredients I used in this recipe? Visit my shop at molalacook.com. You’ll find everything from silicone spatulas to cake mold and even premium plates to elevate your baking game. These are the same products I trust in my kitchen, and I know you’ll love them too.
Step-by-Step Recipe: How to Make the Queen's Favorite Scones
Preparing the Ingredients
Start by gathering all your ingredients. Having everything ready makes the process smooth and enjoyable. Use cold unsalted butter straight from the fridge. Cold butter is essential for creating the flaky texture that makes these raisin English scones irresistible. Measure your flour, sugar, and baking powder accurately. I recommend using a kitchen scale for precision.
For the raisins, ensure they are plump and juicy. If they feel dry, soak them in warm water for about 10 minutes. This simple step enhances their sweetness and texture. Drain them well before adding them to the dough. Trust me, this small effort makes a big difference in the final result.
Pro Tip: Keep your butter cold and your raisins moist. These two details are key to achieving the perfect scone recipe.
Mixing the Dough for the Perfect Texture
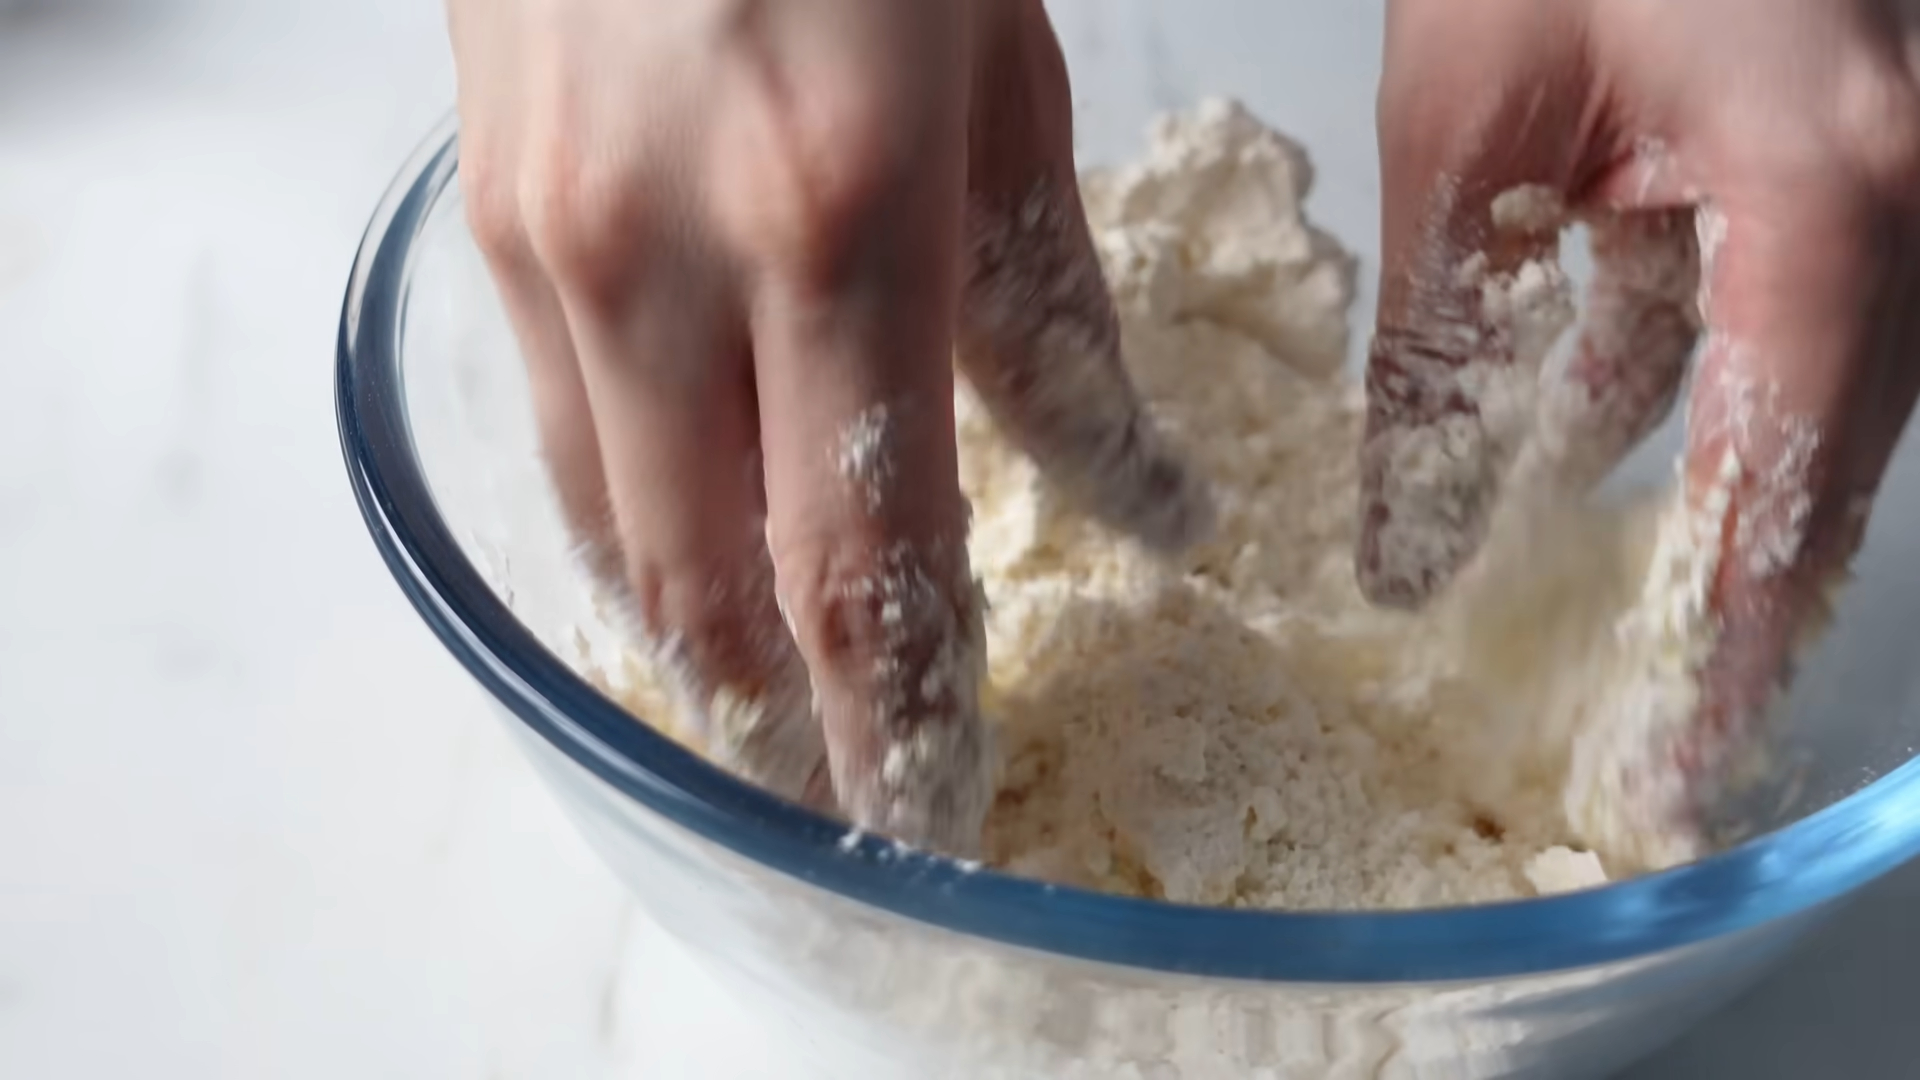
In a large mixing bowl, combine the flour, sugar, and baking powder. Add the cold butter cubes. Use your fingers or a pastry cutter to rub the butter into the dry ingredients. The mixture should resemble coarse crumbs. This step ensures the butter is evenly distributed, creating those delightful flaky layers.
In a separate bowl, whisk together the egg, egg yolk, milk, and yogurt. Pour this mixture into the dry ingredients. Gently mix until the dough just comes together. Avoid overmixing, as it can make the scones dense. The dough should feel slightly sticky but manageable.
Pro Tip: Work quickly when mixing the butter into the flour. The goal is to keep the butter cold, which helps create a tender and crumbly texture.
Incorporating Raisins Without Overmixing
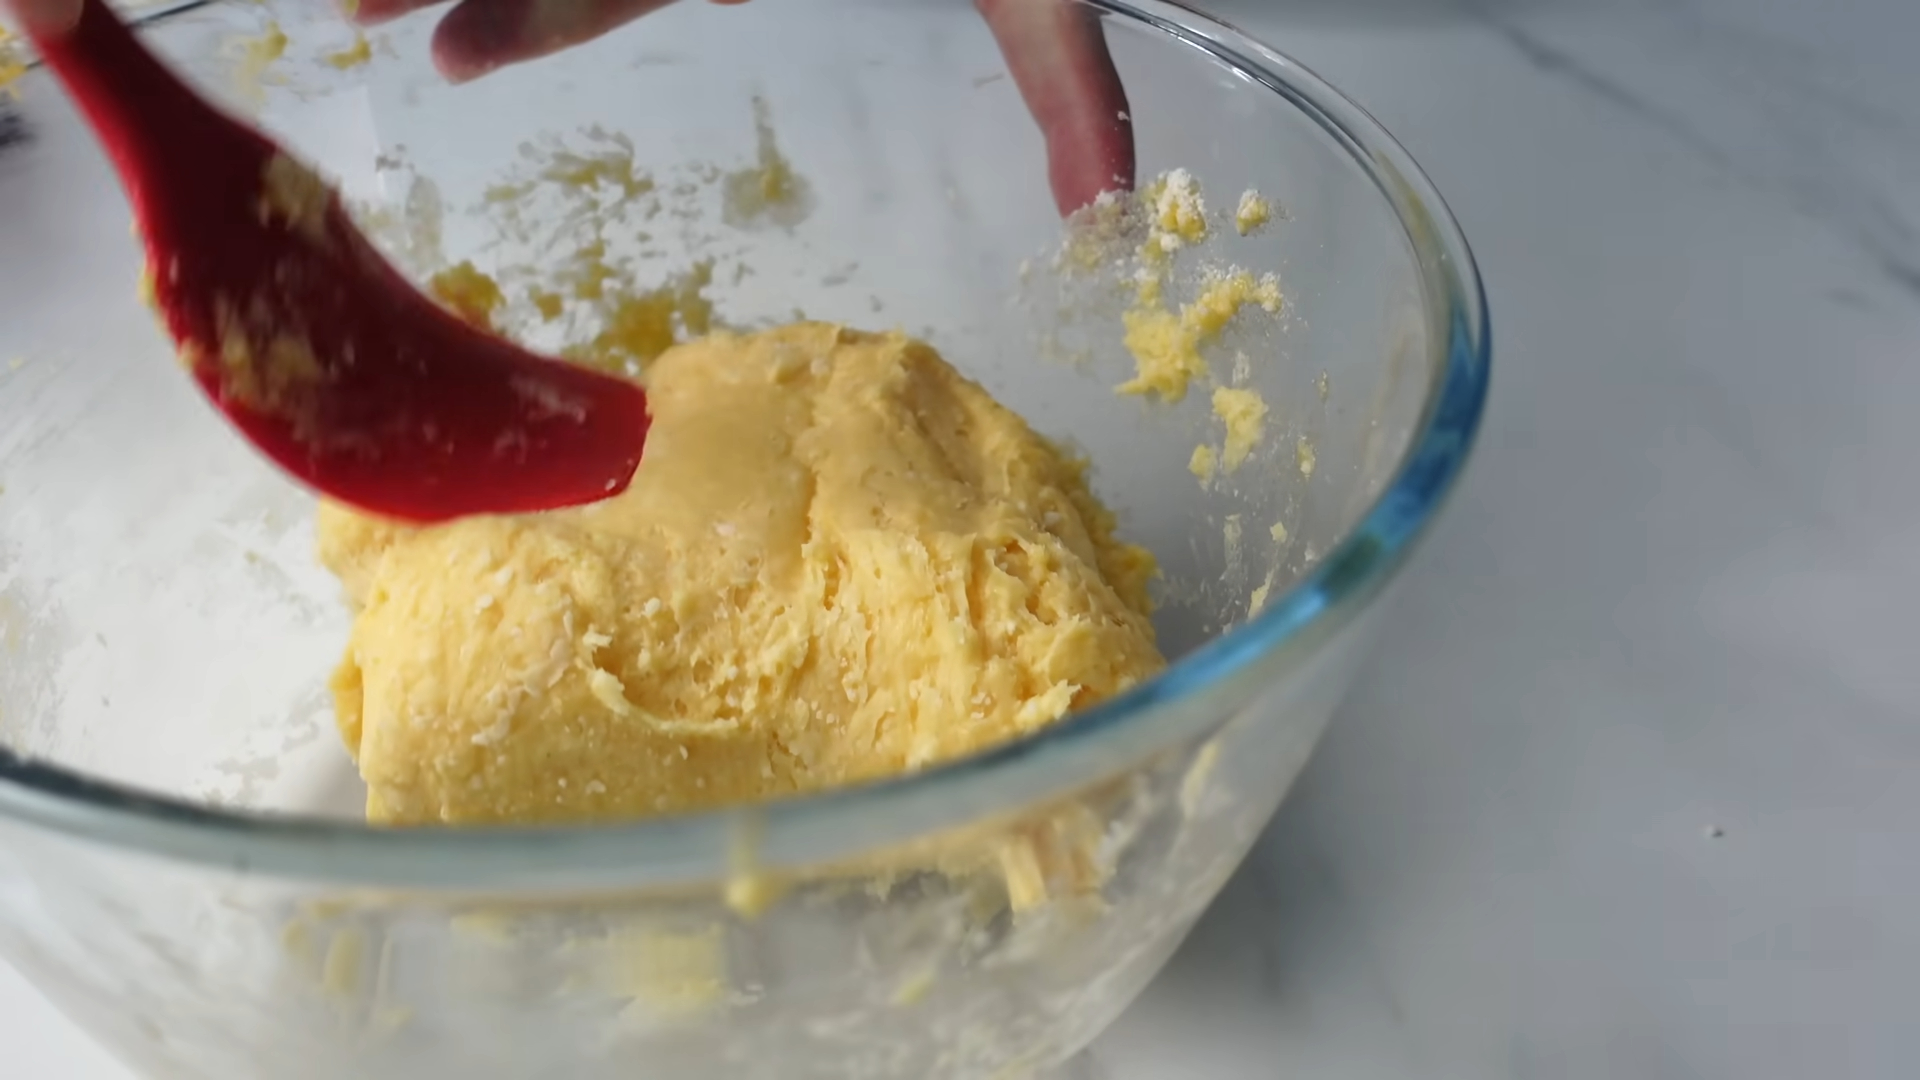
Once the dough is ready, transfer it to a lightly floured surface. Sprinkle the prepared raisins evenly over the dough. Fold the dough in half and gently knead it 4–5 times. This method distributes the raisins without overworking the dough. Overmixing can lead to tough scones, so handle the dough with care.
Roll the dough out to about 2 cm (3/4 inch) thick. Use a 5 cm (2-inch) round cutter to cut out your scones. Press straight down without twisting the cutter. Twisting can seal the edges and prevent the scones from rising properly. Place the cut scones on a baking sheet lined with parchment paper.
Pro Tip: If you don’t have a round cutter, use a glass or jar lid of a similar size. Just make sure to press straight down for the best results.
Shaping and Cutting the Scones
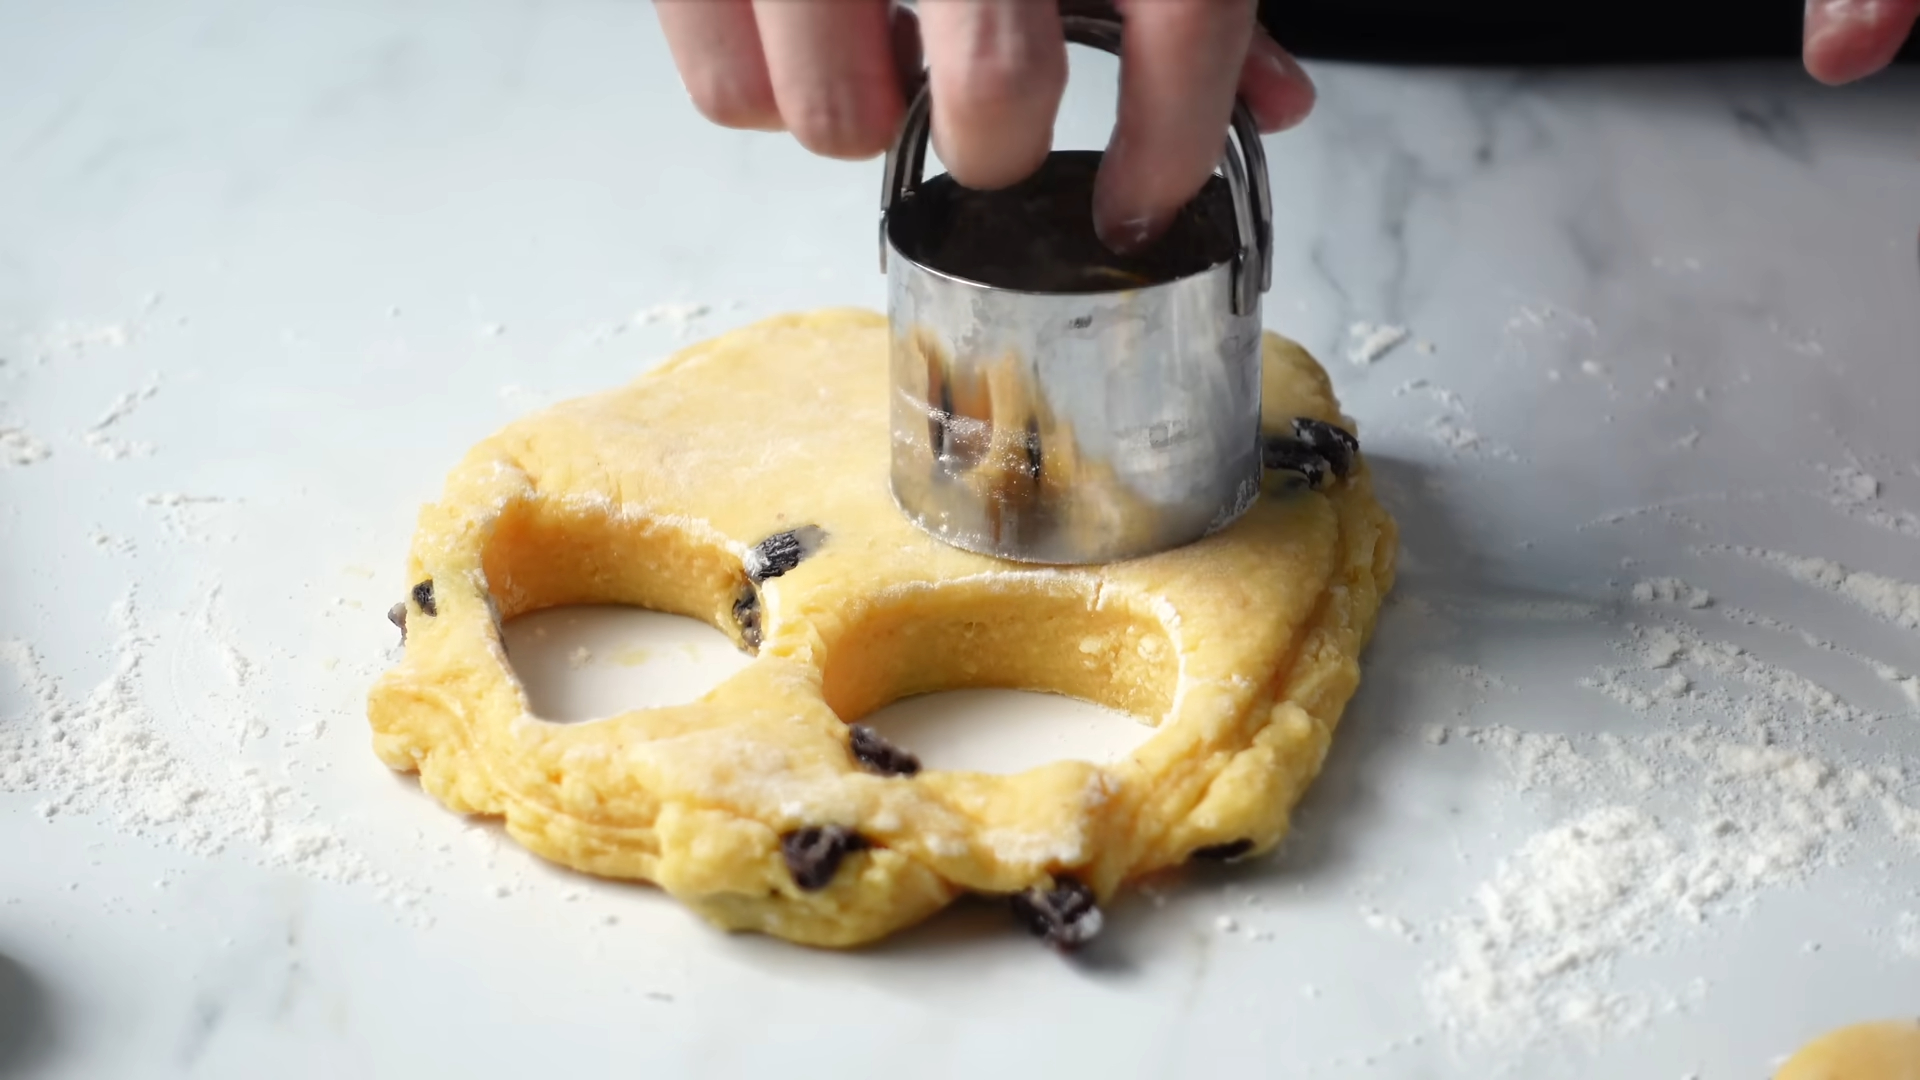
Shaping the dough is one of my favorite parts of making scones. It’s where the magic starts to take form. After chilling the dough, place it on a lightly floured surface. Use your hands to gently pat it down into a flat, even layer about 2 cm (3/4 inch) thick. Avoid using too much pressure. Keeping the dough light and airy ensures soft, crumbly scones.
Next, grab your 5 cm (2-inch) round cutter. Press it straight down into the dough without twisting. Twisting the cutter can seal the edges, which prevents the scones from rising properly. If you don’t have a cutter, a glass or jar lid of a similar size works just as well. Just make sure to flour the edges to avoid sticking.
Once you’ve cut out your scones, gather the leftover dough. Gently press it back together and repeat the process. Be careful not to overwork the dough during this step. Overhandling can make the scones dense instead of light and fluffy.
Place the scones on a baking sheet lined with parchment paper, leaving a bit of space between each one. This setup helps them bake evenly and keeps cleanup easy. At this stage, they’re ready for the final touch before baking.
Pro Tip: Dip your cutter in flour before each cut. This simple trick prevents sticking and gives your scones clean, sharp edges.
Baking to Golden Perfection

Baking is where the scones transform into golden, flaky perfection. Preheat your oven to 170°C (340°F). While the oven heats up, brush the tops of the scones with a small amount of egg yolk. This step gives them that beautiful golden-brown finish. Use a pastry brush for even coverage, but don’t let the egg yolk drip down the sides. It can affect how the scones rise.
Place the baking sheet in the center of the oven. Bake the scones for 18–20 minutes, or until the tops turn a lovely golden color. Keep an eye on them during the last few minutes. Every oven is slightly different, so it’s important to check for that perfect golden hue.
When the scones are done, remove them from the oven and let them cool on a wire rack for a few minutes. This short cooling time allows the texture to set while keeping them warm enough to enjoy. Serve them fresh with clotted cream and jam for an authentic British tea experience.
Pro Tip: For extra flavor, try brushing the tops with a mixture of egg yolk and a splash of milk. This combination adds a subtle shine and enhances the golden color.
Baking these scones fills your kitchen with the most delightful aroma. The buttery, fruity scent is irresistible. Once you take that first bite, you’ll understand why these raisin scones are fit for royalty.
Tips for Making the Best Raisin English Scones
How to Avoid Dry or Dense Scones
Dry or dense scones can ruin the experience. To keep your scones soft and crumbly, focus on a few key steps. First, use cold butter. Cold butter creates pockets of steam as it melts during baking, which makes the scones light and flaky. I always cut the butter into small cubes and chill it until I’m ready to mix.
Next, avoid overmixing the dough. Overworking the dough develops gluten, which leads to tough scones. Mix just until the ingredients come together. The dough should look slightly shaggy but hold its shape.
Another tip is to measure your ingredients accurately. Too much flour can dry out the dough. I recommend using a kitchen scale for precision. If you don’t have one, spoon the flour into your measuring cup and level it off with a knife. Never scoop directly from the bag, as this packs the flour and adds extra weight.
Lastly, don’t skip the chilling step. Refrigerating the dough for at least an hour helps the butter stay cold and prevents the scones from spreading too much in the oven. This step also enhances the texture, making the scones tender and moist.
Quick Tip: If your scones still turn out dry, try adding a splash more milk or yogurt to the dough next time. A little extra moisture can make a big difference.
Techniques for Light and Fluffy Scones
Creating light and fluffy scones starts with the mixing technique. I always rub the butter into the flour by hand. This method gives me better control over the texture. According to a professional baker from Shirlgard, using hands instead of tools like food processors or pastry cutters ensures the butter is evenly distributed without overworking the dough. The mixture should resemble coarse crumbs.
When adding the wet ingredients, pour them in gradually. Mix gently with a spatula or your hands until the dough just comes together. Overmixing can make the scones dense. The key is to handle the dough as little as possible.
Cutting the scones properly also affects their fluffiness. Use a sharp round cutter and press straight down without twisting. Twisting seals the edges, which prevents the scones from rising evenly. For the best results, dip the cutter in flour before each cut to avoid sticking.
Finally, bake the scones in a hot, preheated oven. The high heat activates the baking powder quickly, giving the scones a good rise. Place the baking sheet in the center of the oven for even baking.
Pro Tip: For an extra lift, chill the cut scones in the fridge for 10 minutes before baking. This step helps them hold their shape and rise beautifully.
Proper Handling of Dough and Raisins
Handling the dough with care is crucial for perfect scones. Start by keeping your work surface lightly floured. Too much flour can dry out the dough, so use just enough to prevent sticking. When rolling out the dough, use gentle pressure. Pressing too hard can compress the layers and make the scones dense.
Incorporating raisins requires a delicate touch. Sprinkle the raisins evenly over the dough, then fold it in half. Gently knead the dough 4–5 times to distribute the raisins without overmixing. Overworking the dough at this stage can make the scones tough.
Quick Tip: If you want evenly distributed raisins, mix them into the dry ingredients before adding the wet mixture. This method ensures every bite has a burst of fruity sweetness.
The Importance of Accurate Measurements
Getting the measurements right is one of the most important steps in baking. I’ve learned this the hard way. Even a small mistake can change the texture, flavor, or rise of your scones. When you measure accurately, you set yourself up for success. Let me share why this matters and how you can do it like a pro.
Why Accuracy Matters
Baking is more like science than art. Each ingredient plays a specific role. For example:
-
Flour gives structure. Too much makes scones dry and dense. Too little makes them fall apart.
-
Butter adds richness and creates flaky layers. Using the wrong amount affects the texture.
-
Baking powder helps the scones rise. An incorrect measurement can lead to flat or overly bitter scones.
When you measure precisely, you ensure the ingredients work together perfectly. This balance creates soft, crumbly scones every time.
“Baking is all about precision. A slight change in measurements can completely alter the outcome,” says a professional baker from Shirlgard.
Serving Suggestions for an Authentic Experience
Traditional Accompaniments: Jam and Clotted Cream
When it comes to enjoying scones the traditional way, nothing beats the classic pairing of jam and clotted cream. These two accompaniments elevate the humble scone into a luxurious treat. I always recommend using high-quality jam, like strawberry or raspberry, for its rich, fruity flavor. The sweetness of the jam perfectly complements the buttery, crumbly texture of the scone.
Clotted cream, on the other hand, adds a velvety richness that’s hard to resist. Its thick, creamy consistency spreads beautifully over warm scones. If you’ve never tried clotted cream before, think of it as a cross between butter and whipped cream. You can usually find it in specialty stores or online. For an authentic experience, serve your scones with a generous dollop of clotted cream and a spoonful of jam on the side.
Pro Tip: Warm your scones slightly before serving. The heat softens the texture and makes the cream and jam melt just a little, creating a heavenly bite.
The Jam vs. Cream Debate: Which Goes First?

Ah, the age-old debate: should you spread the jam first or the clotted cream? This question has divided scone lovers for generations. Personally, I think it depends on your preference, but let me share the two main schools of thought.
-
The Cornish Way: In Cornwall, people spread the jam first, followed by the clotted cream. They believe this method allows the cream to sit on top like a crown, making the scone look more elegant.
-
The Devon Way: In Devon, the clotted cream goes on first, acting as a base for the jam. This approach resembles buttering bread before adding a topping.
I’ve tried both methods, and each has its charm. The Cornish way highlights the cream’s richness, while the Devon way emphasizes the jam’s sweetness. Why not try both and decide which you prefer? Either way, the combination of jam and clotted cream transforms a simple scone into a royal treat.
Fun Fact: Queen Elizabeth II reportedly preferred the jam-first method, aligning with the Cornish tradition.
Pairing Scones with Tea for a Royal Touch
No scone experience is complete without a cup of tea. Tea and scones are a match made in heaven, and pairing them thoughtfully can enhance your enjoyment. I usually go for a classic English Breakfast or Earl Grey tea. These black teas have bold flavors that balance the sweetness of the scones and their toppings.
Storing and Reheating Your Scones
How to Keep Scones Fresh

Freshly baked scones taste amazing, but keeping them fresh requires a little care. I always store my scones properly to maintain their soft, crumbly texture. Here’s how you can do it too:
-
Cool Completely: Let the scones cool to room temperature before storing them. Warm scones release moisture, which can make them soggy if stored too soon.
-
Use an Airtight Container: Place the cooled scones in an airtight container. This keeps air out and prevents them from drying out. I like to layer parchment paper between the scones to avoid sticking.
-
Store at Room Temperature: For short-term storage, keep the container at room temperature. Scones stay fresh for up to two days this way.
-
Freeze for Longer Storage: If you want to enjoy your scones later, freeze them. Wrap each scone tightly in plastic wrap, then place them in a freezer-safe bag. They’ll stay fresh for up to three months.
Pro Tip: Label your freezer bag with the date. This helps you keep track of how long the scones have been stored.
When I freeze scones, I always make sure to remove as much air as possible from the bag. This prevents freezer burn and keeps the scones tasting just as good as the day they were baked.
Reheating Tips for Maintaining Texture and Flavor
Reheating scones the right way brings back their fresh-from-the-oven taste. I’ve tried several methods, and these are the ones that work best:
-
Oven Method: Preheat your oven to 300°F (150°C). Place the scones on a baking sheet and cover them loosely with aluminum foil. Heat for 5–10 minutes. This method warms the scones evenly without drying them out.
-
Microwave Method: Wrap a scone in a damp paper towel and microwave it on medium power for 10–15 seconds. This quick method works well for softening scones, but be careful not to overheat them.
-
Toaster Oven Method: For a slightly crisp exterior, use a toaster oven. Set it to low heat and warm the scones for 3–5 minutes.
Pro Tip: Always reheat frozen scones straight from the freezer. Thawing them first can make them soggy.
I prefer the oven method for its consistent results. It keeps the scones warm and crumbly, just like when they were freshly baked. Pair your reheated scones with a cup of tea, and you’ll feel like you’re enjoying them fresh out of the oven all over again.
Different Ways to Change Up Raisin English Scones
Using Other Dried Fruits Instead of Raisins
Swapping raisins for other dried fruits can change the taste completely. I’ve tried several options, and each gives a special flavor. Here are some great choices:
-
Dried cranberries: These bring a tangy, slightly sour taste that matches the buttery scone base.
-
Chopped dried apricots: Their sweet and chewy texture makes every bite enjoyable.
-
Dried cherries: They add a rich, fruity flavor for those who like extra sweetness.
-
Golden sultanas: These are sweeter and softer than raisins, with a pretty golden color.
Pro Tip: If your dried fruits seem hard, soak them in warm water or tea for 10 minutes before using them. This softens them and boosts their flavor.
Keep the same amount of dried fruit as in the original recipe to keep the dough right. I love using cranberries during holidays because they feel festive. You can even mix two or more types of dried fruits for more exciting flavors.
Adding Citrus Zest for More Flavor
Citrus zest is an easy way to make scones taste fresh and bright. A little bit adds big flavor and makes scones more interesting. My favorites are:
-
Lemon zest: It gives a tangy, lively taste that goes well with raisin sweetness.
-
Orange zest: Adds a sweet, citrus smell that feels cozy and warm.
-
Lime zest: Gives a sharp, bold kick for stronger flavors.
To use zest, grate just the colorful outer skin of the fruit with a fine grater or microplane. Avoid the white part underneath—it tastes bitter! Stir the zest into your dry ingredients before mixing in wet ones so it spreads evenly.
Quick Tip: Try pairing lemon zest with blueberries or orange zest with cranberries for sweet-tangy combos.
Citrus zest makes scones lighter and fresher without much effort. It’s such an easy way to make your baking stand out!
Trying Savory Scone Ideas
If you don’t want something sweet, savory scones are another tasty choice! They’re flexible and go well with soups, salads, or as snacks alone. Here are some ideas:
-
Cheese and chive scones: Add grated cheddar cheese and chopped chives for a cheesy treat with onion-like freshness.
-
Bacon and herb scones: Mix crispy bacon bits with herbs like rosemary or thyme—great for breakfast!
-
Sun-dried tomato & Parmesan scones: Use chopped sun-dried tomatoes plus Parmesan cheese for an Italian twist.
For savory versions, reduce or skip sugar in your recipe entirely. Add a pinch of salt instead to boost savory flavors! Serve these warm with butter or cream cheese on top.
Pro Tip: Fresh herbs & good-quality cheese give better results! Grating cheese yourself also keeps textures smoother than pre-shredded kinds.
Savory scones let you play around creatively while still being delicious! Cheese-and-chive ones are my family’s favorite—they’re always gone fast at gatherings!
FAQ
What makes these raisin scones soft and tender?
The secret lies in using cold butter and handling the dough gently. Cold butter creates flaky layers as it melts during baking. I also avoid overmixing the dough, which keeps the texture light and crumbly. Soaking the raisins in warm water for about 20 minutes before adding them ensures they stay plump and juicy, enhancing the softness of the scones.
Can I substitute raisins with other ingredients?
Absolutely! This recipe is versatile. You can swap raisins with dried cranberries, chopped dried apricots, or even chocolate chips for a sweeter twist. Fresh fruits like blueberries or strawberries also work beautifully. If you’re feeling adventurous, try adding pralines or a mix of your favorite dried fruits. Just keep the total amount the same to maintain the dough’s consistency.
Why is my dough too sticky or too dry?
Sticky dough often means there’s too much liquid. Add a small amount of flour, one tablespoon at a time, until it feels manageable. If the dough feels too dry, it might need more moisture. Add a splash of milk or yogurt and mix gently. Always measure ingredients accurately to avoid these issues. Using a kitchen scale helps ensure perfect results every time.
How do I get my scones to rise evenly?
To achieve even rising, press the cutter straight down into the dough without twisting. Twisting seals the edges, which prevents the scones from rising properly. Also, make sure your baking powder is fresh. Old baking powder can lose its effectiveness, resulting in flat scones. Preheating the oven to the correct temperature ensures the scones rise quickly and evenly.
Can I make these scones ahead of time?
Yes, you can! Prepare the dough, cut out the scones, and place them on a baking sheet. Cover them tightly with plastic wrap and refrigerate for up to 24 hours. When ready to bake, brush with egg yolk and bake as directed. You can also freeze unbaked scones. Freeze them on a tray first, then transfer to a freezer bag. Bake directly from frozen, adding a few extra minutes to the baking time.
Why should I chill the dough before baking?
Chilling the dough helps the butter stay cold, which creates flaky layers during baking. It also allows the gluten in the flour to relax, resulting in tender scones. Refrigerating the dough for at least an hour improves te texture and prevents the scones from spreading too much in the oven. This step is key to achieving bakery-quality results.
Leave me a comment and rating down below❤️
For more baking inspiration, check out my YouTube channel, molalacook. You’ll find step-by-step videos that make baking even easier. Plus, I share tips, tricks, and behind-the-scenes moments to make your baking journey fun and rewarding.
Frequently Asked Questions














Leave a comment