How to make One bite of lava mini chiffon cake, like eating ice cream
Table of Contents

INGREDIENTS
INSTRUCTIONS
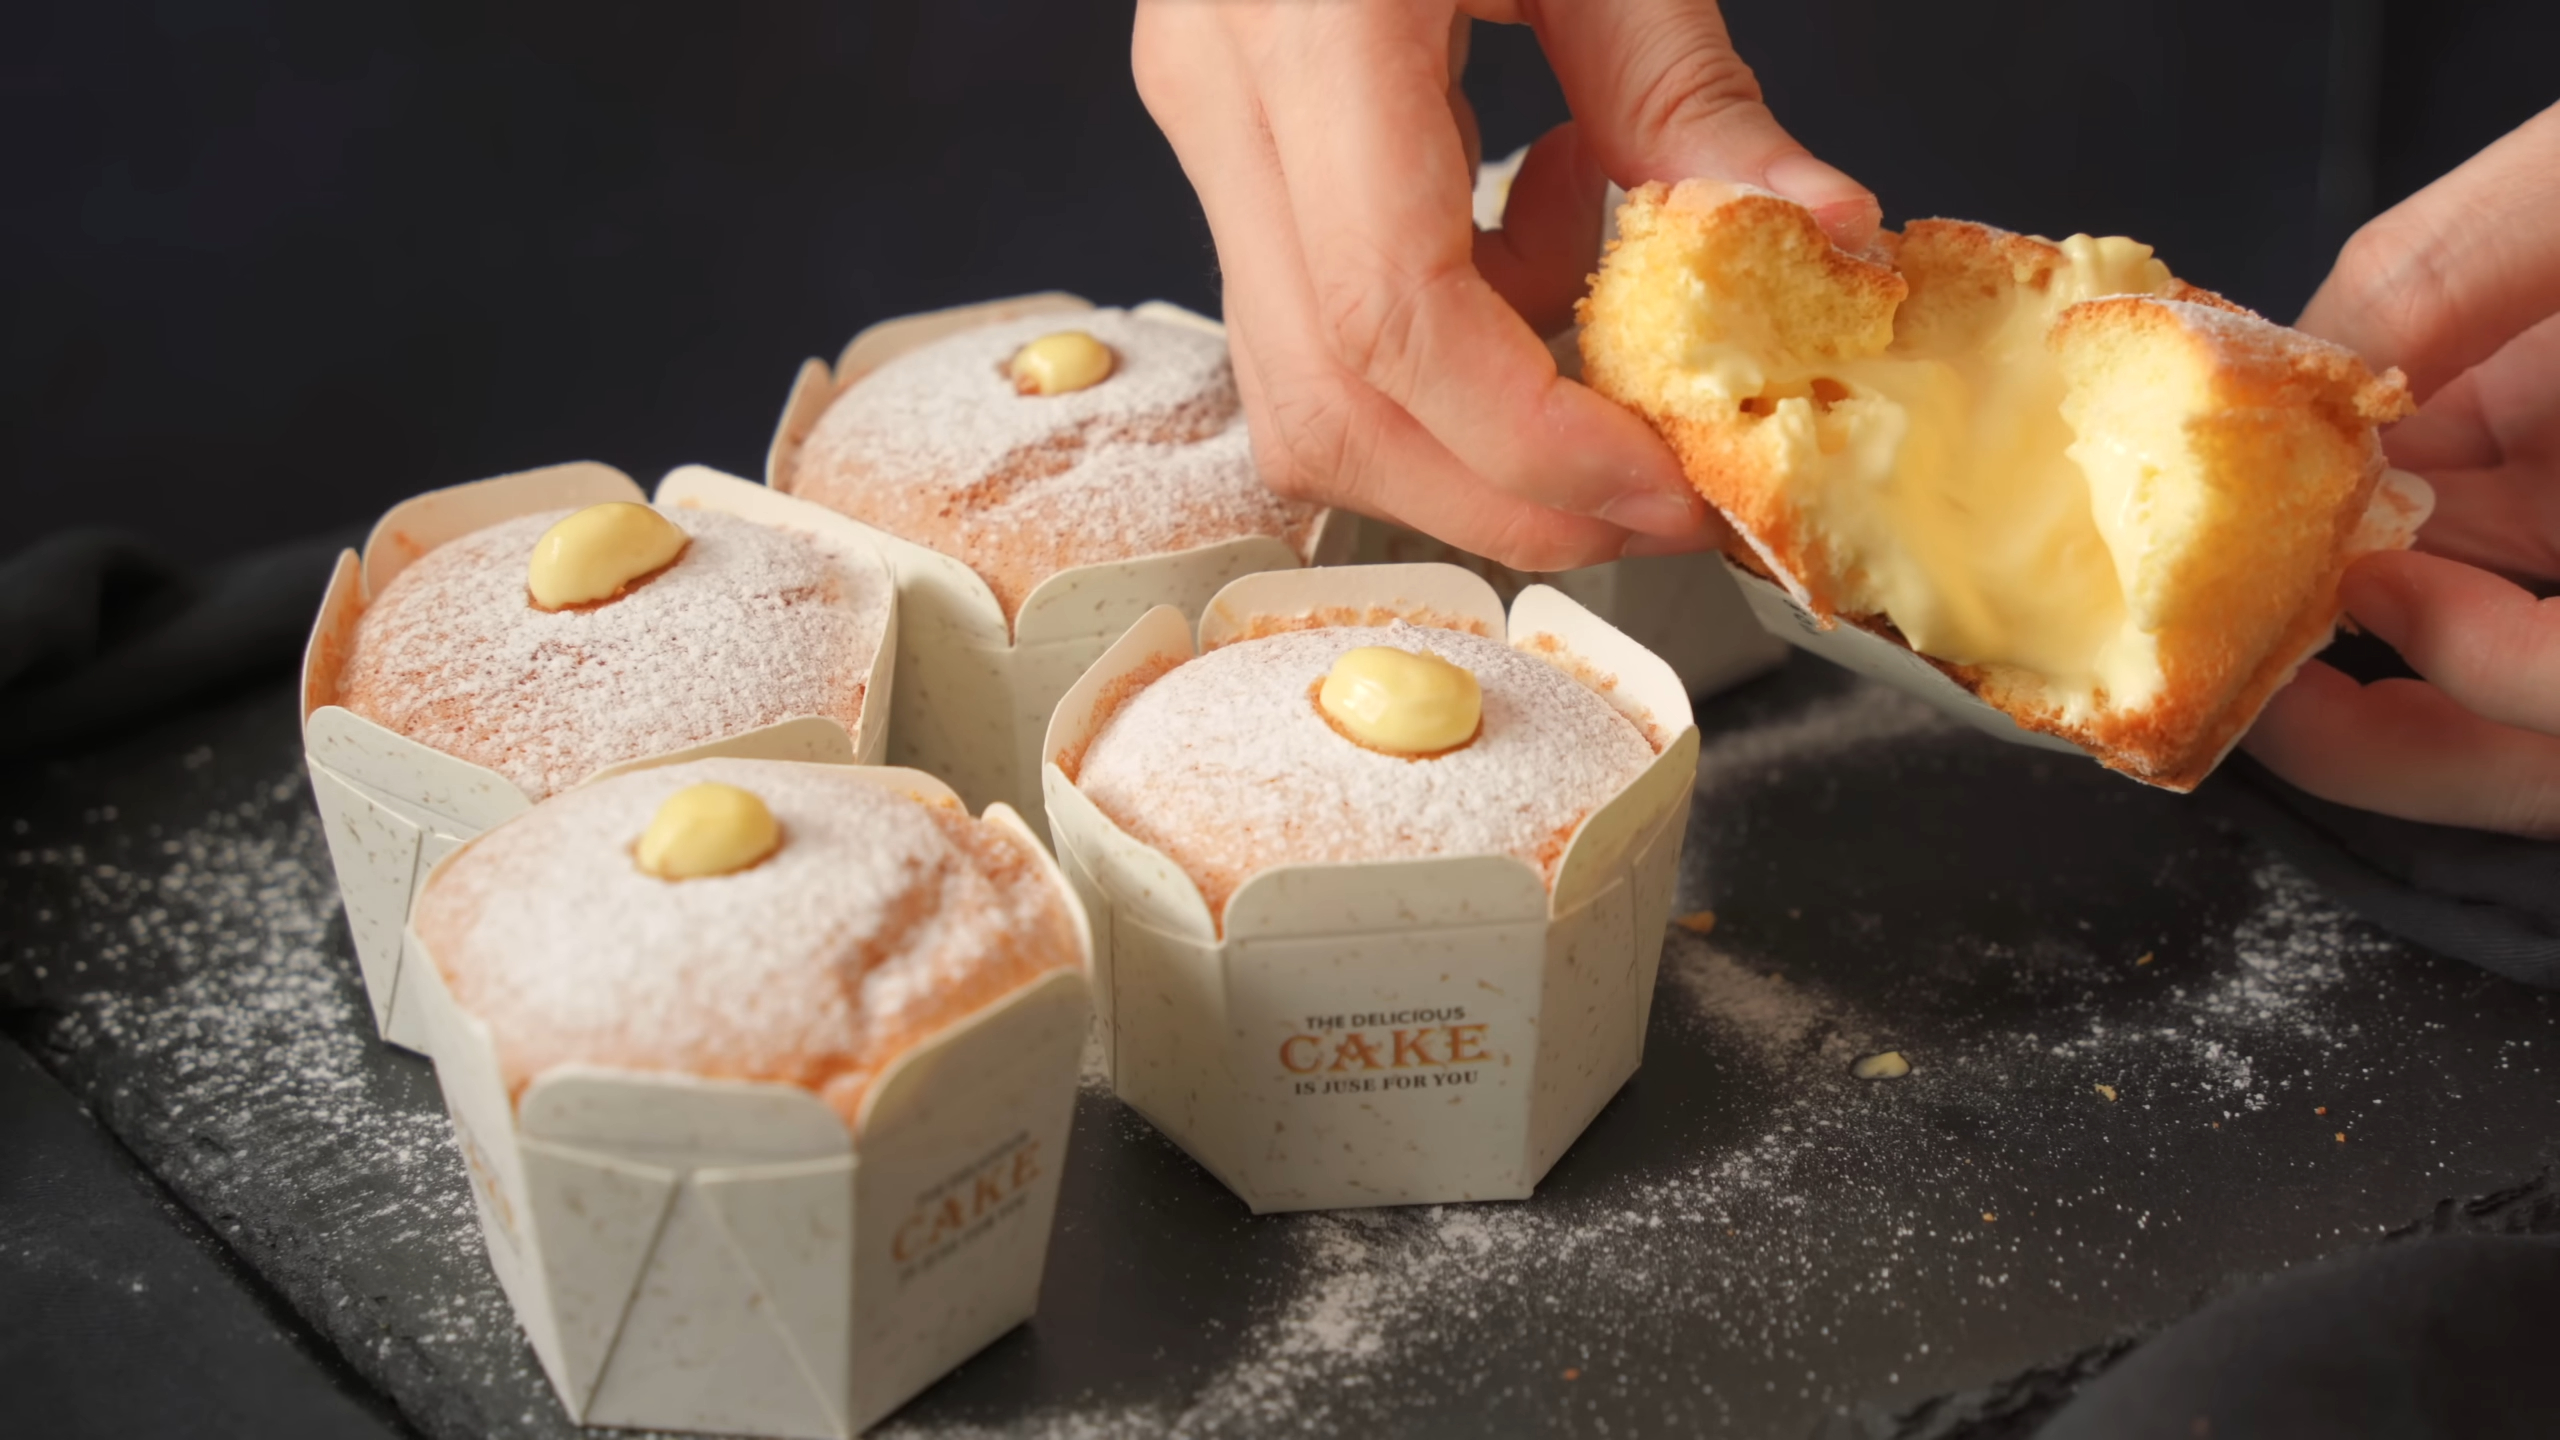
Picture biting into a soft, fluffy cake that melts instantly. Inside, there’s a rich, gooey center waiting to surprise you. That’s the wonder of a lava mini chiffon cake! This treat mixes the lightness of chiffon cake with creamy filling magic. It’s more than just dessert—it’s pure fun. You can eat it cold for a cool snack or frozen like ice cream. This simple recipe makes every bite special. Let’s start making this amazing dessert together!
RECIPE
Cake
-
Milk: 2.7 tablespoons (40ml)
-
Corn Oil: 2 tablespoons (30ml)
-
Cake Flour: 1/2 cup (55g)
-
Egg Yolks: 3 large (~50g each whole egg)
-
Egg Whites: 3 large
-
Salt: a pinch (0.1g)
-
Lemon Juice: 1/4 teaspoon (1g)
-
Sugar: 3.2 tablespoons (45g)
Custard
-
Egg Yolks: 2 large
-
Sugar: 2 tablespoons + 1 teaspoon (25g)
-
Corn Starch: 1.5 teaspoons (6g)
-
Cake Flour: 1.5 teaspoons (5g)
-
Milk: 3/4 cup (170ml)
-
Butter: 0.7 tablespoons (10g)
-
Whipping Cream: 1/4 cup + 2 tablespoons (70ml)
Step-by-Step Guide to Making Lava Mini Chiffon Cake
Let’s dive into the fun part—making your own lava mini chiffon cake! Follow these steps, and you’ll have a dessert that’s light, creamy, and absolutely irresistible.
Preparing the chiffon cake batter
Start by preparing the base of this recipe—the chiffon cake batter. This step sets the foundation for the fluffy texture we all love.
-
Mix the wet ingredients: Pour 40ml of milk and 30ml of corn oil into a mixing bowl. Use a whisk to blend them until fully combined. The mixture should look smooth and slightly thick.
-
Add the dry ingredients: Sift 55g of cake flour directly into the bowl. This step ensures the batter stays lump-free. Stir gently until the flour is just incorporated.
-
Incorporate egg yolks: Add three egg yolks to the mixture. Whisk lightly until the batter becomes smooth and falls slowly from the whisk. Avoid overmixing to keep the batter airy.
-
Whip the egg whites: In a separate bowl, add three egg whites, 1g of lemon juice, and 0.1g of salt. Beat the egg whites with a hand mixer until foamy. Gradually add 45g of sugar in three portions while continuing to whip. Stop when stiff peaks form.
-
Combine the mixtures: Gently fold the whipped egg whites into the yolk mixture in three batches. Use a spatula to fold carefully, keeping as much air in the batter as possible.
Pro Tip: Always fold the egg whites gently. This step is key to achieving the light texture that makes chiffon cake so special.
Creating the molten lava center
Now, let’s make the custard filling that transforms this chiffon cake recipe into a lava cake masterpiece.
-
Mix the custard base: In a small saucepan, combine two egg yolks, 25g of sugar, 6g of corn starch, and 5g of cake flour. Stir until smooth.
-
Add milk gradually: Slowly pour in 170ml of milk while stirring constantly. This prevents lumps from forming.
-
Cook the custard: Place the saucepan over low heat. Stir continuously until the mixture thickens and reaches a consistency where it drips in an inverted triangle shape. Remove from heat and mix in 10g of butter for a silky finish.
-
Chill the custard: Transfer the custard to a bowl and refrigerate it for about an hour. This step helps the filling set and makes it easier to pipe later.
Pro Tip: Stir the custard constantly while cooking to avoid burning or uneven thickening.
Assembling the mini chiffon cakes
This is where everything comes together. Assembling the cakes is both fun and rewarding!
-
Fill the molds: Pour the chiffon cake batter into 5 × 5 cm paper molds, filling each one about 60-70% full. This leaves room for the cakes to rise.
-
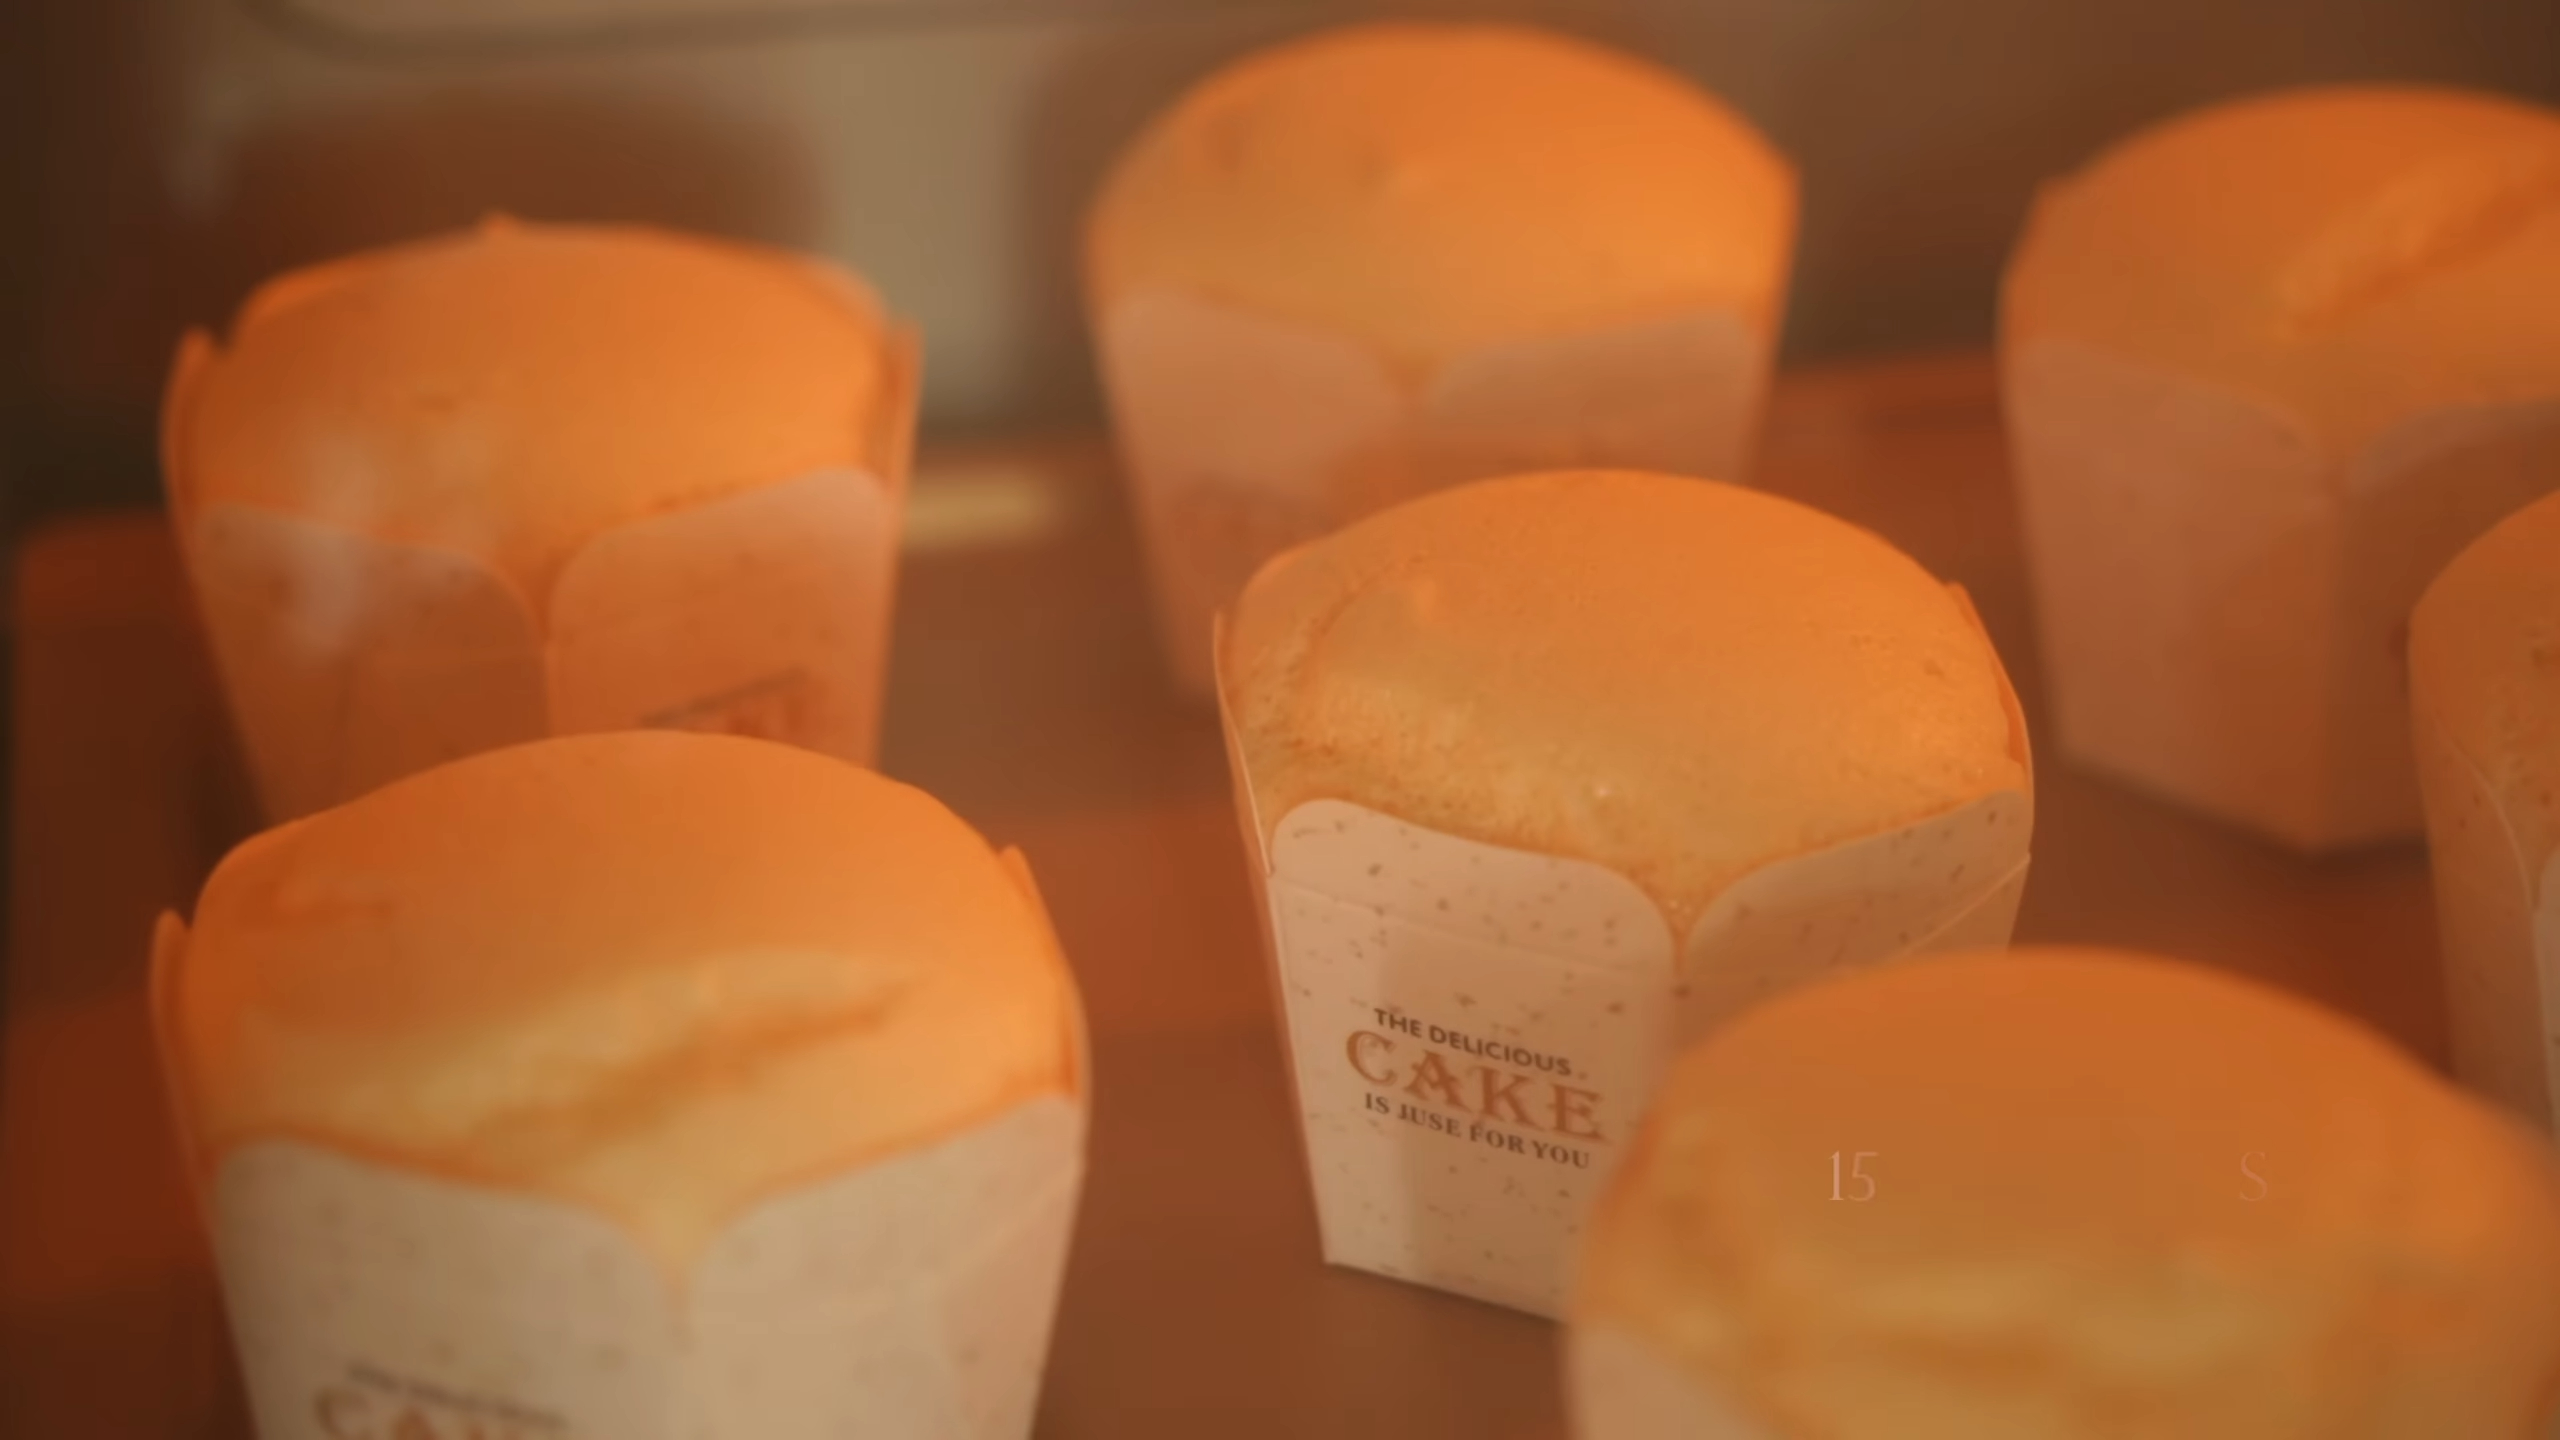
Bake the cakes: Preheat your oven to 130°C (266°F). Bake the cakes for 50 minutes, then increase the temperature to 150°C (302°F) and bake for another 15 minutes. Once done, let the cakes cool completely on a rack.
-
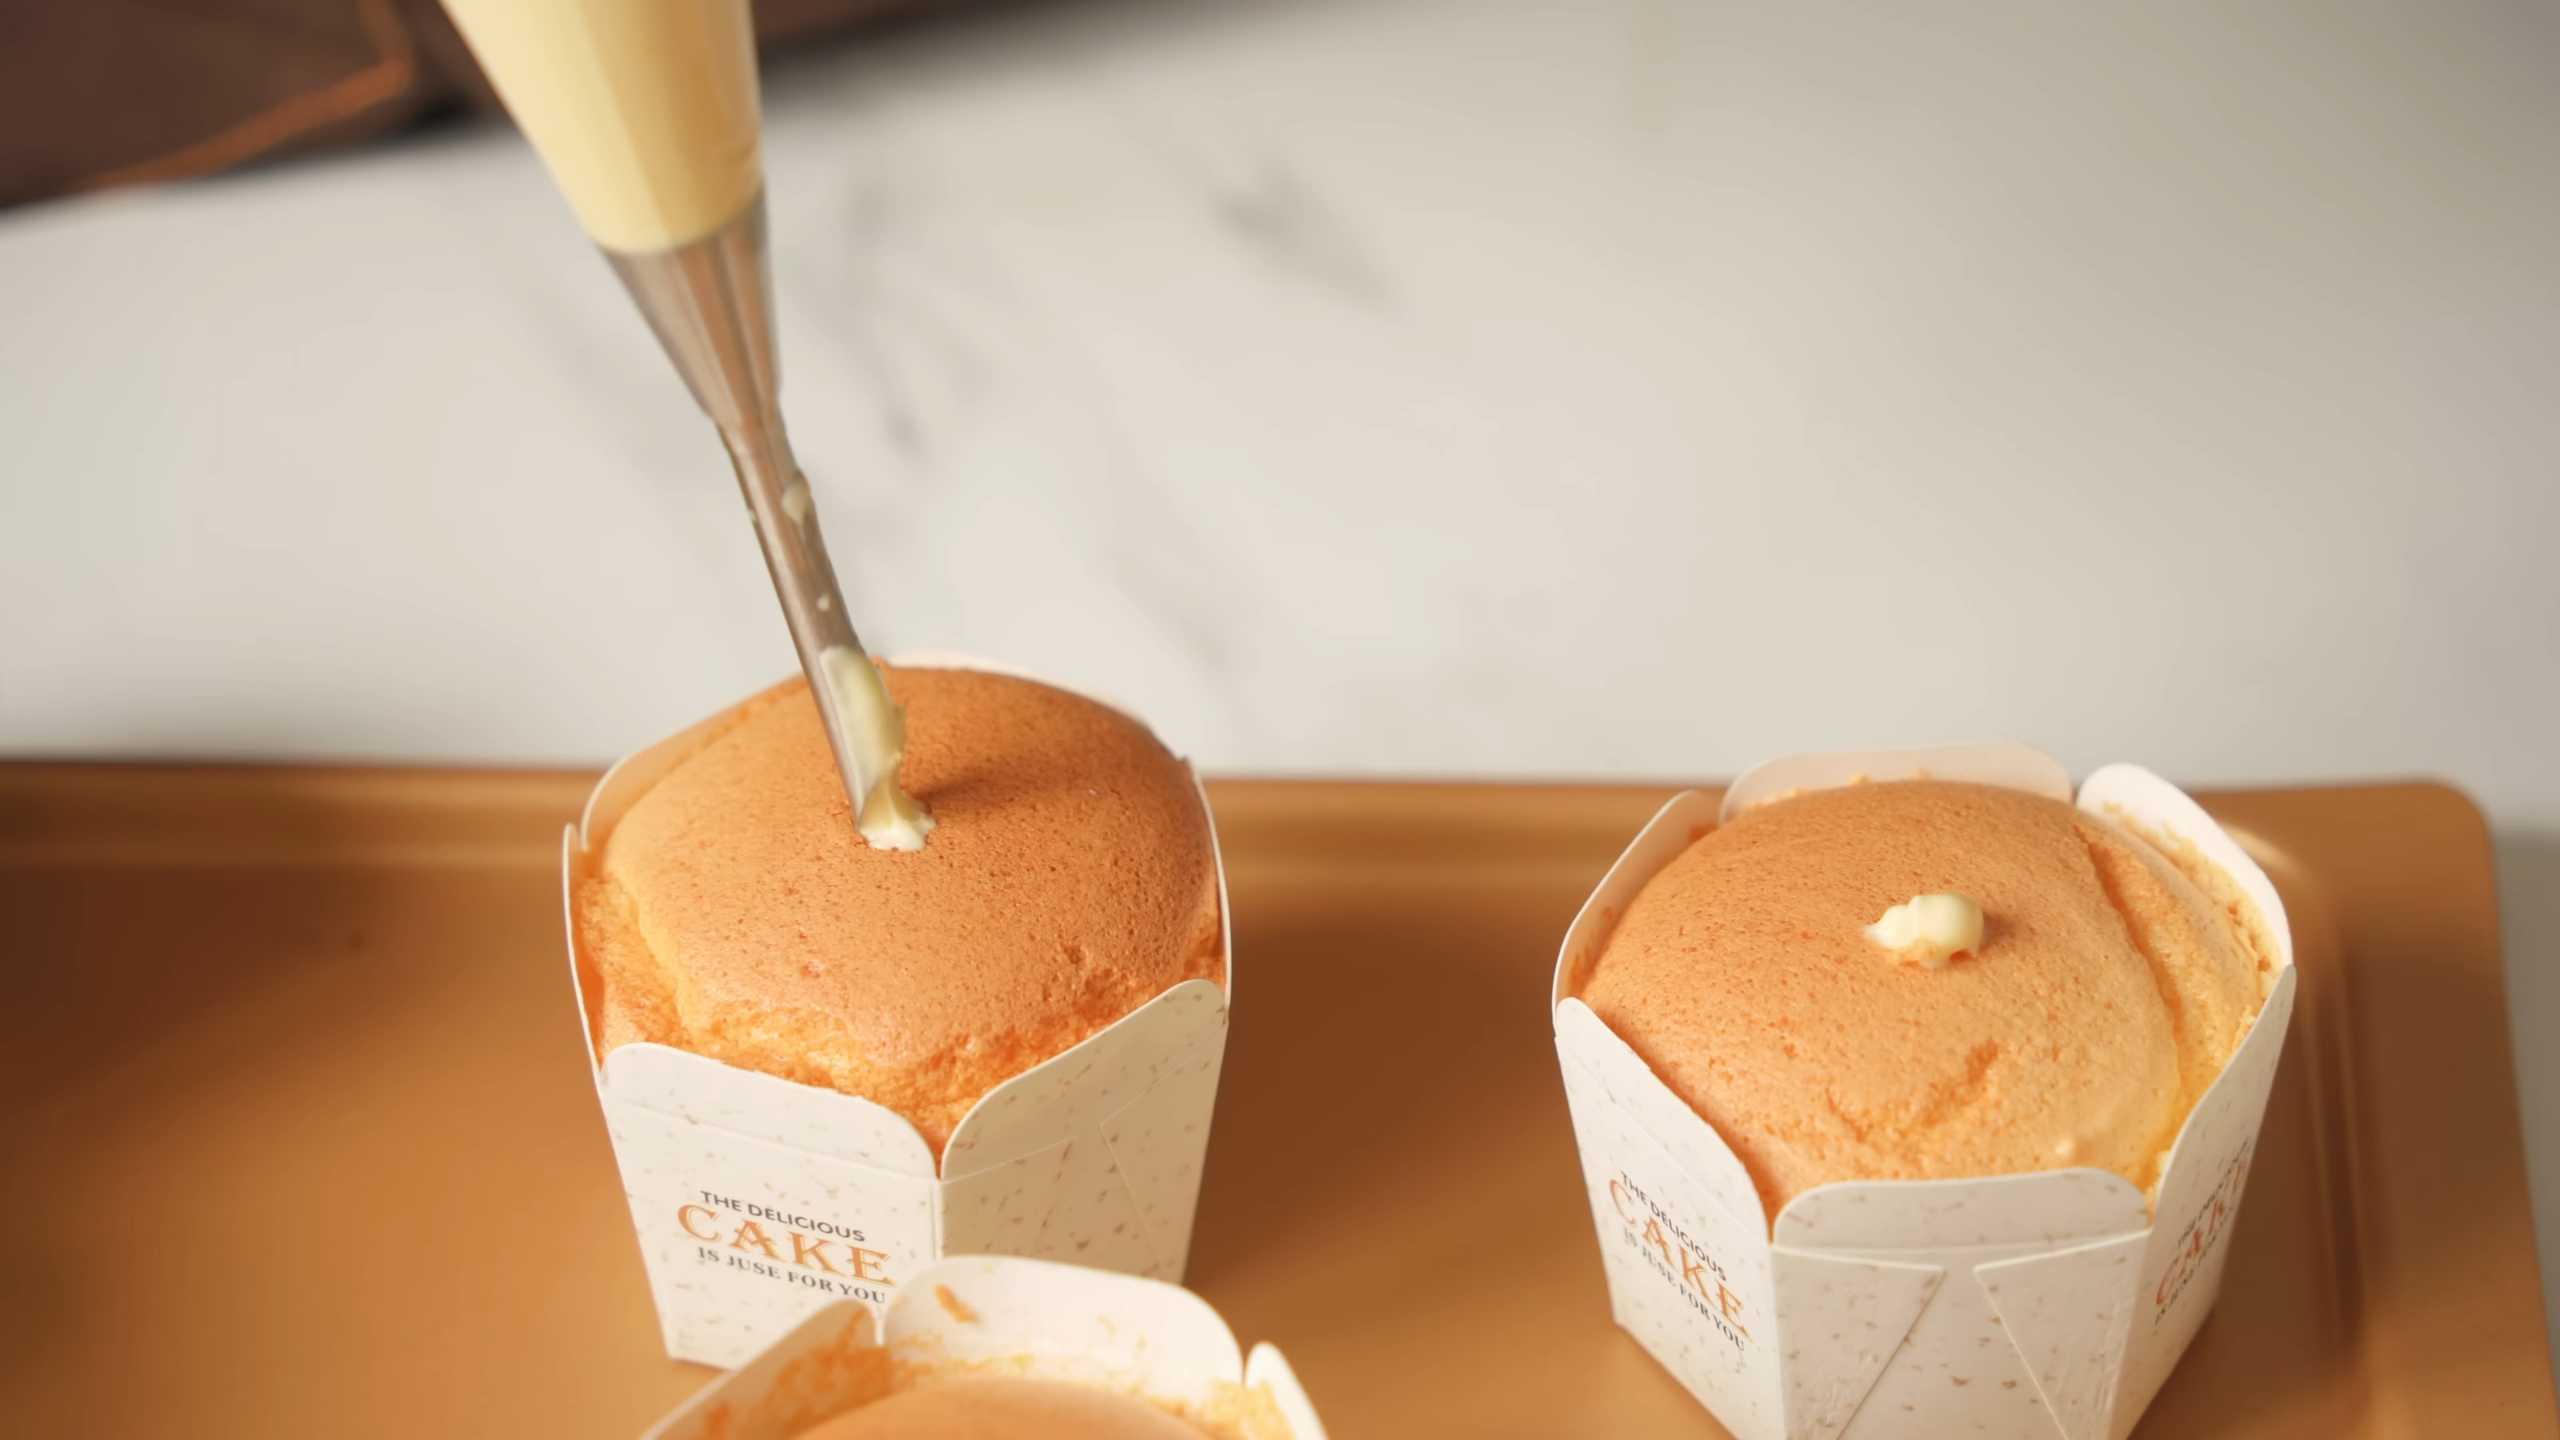
Add the filling: Use a chopstick to poke a hole in the center of each cake. Press down gently to create space for the custard filling. Whip 70ml of whipping cream until it forms soft peaks. Take the chilled custard and whip it until smooth. Gradually fold the whipped cream into the custard until evenly combined. Transfer the mixture to a piping bag and fill the center of each cake.
-
Finish with a touch of sweetness: Dust the tops of the cakes with powdered sugar for a polished look.
Pro Tip: Serve the cakes at room temperature for a soft and creamy experience, or freeze them for a treat that feels like ice cream.
And there you have it! Your lava mini chiffon cakes are ready to impress. Whether you enjoy them chilled or frozen, each bite promises a delightful surprise.
If you give it a go, I’d love to see your results! Snap a photo and tag me on Instagram @molalacook or use the hashtag #molalacook. Don’t forget to leave a comment and rating below to share your experience. With a little patience and care, you can create a Chocolate Castella Cake that’s as delicious as it is beautiful.
Ingredients for the Perfect Lava Mini Chiffon Cake
Creating the perfect lava mini chiffon cake starts with selecting the right ingredients. Each component plays a key role in achieving the light, airy texture and the indulgent molten center that makes this dessert so special. Let’s break it down step by step.
Essential ingredients for the chiffon cake batter
The chiffon cake batter forms the base of this dessert. It’s soft, fluffy, and holds the creamy filling beautifully. Here’s what you’ll need:
-
Milk (40ml): Adds moisture and richness to the batter. Whole milk works best for a smooth texture.
-
Corn oil (30ml): Keeps the cake tender and light. You can also use a mild vegetable oil if preferred.
-
Cake flour (55g): Provides the structure while keeping the cake soft. Sift it to avoid lumps.
-
Egg yolks (3): Bring richness and color to the batter.
-
Egg whites (3): Whipped to stiff peaks, they create the signature airy texture of chiffon cake.
-
Sugar (45g): Sweetens the batter and helps stabilize the whipped egg whites.
-
Lemon juice (1g): A small amount enhances the flavor and helps stabilize the egg whites.
-
Salt (0.1g): Balances the sweetness and enhances the overall flavor.
These ingredients come together to create a batter that’s light yet sturdy enough to hold the molten center.
Key components for the molten lava center
The molten center is the star of this dessert. It’s creamy, rich, and flows out like lava when you take a bite. To make it, you’ll need:
-
Egg yolks (2): Provide a silky texture to the custard filling.
-
Sugar (25g): Sweetens the custard without overpowering it.
-
Corn starch (6g) and cake flour (5g): Thicken the custard to the perfect consistency.
-
Milk (170ml): Adds creaminess and richness to the filling.
-
Butter (10g): Enhances the flavor and gives the custard a smooth finish.
-
Whipping cream (70ml): Lightens the custard and makes it extra creamy.
This custard filling is what transforms a simple chiffon cake into a lava mini chiffon cake. It’s the ultimate surprise inside!
Optional ingredients for achieving the ice cream-like texture
Want to take your lava mini chiffon cake to the next level? These optional ingredients can help you achieve that ice cream-like experience:
-
Powdered sugar: Dust it over the cakes for a touch of sweetness and elegance.
-
Vanilla extract: A few drops can enhance the flavor of both the cake and the custard filling.
-
Cocoa powder or matcha powder: Add these to the custard for a unique twist in flavor.
-
Fresh berries: Serve alongside the cakes for a refreshing contrast.
When chilled or frozen, the chiffon cake maintains its soft texture, while the custard filling becomes creamy and cool—just like ice cream. This versatility makes it a dessert you can enjoy in different ways.
Tools and Equipment for Baking Chiffon Cake
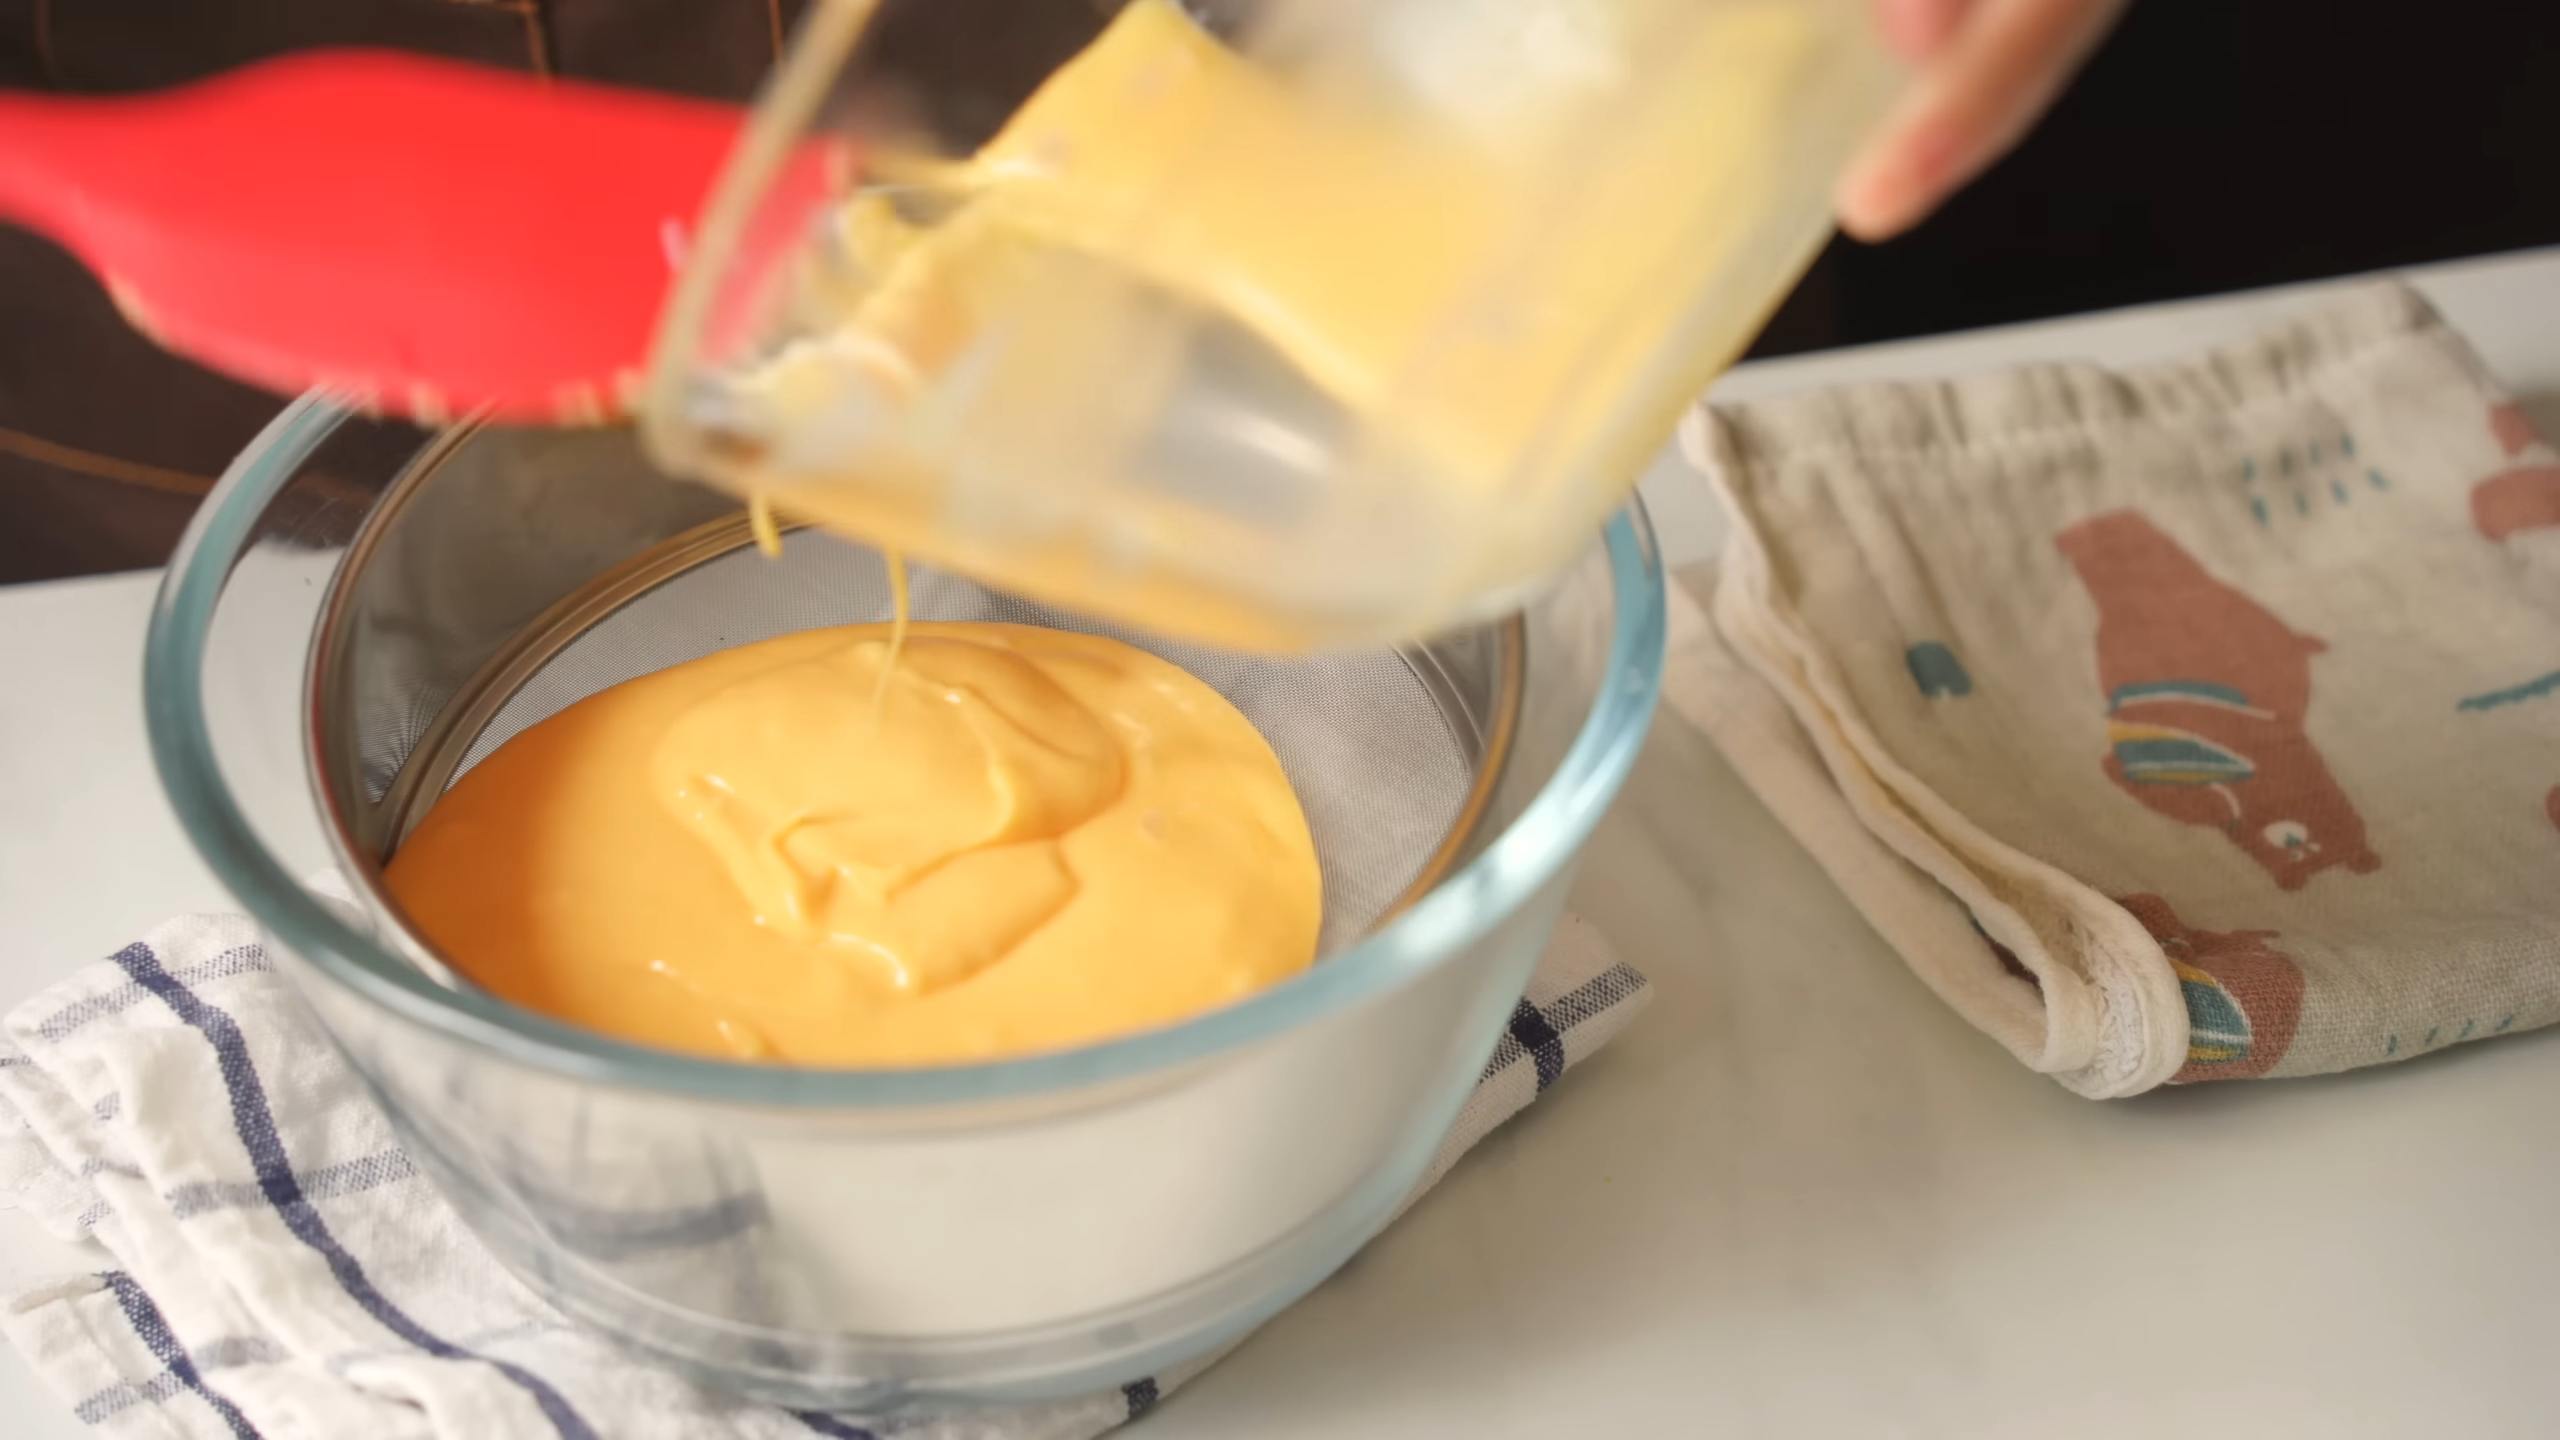
Using the right tools makes baking chiffon cakes simpler. Here are the must-have items I always use.
Tools for making batter and filling
To make smooth batter and creamy filling, you’ll need these:
-
Mixing bowls: Use one bowl for wet ingredients and another for dry ones. A medium bowl works well for batter, while a small one is great for custard.
-
Whisk: A strong whisk mixes ingredients evenly. It also helps make lump-free custard.
-
Hand mixer or stand mixer: These help whip egg whites quickly to stiff peaks, which makes the cake fluffy.
-
Sifter: This removes lumps from flour and adds air to keep the batter light.
-
Spatula: A silicone spatula folds whipped egg whites into the batter gently without losing air.
-
Saucepan: Use a small saucepan to cook custard at the right heat level.
-
Piping bag: This tool fills cakes with custard neatly and easily.
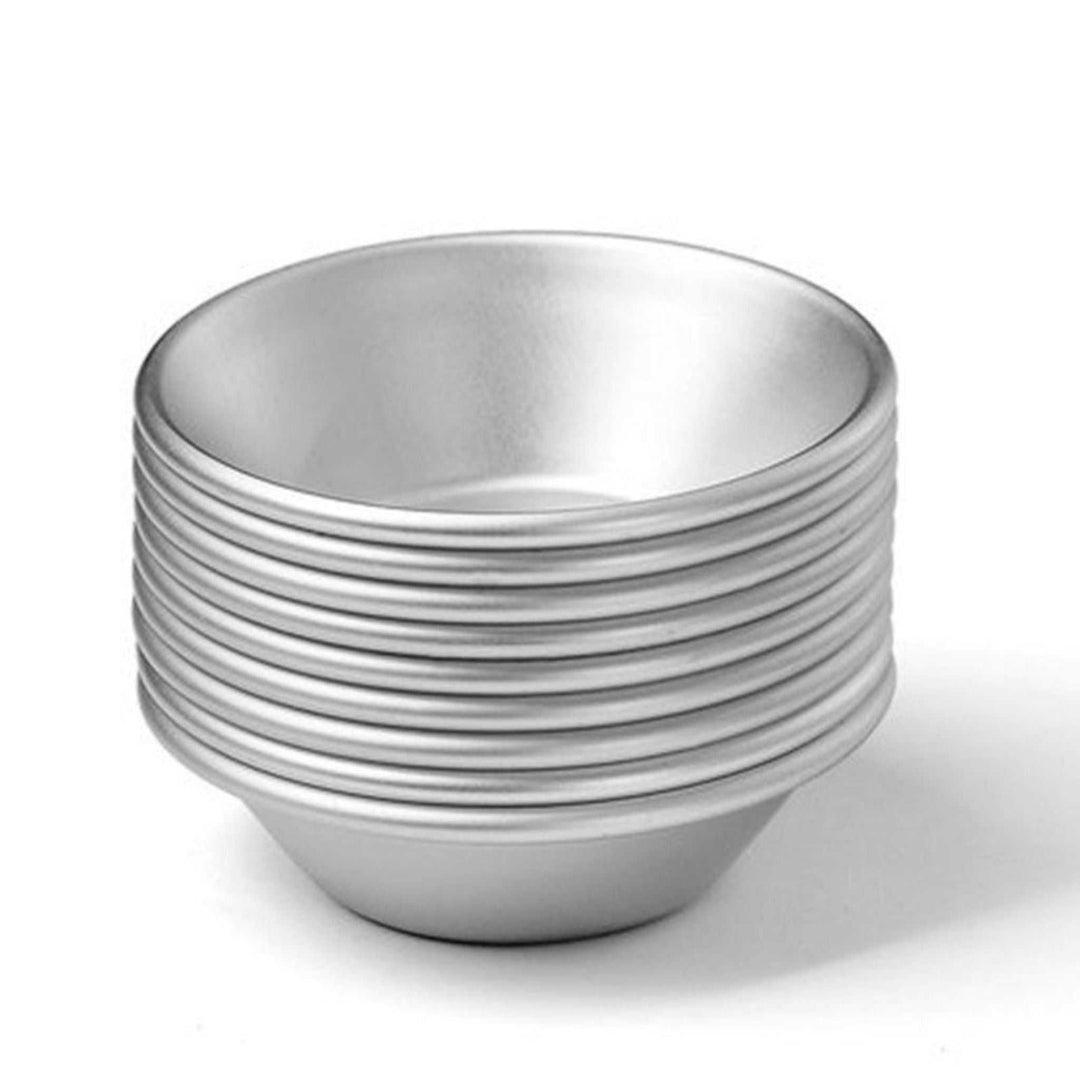
These tools make preparation easier and ensure perfect textures for your cake and filling. You can find this tool on my shop, molalacook.com, where I share my favorite baking essentials.
With these tools, you’ll be ready to bake amazing lava mini chiffon cakes! Having good equipment makes baking fun and rewarding.
Baking the cakes to perfection
Baking the cakes is where the magic happens. This step transforms the delicate batter into soft, fluffy mini chiffon cakes that are ready to hold their molten surprise. Let me guide you through this process to ensure your cakes turn out perfect every time.
-
Preheat the oven: Set your oven to 130°C (266°F). Preheating ensures the cakes bake evenly from the start. I always double-check the temperature with an oven thermometer to avoid surprises.
-
Fill the molds: Carefully pour the prepared batter into your 5 × 5 cm paper molds. Fill each mold about 60-70% full. This gives the cakes enough room to rise without spilling over. I like to use a piping bag for this step—it keeps things neat and precise.
-
Bake in two stages: Place the molds on a baking tray and slide them into the preheated oven. Bake at 130°C (266°F) for 50 minutes. Then, increase the temperature to 150°C (302°F) and bake for another 15 minutes. This two-stage baking method helps the cakes rise beautifully while maintaining their soft texture.
-
Check for doneness: To check if the cakes are done, gently press the top of one cake with your fingertip. It should spring back without leaving an indentation. If it doesn’t, give it a few more minutes in the oven.
-
Cool completely: Once baked, remove the cakes from the oven and place them on a cooling rack. Let them cool completely before adding the filling. Cooling prevents the custard from melting when you assemble the cakes.
Pro Tip: Avoid opening the oven door during baking. Sudden temperature changes can cause the cakes to collapse.
Baking these lava mini chiffon cakes is such a satisfying experience. Watching them rise and turn golden is a joy. Once cooled, they’re ready for the next step—filling them with that creamy, molten center. Trust me, the effort is worth it when you take that first bite!
Tips for Success with Lava Mini Chiffon Cake
Making a lava mini chiffon cake can feel like a fun challenge. With the right techniques, you’ll create a dessert that’s light, fluffy, and filled with a creamy surprise. Let me share some tips to help you nail this recipe every time.
How to achieve the perfect molten center
The molten center is the heart of this dessert. To get it just right, focus on these steps:
-
Cook the custard carefully: Stir constantly while cooking the custard over low heat. This prevents lumps and ensures a smooth texture. Stop cooking when the custard drips in an inverted triangle shape from your spoon.
-
Chill the custard properly: Refrigerate the custard for at least an hour. This helps it firm up, making it easier to pipe into the cakes without spilling.
-
Use whipped cream for balance: Whip the cream until soft peaks form, then fold it gently into the custard. This step lightens the filling and gives it that creamy, lava-like consistency.
Pro Tip: If you want a more intense flavor, try adding a touch of vanilla extract or cocoa powder to the custard before cooking.
Techniques for maintaining the light chiffon texture
The chiffon cake’s airy texture makes it so special. Here’s how to keep it perfect:
-
Whip egg whites to stiff peaks: Beat the egg whites until they hold their shape when you lift the whisk. This creates the air bubbles that make the cake rise.
-
Fold gently: When combining the whipped egg whites with the batter, use a spatula to fold them in slowly. Avoid stirring, as it can deflate the batter.
-
Bake at the right temperature: Start baking at 130°C (266°F) to let the cake rise gradually. Then, increase the temperature to 150°C (302°F) to set the structure without burning the top.
Pro Tip: Place the cake molds on the lower rack of your oven. This ensures even heat distribution and helps the cakes rise beautifully.
Troubleshooting common issues
Even with the best efforts, things can go wrong. Here’s how to fix common problems:
-
Cake didn’t rise: Check your egg whites. If they weren’t whipped to stiff peaks, the batter won’t hold enough air. Also, make sure your oven temperature is accurate.
-
Custard too runny: If the custard doesn’t thicken during cooking, it might need more time on the stove. Keep stirring over low heat until it reaches the right consistency.
-
Cake collapsed after baking: This often happens if the batter was overmixed or the oven door was opened during baking. Be gentle with the batter and avoid peeking until the baking time is up.
Pro Tip: Use an oven thermometer to ensure the temperature stays consistent. Small changes can make a big difference when baking chiffon cakes.
With these tips, you’ll master the art of making the perfect chiffon cake. Each bite will be a delightful mix of light cake and creamy filling. Don’t worry if it takes a few tries—practice makes perfect, and the results are always worth it!
Serving and Storing Lava Mini Chiffon Cake
Best ways to serve for an ice cream-like experience
Serving lava mini chiffon cakes can be as creative as making them. I love how versatile they are! You can enjoy them at room temperature, chilled, or even frozen. Each way offers a unique experience.
-
Room temperature: Serve the cakes fresh after filling them. The custard stays creamy, and the cake remains soft and fluffy. This is perfect if you want that classic molten lava effect when you take a bite.
-
Chilled: Refrigerate the cakes for a few hours before serving. The custard firms up slightly, giving it a texture similar to cream puffs. This makes it a refreshing treat on warm days.
-
Frozen: For an ice cream-like experience, freeze the cakes for about 2-3 hours. The custard turns into a creamy, frozen center, while the cake stays soft. It’s like biting into a mini ice cream sandwich but with a fluffy cake exterior.
Pro Tip: If you’re serving the cakes frozen, let them sit at room temperature for 5-10 minutes before eating. This softens the custard slightly, making it easier to enjoy.
Pair these cakes with fresh berries, a drizzle of chocolate sauce, or even a scoop of vanilla ice cream. These additions elevate the dessert and make it even more indulgent.
Storage tips to keep the cakes fresh and delicious
Storing lava mini chiffon cakes properly ensures they stay fresh and tasty for days. Here’s how I keep mine perfect:
-
Refrigeration: Place the cakes in an airtight container and store them in the fridge. They’ll stay fresh for up to 3 days. The custard filling remains creamy, and the cake retains its softness.
-
Freezing: If you want to store them longer, freeze the cakes. Wrap each one individually in plastic wrap to prevent freezer burn. Then, place them in a freezer-safe container or bag. They can last up to 2 weeks this way. When you’re ready to enjoy, thaw them in the fridge for a few hours or at room temperature for about 30 minutes.
-
Avoid moisture: Always keep the cakes in a dry, sealed container. Moisture can make the cake soggy and affect the texture of the custard.
Pro Tip: Label your containers with the date you stored the cakes. This helps you keep track of freshness and ensures you enjoy them at their best.
Whether you’re serving them fresh or storing them for later, these cakes remain a delightful treat. Their versatility makes them perfect for any occasion, from casual snacks to elegant desserts.
Frequently Asked Questions About Lava Mini Chiffon Cake
Can I substitute ingredients for dietary preferences?
Absolutely! You can adjust this recipe to suit your dietary needs without compromising the flavor or texture. Here are some simple swaps:
-
Milk: Replace regular milk with almond milk, oat milk, or soy milk for a dairy-free option. These alternatives work well and still keep the batter moist.
-
Corn oil: Use coconut oil or avocado oil if you prefer healthier fats. Just make sure they have a mild flavor to avoid overpowering the cake.
-
Sugar: Swap granulated sugar with coconut sugar or a natural sweetener like maple syrup. Keep in mind that liquid sweeteners may slightly alter the batter’s consistency.
-
Flour: For a gluten-free version, use a 1:1 gluten-free baking flour blend. It provides structure similar to cake flour.
Pro Tip: When making substitutions, test small batches first to ensure the perfect chiffon cake texture remains light and airy.
How do I prevent the lava center from hardening?
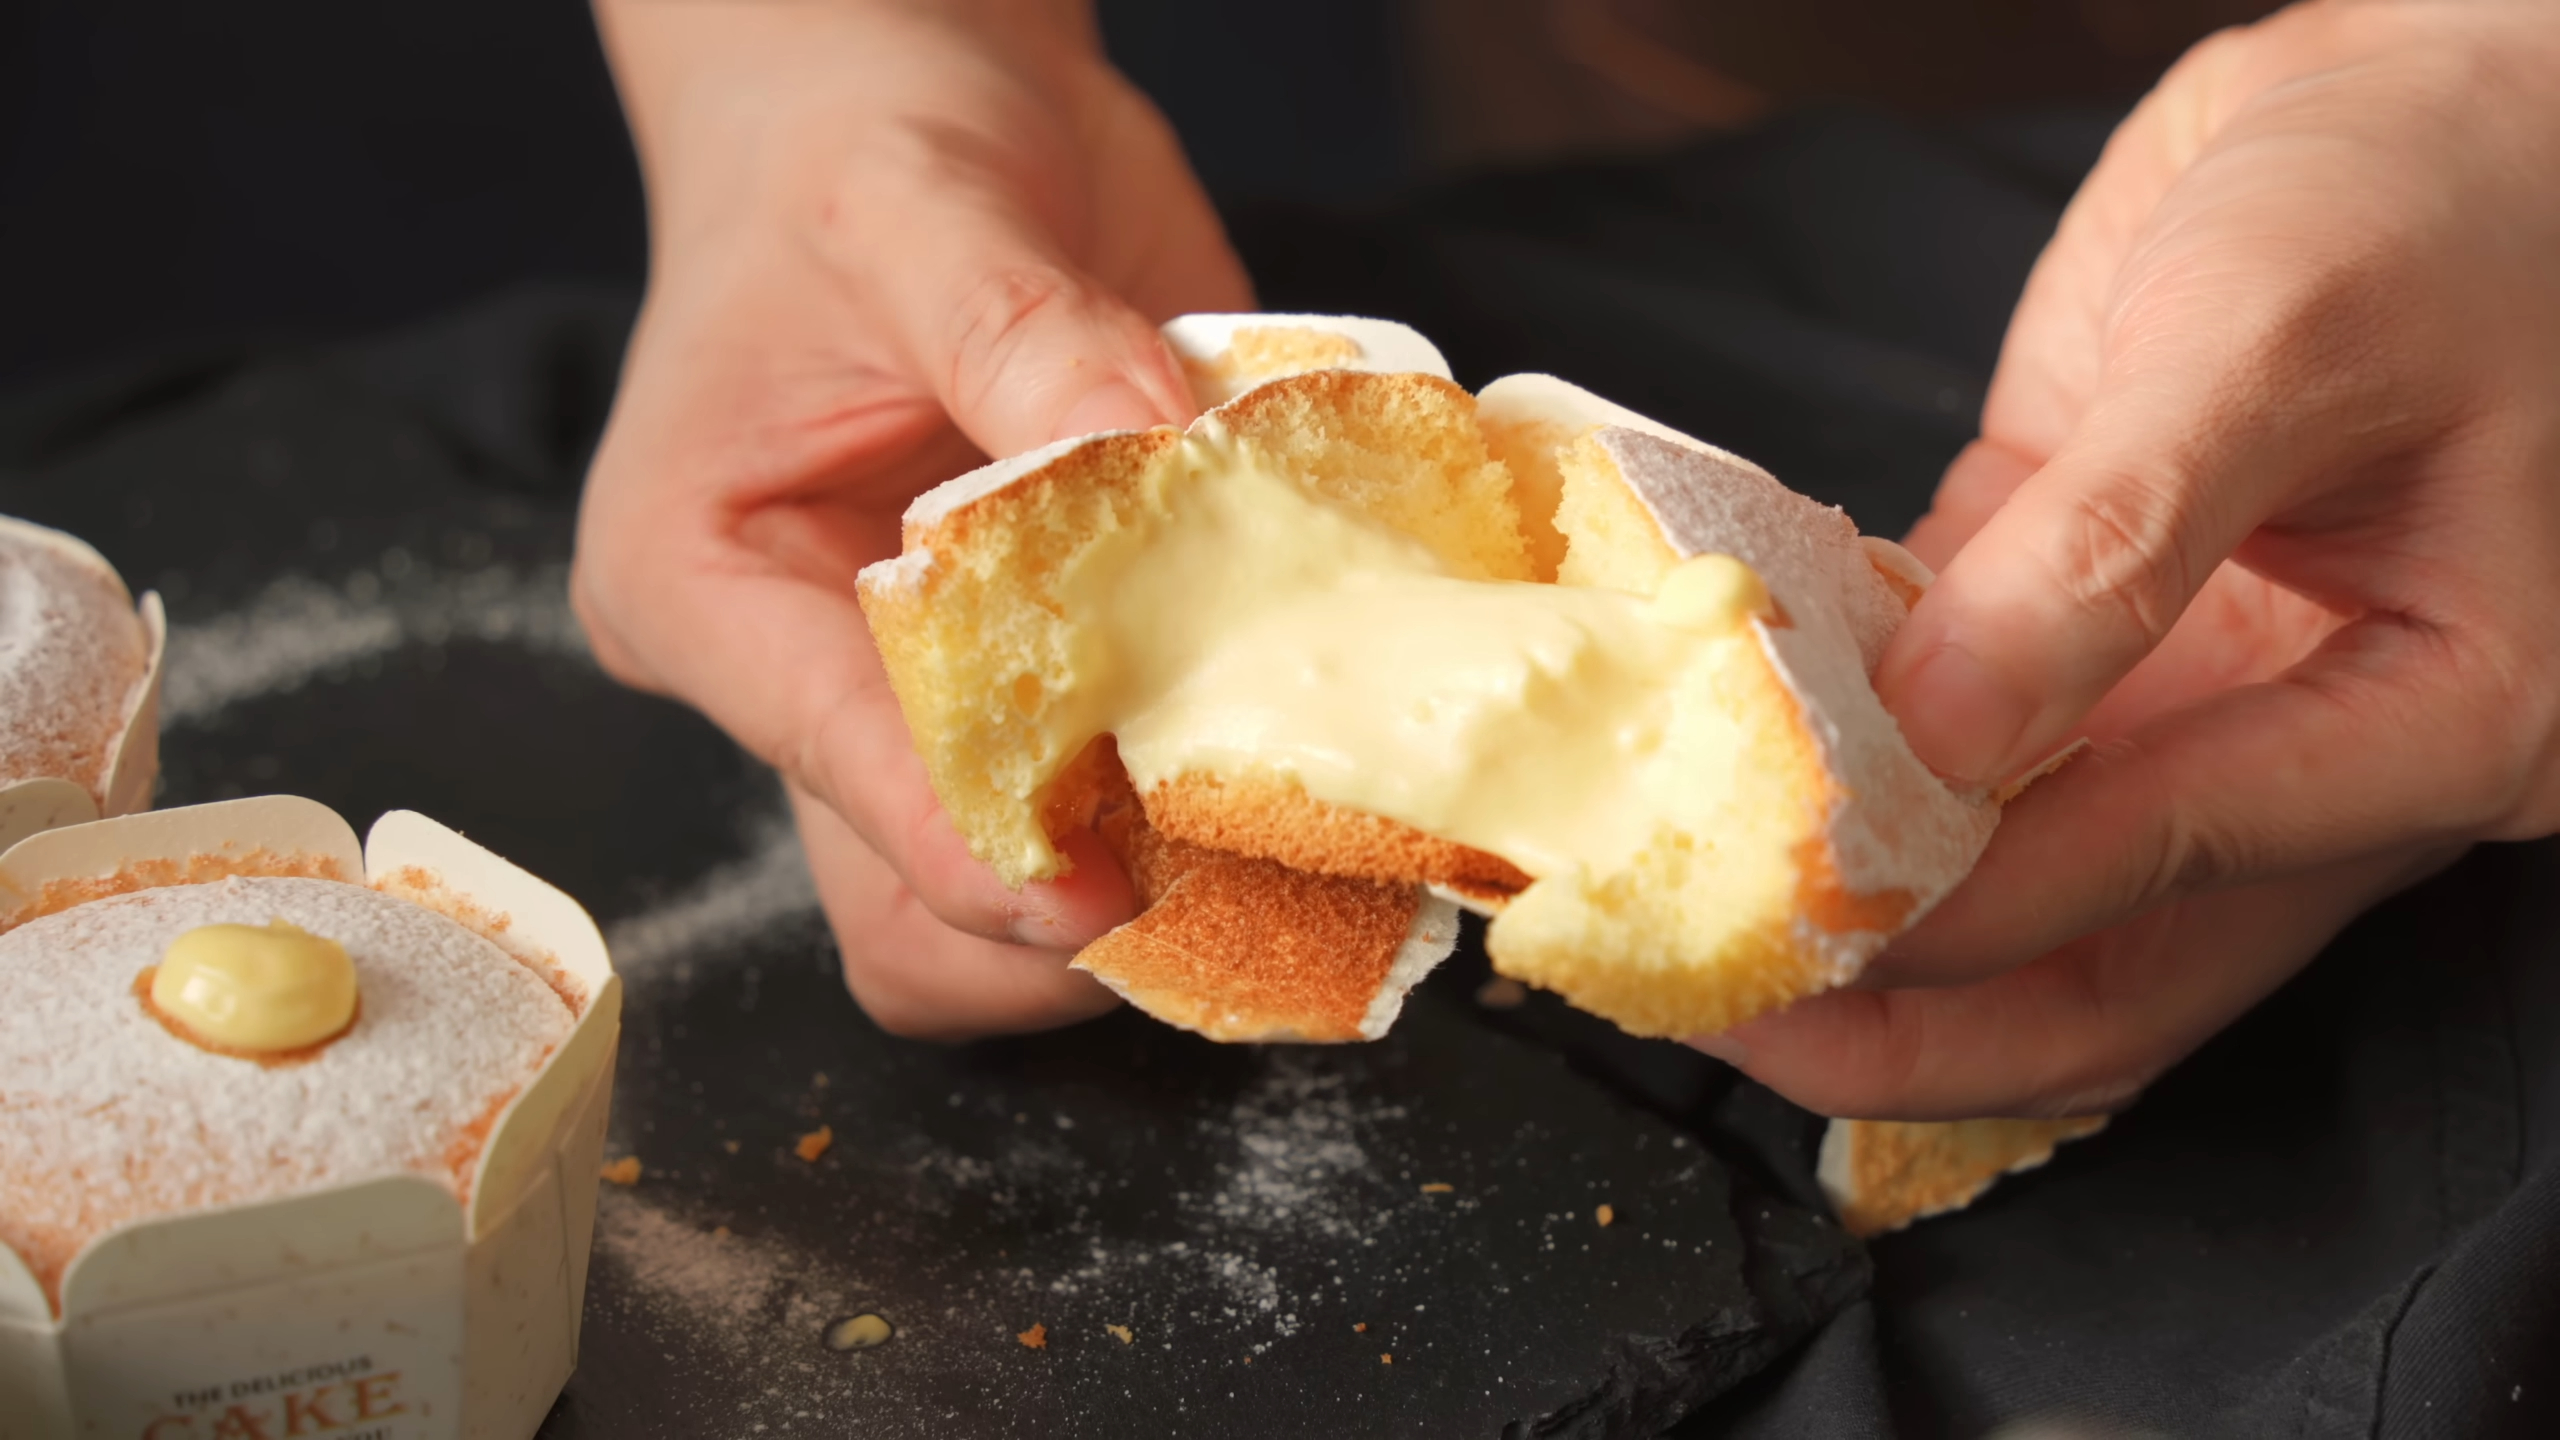
The molten center is the highlight of this dessert, so keeping it creamy is key. Here’s how I ensure it stays soft and gooey:
-
Cook the custard just right: Remove the custard from heat as soon as it thickens and drips in an inverted triangle shape. Overcooking can make it too firm.
-
Chill, but don’t freeze: Refrigerate the custard for about an hour before piping it into the cakes. Freezing it for too long can harden the filling.
-
Serve at the right temperature: If you’re serving the cakes chilled or frozen, let them sit at room temperature for a few minutes before eating. This softens the custard slightly, bringing back its creamy texture.
Fun Fact: Chiffon cakes were invented in 1927 by Harry Baker. Their light and airy texture, combined with the molten center, makes them a timeless dessert.
These tips will help you enjoy your lava mini chiffon cakes at their best, whether you’re serving them fresh, chilled, or reheated. Each bite will feel like a little piece of dessert heaven!
Making a lava mini chiffon cake is such a joyful experience. From whipping up the airy chiffon cake batter to creating the creamy molten center, every step feels rewarding. The result? A dessert that’s light, indulgent, and versatile.
For more baking inspiration, check out my YouTube channel, molalacook. You’ll find step-by-step videos that make baking even easier. Plus, I share tips, tricks, and behind-the-scenes moments to make your baking journey fun and rewarding.
If you loved this recipe, don’t forget to rate it! Your ratings mean the world to me and help other readers decide to try this delicious cake.
Frequently Asked Questions









Leave a comment